Drip edges for roofs prevent water damage and block pests by directing water away from the roof’s edge. This helps avoid rot and leaks, maintaining your roof’s longevity. In this guide, we will explore the different types of drip edges, their benefits, and step-by-step installation tips.
Key Takeaways
-
Drip edges are essential metal flashings that guide water away from roofs, preventing damage from leaks and rot, and are often required by building codes.
-
There are three primary types of drip edges (Type C, Type D, and Type F), each serving unique purposes in protecting roofing systems and directing water effectively.
-
Proper installation of drip edges is crucial; mistakes such as incorrect placement and inadequate overlap can lead to water damage and reduced lifespan of the roofing system.
What Are Drip Edges?

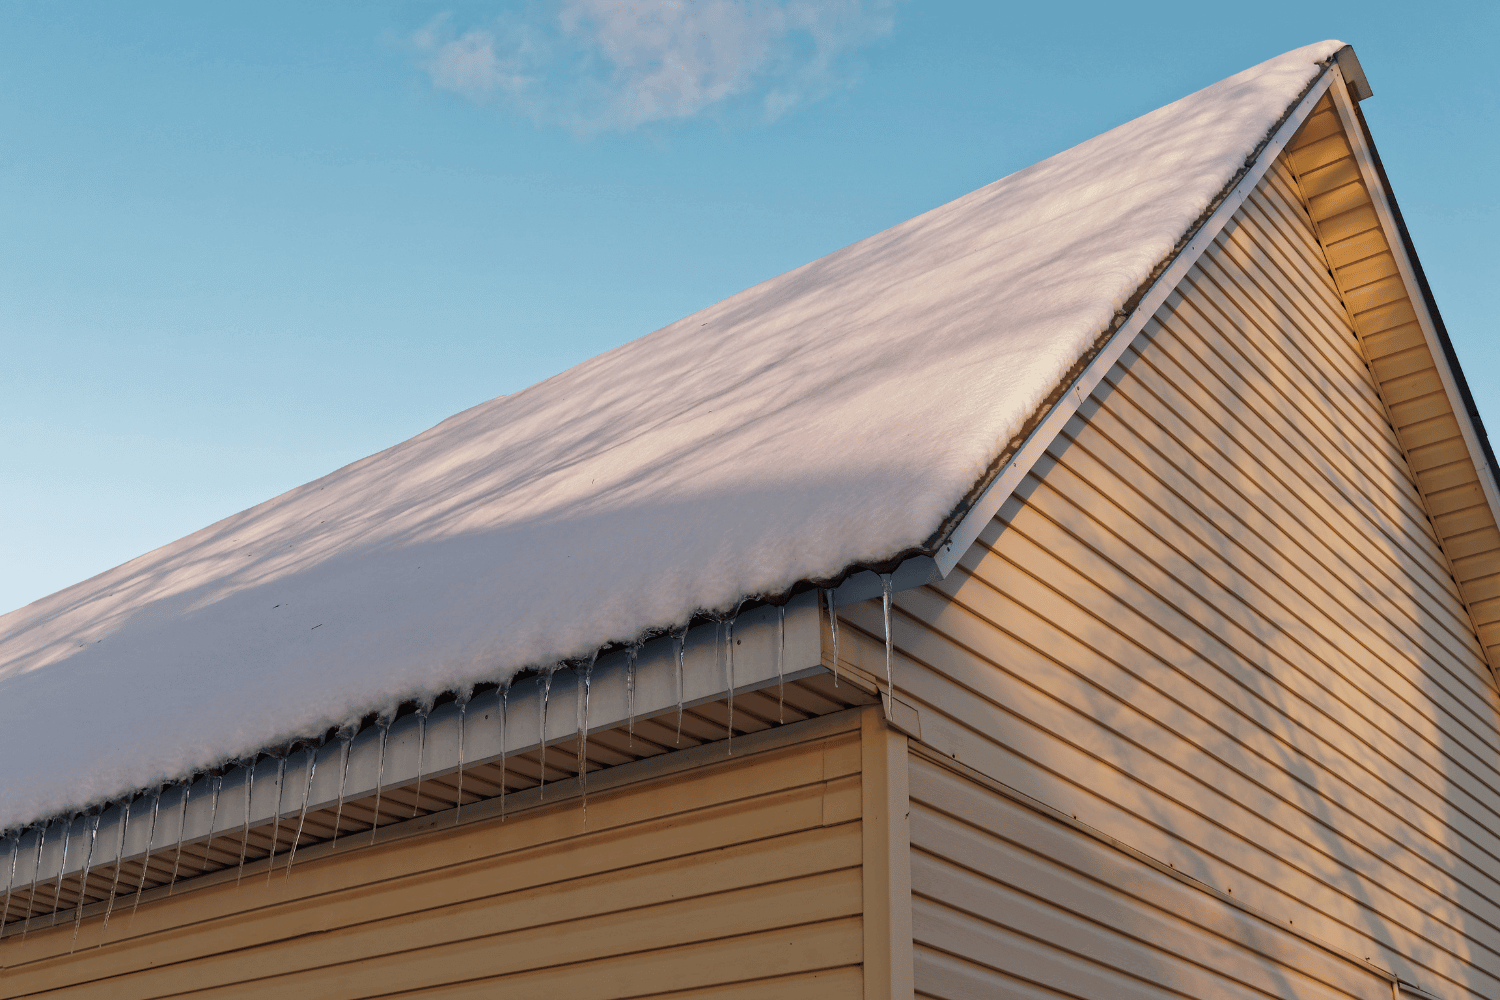
A close-up view of a roof’s edge showcasing the drip edge installation.
A drip edge is a strip of metal flashing installed along the roof’s edge to guide water away from the roof and its underlying structures. Drip edges prevent water from seeping into vulnerable areas, avoiding wood rot, leaks, and other forms of water damage. This simple yet effective solution, known as drip edge flashing, is crucial in maintaining the longevity of your roof. To ensure proper water drainage, it is essential to install drip edge flashing and consider the roof drip edge.
Think of drip edges as the guardians of your roof deck. Without them, water could easily run down the fascia or seep under the shingles, leading to significant damage over time. They are also a must-have according to many building codes, ensuring that homes are adequately protected from water infiltration. In fact, most jurisdictions in the United States require drip edge installation as per the International Residential Code (IRC).
In addition to managing water runoff, drip edges also contribute to pest control. They help keep pests from infiltrating the roof space, adding an extra layer of protection to your home. In essence, without a drip edge, your roof is left vulnerable to a multitude of potential issues.
The Role of Drip Edges in Roofing Systems

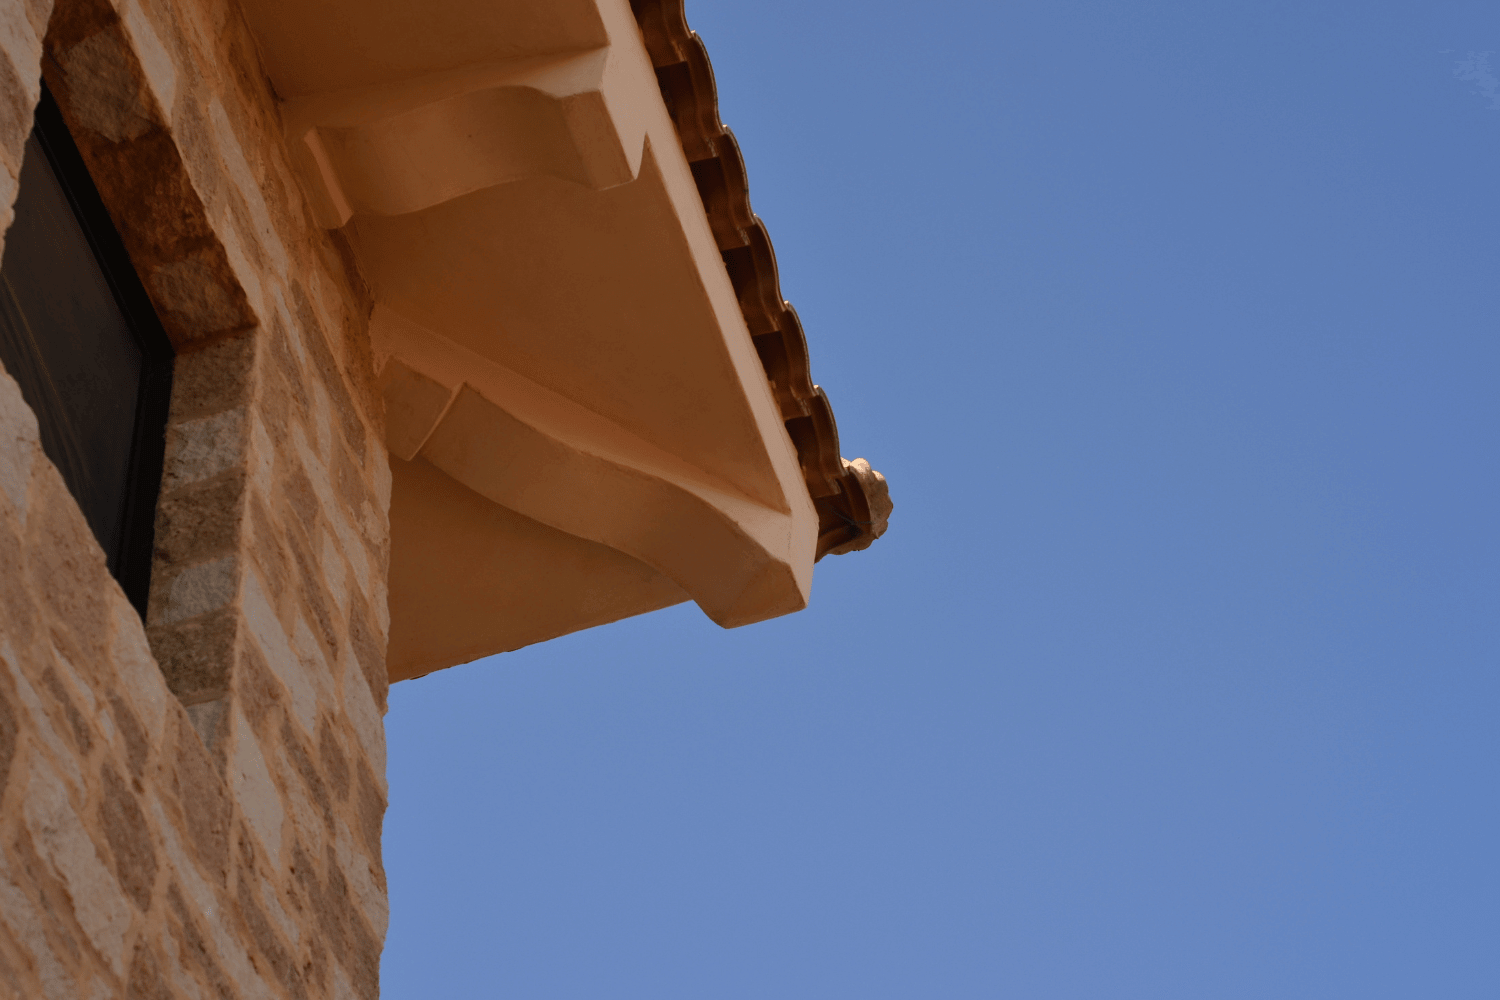
Illustration of how drip edges protect a roofing system from water infiltration.
Drip edges are integral to a well-functioning roofing system. They act as a barrier, preventing water from getting behind the gutters and safeguarding the fascia and roof deck from water infiltration. This is especially important during heavy rains and storms when water can be driven by the wind under the shingles and into the roof structure. Roof drip edges reduce moisture exposure and prevent damage to the fascia and soffit by directing water into the gutters.
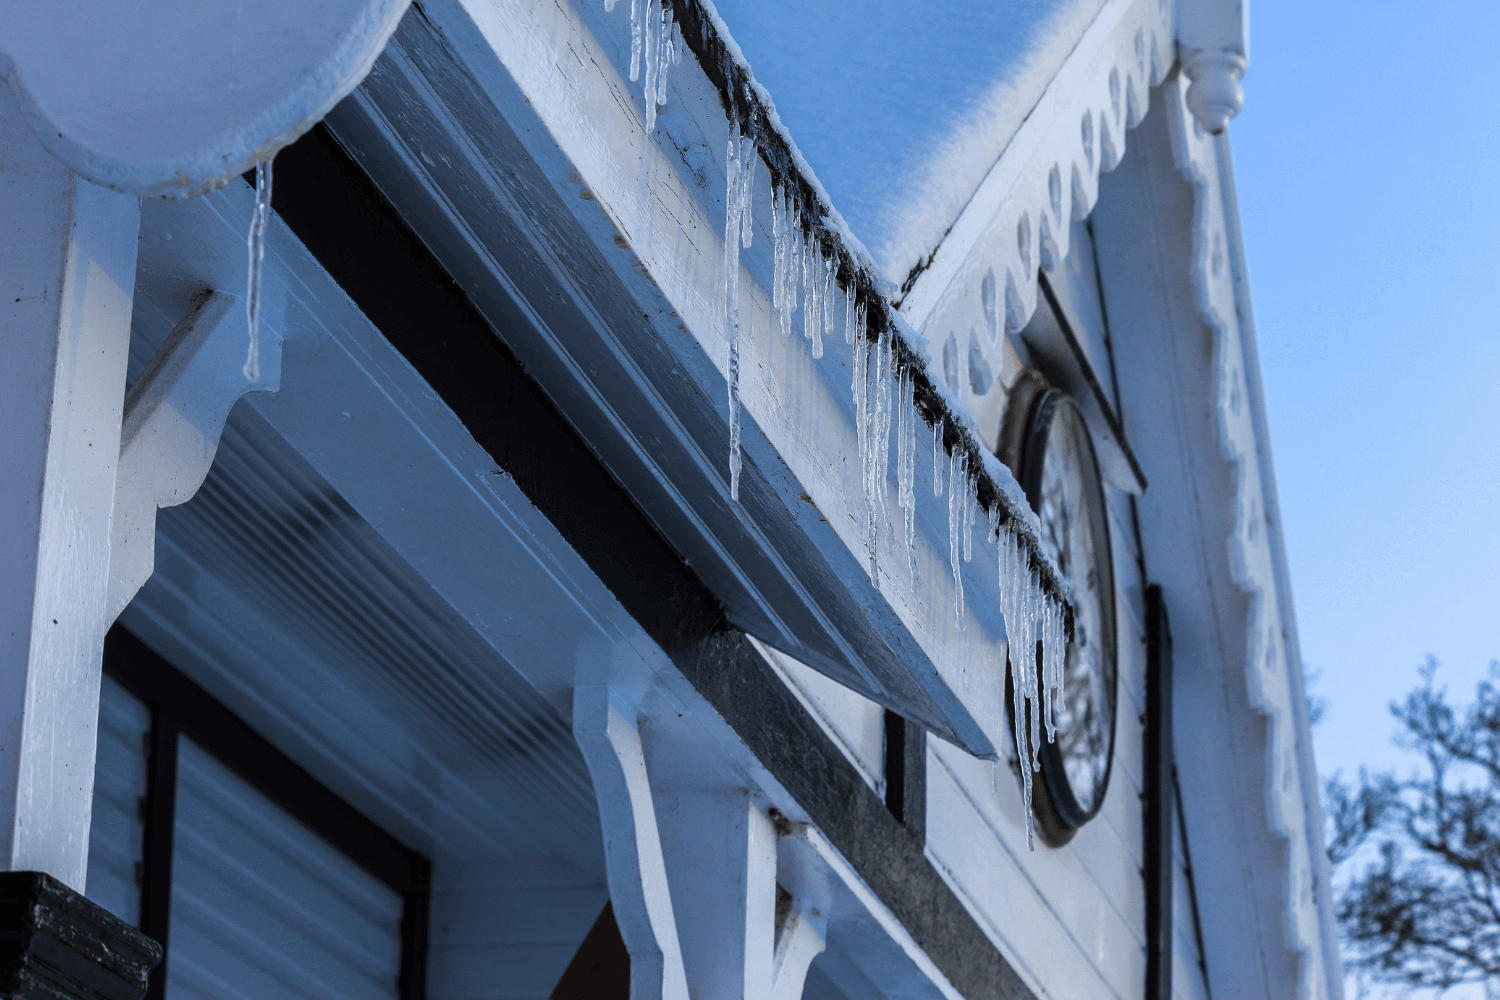
Without properly installed drip edges, rainwater can drip behind the gutters, leading to potential damage to the soffit boards and siding. This water can also run down the fascia boards, causing leaks and further structural issues. Moreover, damaged or missing drip edges can lead to more severe problems like ice dams in winter, which can cause additional roof damage.
In protecting the roof deck and underlayment, drip edges ensure the overall integrity of the roofing system and roof decking. This protection extends to all types of roofing materials, from asphalt shingles to metal roofs, and is a crucial aspect of any roofing project, whether it’s a new installation or a roof replacement.
Types of Drip Edge Profiles
Drip edges come in three primary profiles: Type C (L-Style), Type D (T-Style), and Type F. Each drip edge profile has unique characteristics that cater to different roofing needs and preferences. Understanding these types will help you choose the right drip edge for your specific roofing project.
Let’s delve into the details of each profile.
Type C (L-Style)
The Type C drip edge, also known as the L-Style, features a simple L-shaped profile. This design is particularly effective in guiding water away from the roof edge, thus preventing water penetration at the roof’s edge. Its straightforward shape makes it a popular choice for many roofing projects, ensuring that water is efficiently channeled away from the roof and underlying structures.
Despite its simplicity, the L-Style drip edge provides robust protection against water damage. It helps maintain the structural integrity of the roof and prevents issues like rot and mold growth by keeping water away from the fascia and roof deck.
Type D (T-Style)
The Type D drip edge, also known as T-Style, is designed in the shape of the letter T. It includes an extra flange that extends beneath the roofing material. This design is particularly effective in directing rainwater further away from the fascia, making it a superior choice for residential roofs. The lower flange aids in preventing water from being blown back onto the fascia by the wind, thus reducing moisture damage.
The T-Style drip edge is highly recommended for its effectiveness in water diversion. Its design ensures that water is kept away from vulnerable areas of the roof, thus enhancing the overall protection of the roofing system.
Type F
Type F drip edges are typically used for finished roofs and feature a longer leading edge. This extended edge provides additional protection by directing water further away from the fascia and roof edge. The F-Style drip edge is particularly beneficial for installations on finished roofs where an extended feature is advantageous.
In addition to its functional benefits, the F-Style drip edge offers aesthetic appeal. Aluminum is a popular material choice for this type due to its flexibility and the ability to match various house colors through painting.
Materials Used in Drip Edges

Various materials used in drip edges including galvanized steel and aluminum.
Drip edges are made from various materials, each offering unique benefits and suited to different roofing needs. Common materials include plastic, vinyl, fiberglass, aluminum, and galvanized steel. The choice of material can significantly impact the effectiveness and longevity of the drip edge.
Let’s explore the specific properties of some of these materials in the following subsections.
Aluminum
Aluminum is a preferred material for drip edges due to its durability and lightweight characteristics. Its corrosion resistance makes it ideal for various climates, including those with harsh weather conditions. The lightweight nature of aluminum also facilitates easier installation, making it a popular choice among roofing professionals.
Moreover, aluminum drip edges are versatile and compatible with a wide range of roofing materials. This flexibility ensures that aluminum can be used effectively in diverse roofing projects, providing reliable protection against water damage.
Galvanized Steel
Galvanized steel is recognized for its durability. It is also praised for its strength. The zinc coating on galvanized steel provides excellent rust protection, making it suitable for use in areas with high moisture levels. This material is ideal for protecting roofs in moist environments, ensuring long-lasting performance and durability.
The robustness of galvanized steel makes it a reliable choice for drip edges, particularly in regions prone to strong winds and heavy rainfall. Its ability to withstand such conditions ensures that the roof remains protected from water infiltration and structural damage.
Copper
Copper drip edges offer a classic and elegant appearance, enhancing the overall look of a roofing system. Copper’s natural resistance to corrosion and weather makes it a highly durable material, providing long-lasting performance in roofing applications. Over time, copper develops a protective patina that adds to its aesthetic appeal and further enhances its durability.
The combination of beauty and functionality makes copper a premium choice for drip edges. Its ability to withstand the elements while maintaining its visual appeal makes it an excellent investment for any roofing project.
How to Install Drip Edges

Step-by-step guide on how to install a drip edge on a roof.
Installing drip edges is a critical step in ensuring the overall protection of your roofing system. The best time to install a new drip edge is during roof replacement. Before starting the installation, it’s essential to consult local building codes to ensure compliance. You will need several tools to install drip edges. These include a ladder, flat pry bar, hammer, galvanized roofing nails, tin snips, and eaves stripping.
Begin by installing the roof drip edge installation on the eaves first to ensure proper drainage into the gutters. Secure the drip edge with nails placed every 12 inches to maintain its position. Overlap each section of the drip edge by at least 2 inches to ensure a continuous barrier against water. Make necessary cuts at corners where rakes and eaves meet to ensure proper fitting of the drip edge.
After installing the drip edge on the eaves, proceed to the rake edge after the underlayment is in place. Ensure that the lower flange of the drip edge extends two to four inches for effectiveness against wind-driven rain. Confirm that the drip edge extends beyond the fascia for proper drainage.
Following these steps ensures effective installation and long-term protection for your roof.
Signs Your Drip Edge Needs Replacement
Several signs indicate the need for drip edge replacement:
-
Rotten fascia
-
Discoloration
-
Peeling
-
Soft or moldy fascia
Ceiling water damage can also signal roofing problems, suggesting that it’s time to check the condition of the drip edge. Leaks behind the drip edge, often caused by clogged rain gutters and downspouts, are another sign that replacement may be necessary.
Visible damage such as rust or corrosion on the drip edge indicates that it may no longer be effective and needs replacement. A perforated nail flange can also be a potential cause of a roof leak, indicating the failure of the drip edge’s function.
Regular inspection of your drip edges can help identify these issues early, preventing more significant damage to your roofing system.
Benefits of Installing Drip Edges

Benefits of installing drip edges on a roofing system.
Installing drip edges offers numerous benefits, primarily by preventing water from getting trapped behind gutters. This is a significant cause of water damage, and drip edges help mitigate this risk. They also improve the lifespan of the roof by preventing water from running beneath shingles, thus reducing the likelihood of rot and mold growth.
Drip edges also play a crucial role in pest control, minimizing the gaps where pests can enter the roof space. They block the nesting of birds and other wildlife, providing additional protection for your home. Moreover, all types of drip edges provide similar levels of protection, making the choice often based on aesthetics rather than functionality.
Copper drip edges, for instance, are appreciated for their premium appearance and the attractive patina that develops over time, enhancing aesthetic value. Regardless of the material, drip edges and drip metal offer protection from severe weather and additional damage to roofing structures.
Common Mistakes to Avoid During Drip Edge Installation
Avoiding common installation mistakes is crucial to ensure the effectiveness of drip edges. One such mistake is installing the drip edge too close to the fascia, which can cause water to seep back onto the fascia board instead of flowing into the gutters. Shingles should extend over the drip edge by about 3/8 to 1/2 inch to prevent water from being drawn back under the shingles.
Proper nail spacing is also essential for securing the drip edge; nails should be placed 8-10 inches apart to maintain the drip edge’s integrity. When connecting two sections of the drip edge, ensure they overlap by at least 2 inches to create a continuous barrier against water.
Selecting an inappropriate drip edge for your climate, such as a narrow design in a rainy area, can also hinder its effectiveness. Avoiding these mistakes will ensure that your drip edges provide the maximum protection for your roof.
Summary
In summary, drip edges are essential components of any roofing system, providing critical protection against water damage and pests. They come in various profiles and materials, each suited to specific needs and preferences. Proper installation and regular maintenance of drip edges can significantly extend the lifespan of your roof and prevent costly repairs.
By understanding the types, benefits, and installation tips for drip edges, homeowners and contractors can ensure that their roofs remain resilient against the elements. Investing in quality drip edges is a small step that can make a big difference in the overall health and longevity of your roofing system.
Frequently Asked Questions
Do you need drip edge with shingles?
Yes, a drip edge is essential for shingles, as it helps direct water away from your roof and prevents potential damage. Installing a drip edge is also a requirement under most building codes to ensure proper roof protection.
Where should drip edge be installed on a roof?
Drip edge should be installed along the eaves and rakes of the roof, ensuring proper overlap with the flashing for optimal water drainage. This prevents moisture damage and enhances the durability of your roofing system.
What is the difference between flashing and drip edge?
Flashing is used to protect roof areas where surfaces meet vertical structures, while drip edge is a specific type of flashing installed at the roof’s edges to channel water away from the fascia. Both are essential for effective water management on a roof.
Is a drip edge on a roof necessary?
Yes, a drip edge is necessary for roofs as it is highly recommended by roofing contractors and mandated by building codes like the International Building Code (IBC) for both eaves and gables. It helps protect the roofing structure from water damage.
What is a drip edge, and why is it important?
A drip edge is essential for directing water away from your roof and protecting underlying structures from moisture-related damage, such as wood rot and leaks. Investing in a drip edge enhances the longevity of your roofing system and maintains the integrity of your home.

