Summer Siding Replacement Timeline: From Inspection to Final Walkthrough
Summer Siding Replacement Timeline: From Inspection to Final Walkthrough
Summer can be a practical time to replace siding in Mid-Missouri, but the project does not begin when the first panel comes off the wall. Inspection, material selection, measurements, delivery, weather, and repair discoveries all affect the schedule.
A useful timeline explains the sequence without promising an exact installation date before the home and material choice are known.
Step 1: Inspect the Existing Exterior
The first visit should document the siding material, damaged elevations, trim, windows, soffit, fascia, penetrations, and visible water concerns. The contractor should separate cosmetic wear from functional problems and explain whether targeted repair is still reasonable.
Photos and measurements from this visit become the starting scope. If storm damage is involved, keep those records separate from ordinary age or maintenance observations.
Before that first visit ends, ask that the inspection cover each siding-relevant surface, not just the damaged wall. A complete siding inspection should document: the siding material and its current fastening, every elevation rather than only the worst one, trim and J-channel condition at corners and openings, soffit and fascia where they meet the siding at the wall top, visible water staining or swelling near windows and doors, soft or spongy spots that can indicate sheathing damage behind the siding, and any prior patch or repair lines that may hide older problems. Photos taken wall-by-wall at this stage become the reference point if hidden damage is found later during tear-off.
Step 2: Choose Material, Profile, and Color
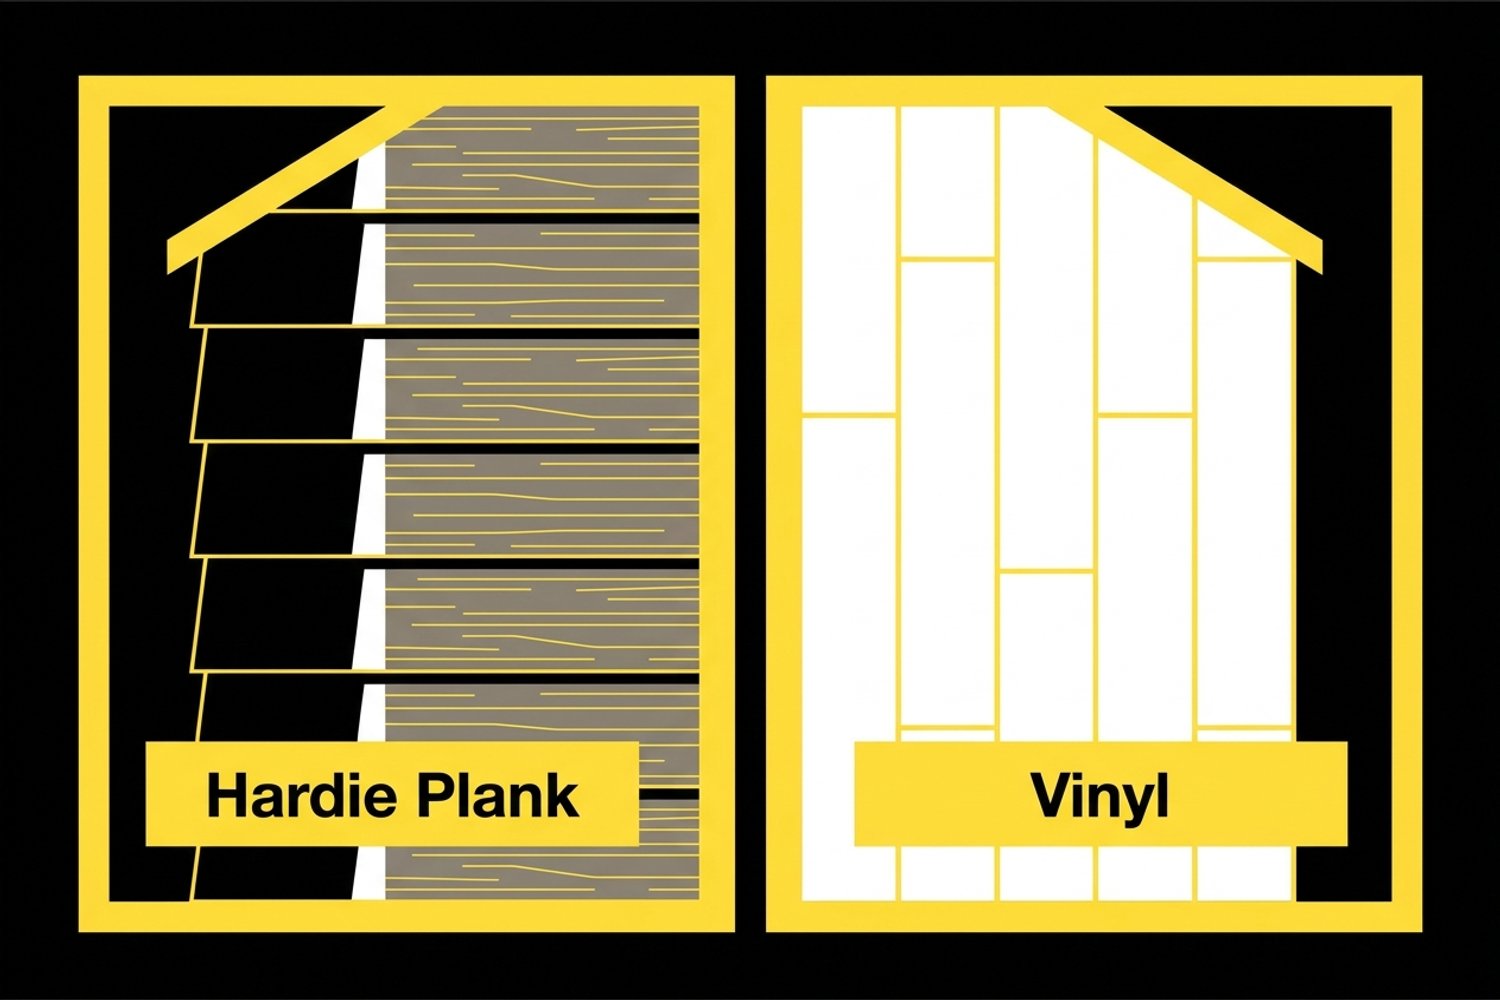
Vinyl, fiber cement, and engineered wood have different installation details, lead times, maintenance needs, and trim systems. Color and profile choices can also affect availability. A final order should be based on measured quantities and a written scope, not a rough guess from the street.
Ask which trim, starter strips, flashing, house-wrap repairs, and accessories are included. Those details affect both the appearance and the water-shedding system.
The written siding estimate is what turns the inspection into an actionable project. A clear proposal should list the siding product and manufacturer, the profile and color, the measured linear feet and square footage per elevation, the trim and accessory items included (starter strip, J-channel, corner posts, window and door wrap, vent blocks), the house-wrap and flashing work, the scope for any soffit, fascia, or sheathing repair that is anticipated, the disposal of the old siding, and the warranty terms for both material and workmanship. If any of those lines are missing or labeled “allowance,” ask what happens to the price if the actual quantity is higher once the wall is open.
Step 3: Confirm Delivery and Site Preparation
Installation should be scheduled after the required materials are confirmed. Before work starts, homeowners can move patio furniture, grills, planters, and fragile decorations away from the walls. Inside, remove items that could be affected by vibration near exterior walls.
The crew also needs clear access for materials and debris. Discuss pets, gates, vehicles, landscaping protection, and any area where a downspout or utility line may limit access.
Why the Material Order Is a Separate Step
It is common to assume installation can start a few days after the estimate is signed. In practice, the material order is its own gate. After the written scope is approved, the siding, trim, and accessories are ordered from the manufacturer or distributor, and the order has to be confirmed before a delivery date is set. Custom colors, longer lengths, and certain profiles can add lead time, especially during the busy summer season.
This means a realistic siding schedule usually looks like: inspection and written estimate, then order approval, then material manufacturing or fulfillment, then confirmed delivery to the site, then installation. A contractor that gives you an install date before the order is confirmed is guessing. Ask for the delivery confirmation in writing so the install date is based on material actually in hand, not an estimate.
Step 4: Remove Siding and Check What Is Behind It
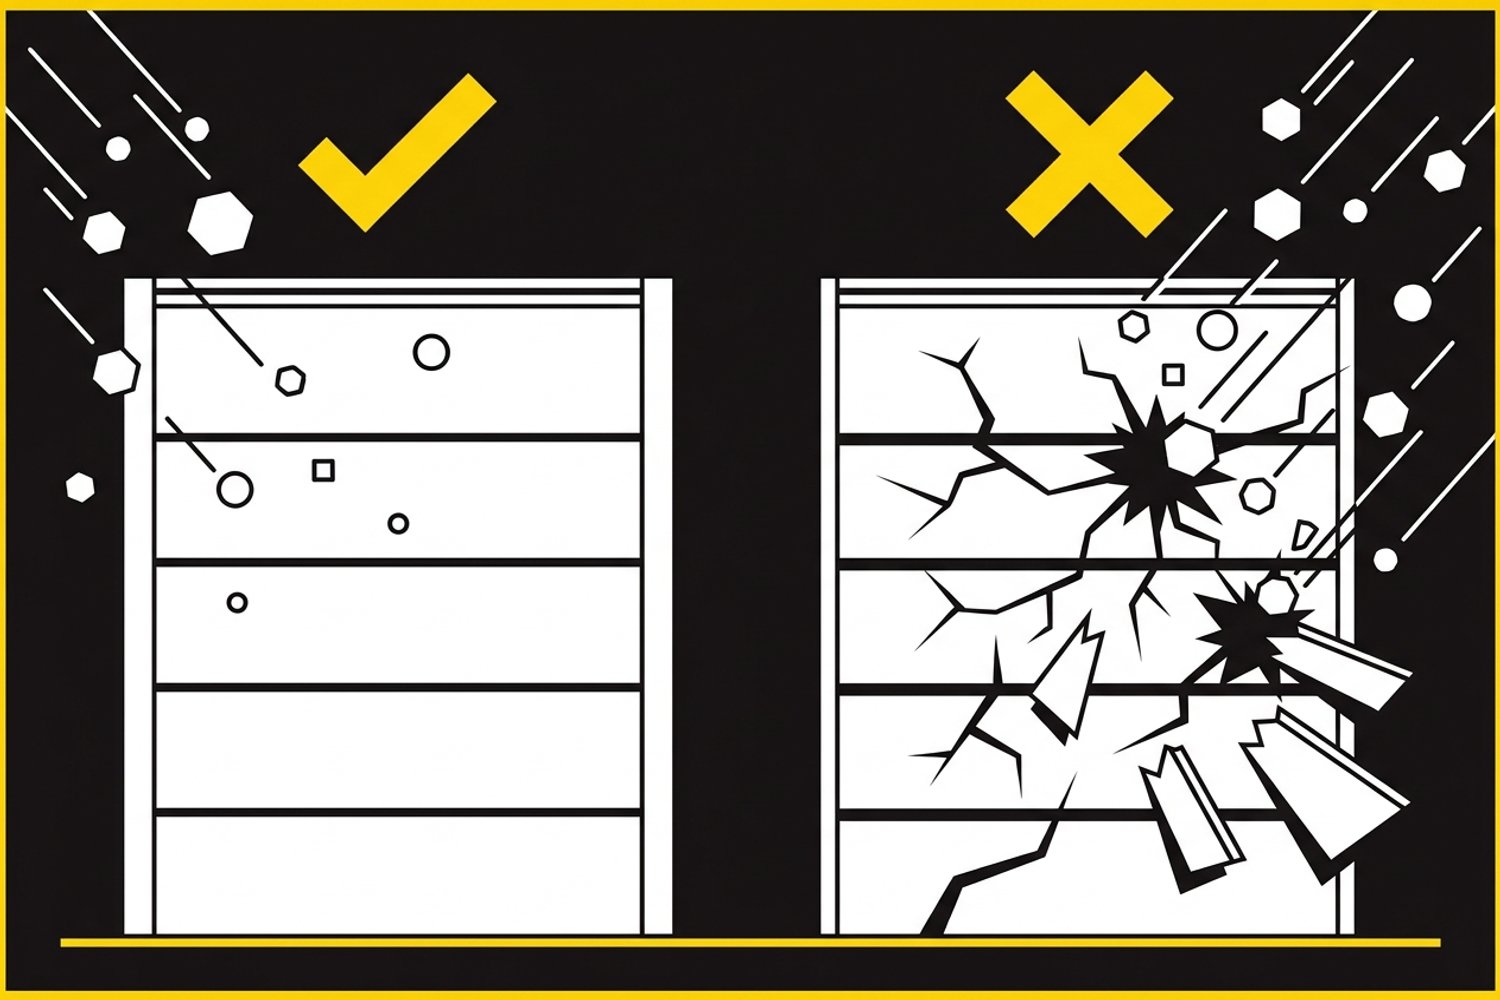
Tear-off can reveal soft sheathing, missing flashing, deteriorated trim, or old water paths that were not visible during the estimate. A compliant process pauses to document the condition and explain the change before covering it.
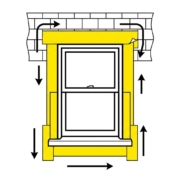
House wrap and flashing should be repaired or integrated so water sheds outward. New siding should not be used to hide a wet or damaged substrate.
Step 5: Install the Siding System
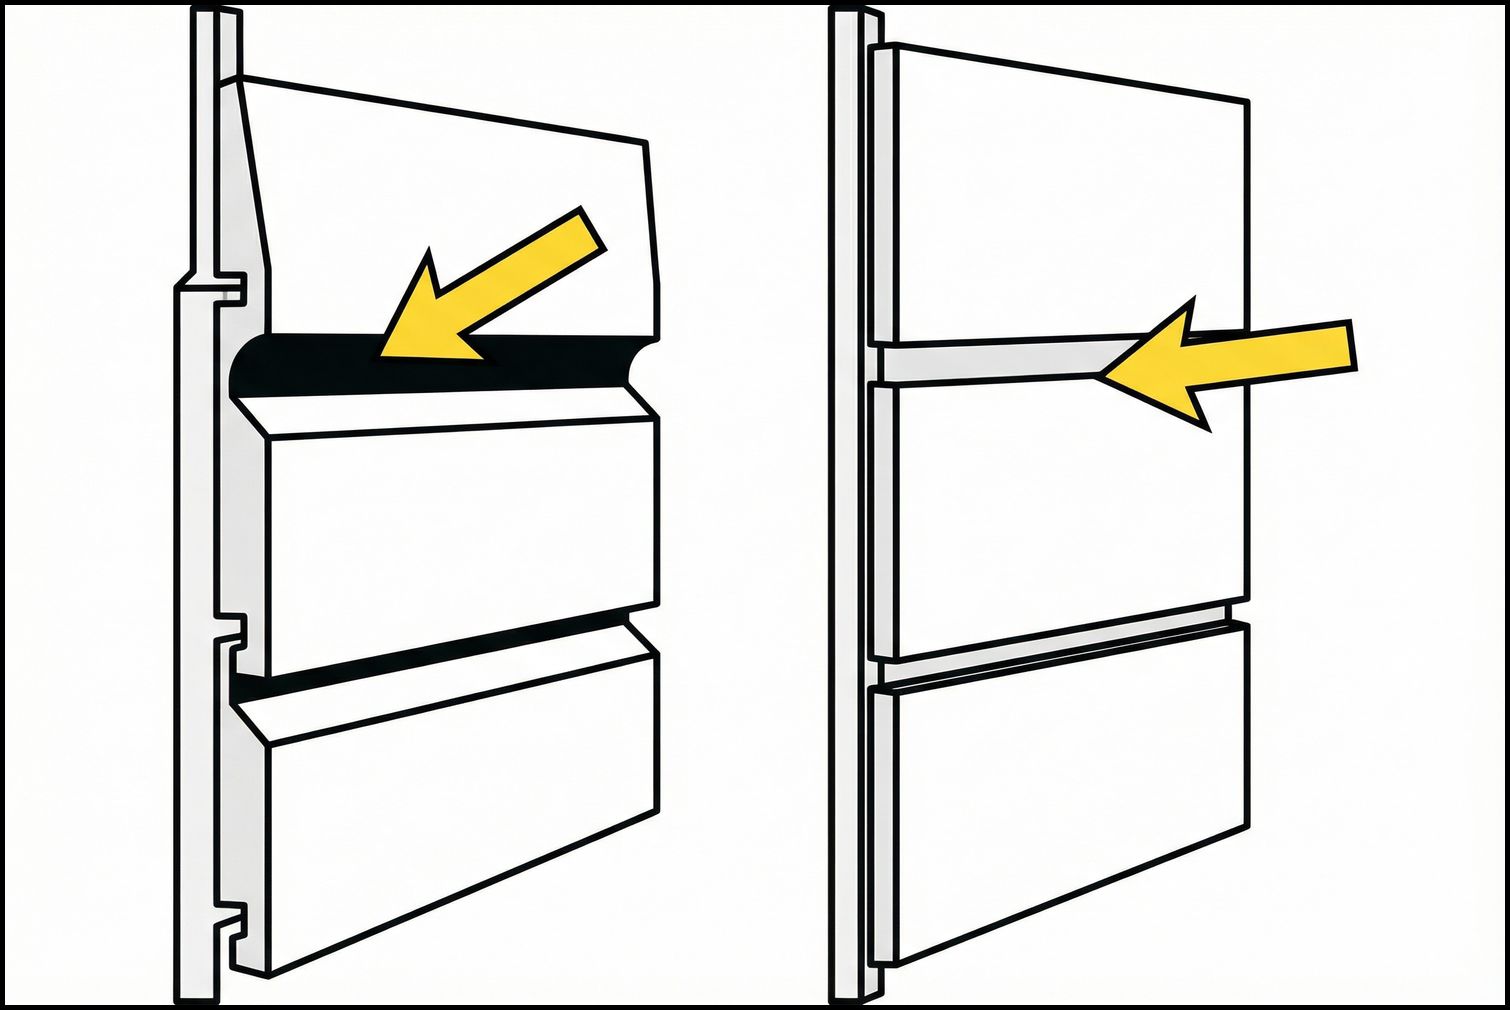
The crew installs starter components, corners, trim, flashing details, and siding according to the selected product. Vinyl siding must be fastened so it can move with temperature changes rather than being pinned tight. The VSI Preparation and Flashing Guidance calls for a smooth substrate, a continuous water-resistive barrier, and code-compliant flashing integrated around openings before siding is installed. Fiber cement and engineered wood have their own fastening, clearance, and finishing requirements.
Summer heat can change material handling and crew timing. It does not replace the manufacturer’s installation instructions or good judgment about storms and unsafe working conditions.
Step 6: Complete the Final Walkthrough
The walkthrough should cover trim alignment, penetrations, caulked joints, siding movement, cleanup, gutters and downspouts that were removed and reset, and any scope changes discovered during tear-off. Homeowners should receive a plain explanation of care and warranty steps.
What a Siding Final Walkthrough Should Cover
The final walkthrough is where incomplete or damaged work gets caught before final payment. Walk the exterior with the contractor, elevation by elevation, and confirm each item before signing off. A useful siding punch list checks: siding panels seated fully into J-channel and corner posts with even reveal, trim and J-channel cleanly cut and fastened at openings, caulked joints continuous around windows, doors, and penetrations, color and panel run direction consistent across each wall, no fasteners over-driven or visible on the siding face, soffit and fascia that were part of the scope reinstalled tight and aligned, flashing and house wrap repairs that were added during tear-off pointed out and explained, cleanup complete with no loose nails, offcuts, or debris, and a written care and warranty summary including who to call if a panel is damaged later.
If an item is not finished, it should be written on the punch list with a date, not left to memory. A short, dated punch list protects both the homeowner and the contractor.
What Can Change the Timeline?
- Material or color availability.
- Storms, high winds, or unsafe heat.
- Hidden sheathing, flashing, or trim repairs.
- Changes to windows, soffit, fascia, or gutters in the same scope.
- Access limitations around landscaping, utilities, or neighboring property.
A contractor should communicate those variables rather than offer a precise duration before the scope is settled.
Helpful Related Resources
Planning a Summer Siding Project?
CoMo Premium Exteriors can inspect the current exterior, document the scope, and explain the sequence before materials are ordered. Call (573) 284-3227 or Request an Inspection.