Essential Tools for Vinyl Siding Installation: Your Complete Guide
Are you planning to install vinyl siding on your home or building? The right tools for vinyl siding can make all the difference in the success and efficiency of your project. In this blog post, we’ll guide you through the essential tools, instruments, and techniques that will help you achieve a professional-quality vinyl siding installation. Let’s get started!
Key Takeaways
- Essential vinyl siding tools, precision measuring and leveling instruments, fastening and cutting solutions, safety gear for installation, advanced siding tools for professionals and trim & accessories are must-haves for successful vinyl siding installation.
- Precision measuring & leveling instruments ensure a successful install while nail guns & snips provide effective fastening & cutting solutions.
- Professional contractors can increase efficiency with advanced tools such as the Precision Siding Tool or Snap Lock Punch (SL8R).
Essential Vinyl Siding Tools: The Must-Haves

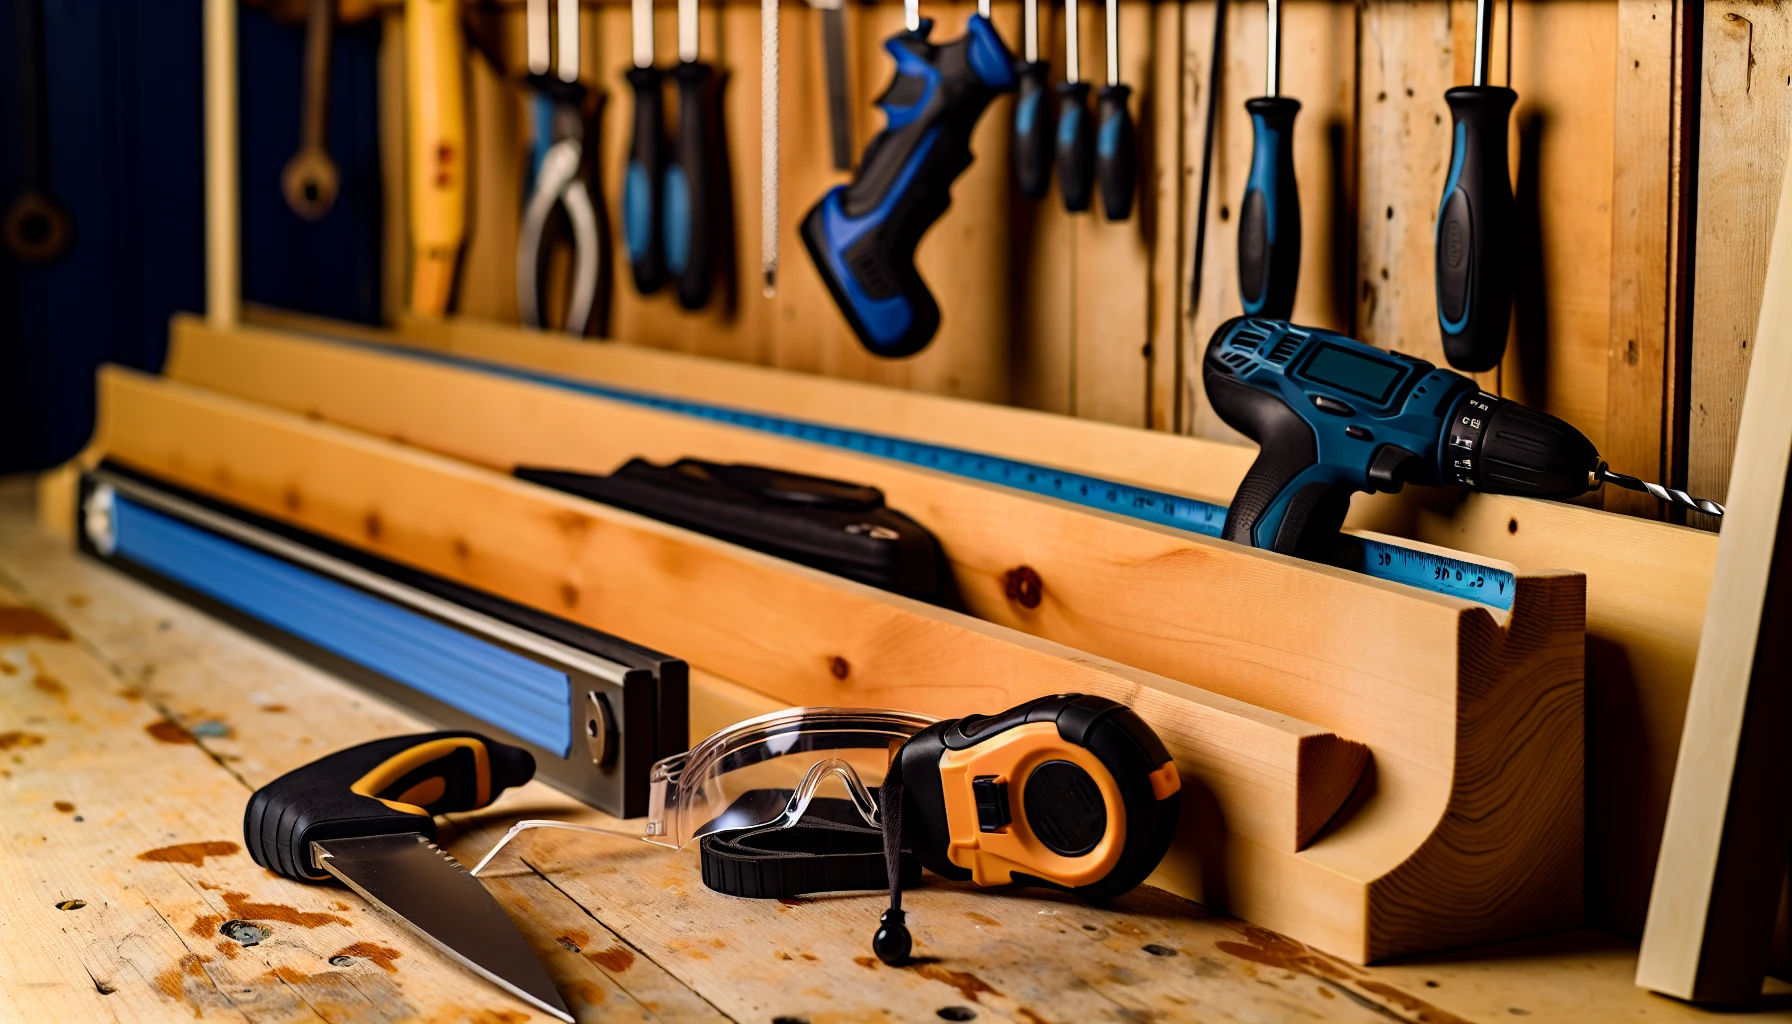
Various essential vinyl siding tools laid out on a workbench
Beginning your vinyl siding installation project requires a select set of tools that will guarantee an efficient process. One such essential tool is the Vinyl Siding TurboShear (TSV1), a powerful and lightweight cutting tool specifically designed for vinyl siding. With its ability to cut through vinyl siding quickly and accurately, the TSV1 is a must-have for both contractors and DIY enthusiasts.
Another indispensable siding tool is the SideSwiper® II Vinyl Siding Removal Tool (SRT2). This steel tool features:
- An ergonomically designed handle
- A secure, non-slip textured grip
- Efficient removal of vinyl siding
- An angled blade suitable for removing fiber cement siding
This claw hammer adds versatility to your toolkit.
J-Channel Cutters are also indispensable for a successful siding installation. These specialized tools make it easy to create drain tabs, downstream notch cutouts, and miter trim cuts in vinyl channel. When combined with other essential tools, such as an angle grinder, aviation snips, pneumatic nibbling tool, utility knife, jigsaw, circular saw, and tin snips, you’ll have a comprehensive set of tools to tackle any vinyl siding job.
Precision Measuring and Leveling Instruments

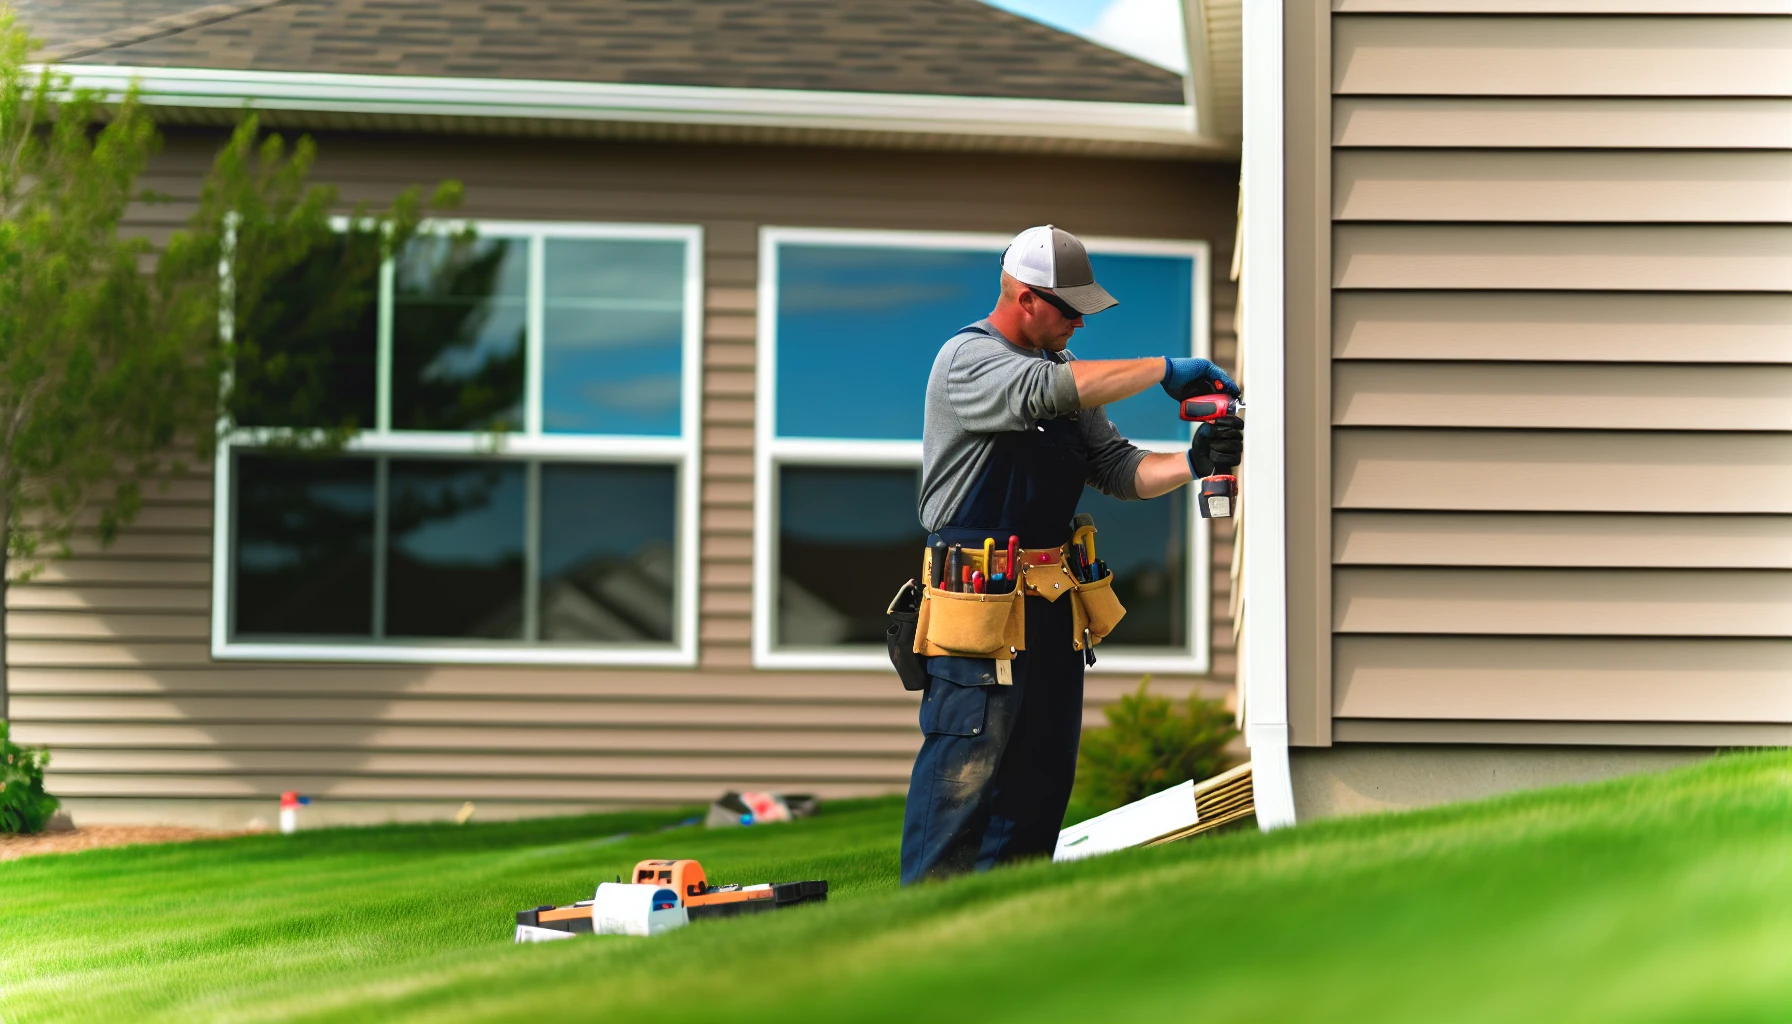
Contractor using a level while installing vinyl siding
Accurate measurements and leveling significantly contribute to a successful siding installation. Precision measuring and leveling instruments, such as levels, tape measures, and chalk lines, ensure that your siding panels are properly aligned and installed. An electric drill can also come in handy for drilling holes and fastening siding materials.
Continuous level checks are extremely important during vinyl siding installation. Even a small misalignment at one point can lead to major complications further along in the project, including issues with proper water drainage. Utilizing a chalk line provides a visible guide for a straight line without causing any permanent markings, making it an essential tool for siding installation.
Another useful tool for siding installation is the Precision Siding Tool, which eliminates the need for repeatedly attaching and re-attaching the tool for each course of siding. This tool is particularly helpful when installing siding around windows or obstructions, ensuring the horizontal line is transferred to the next course to be applied. In addition to the Precision Siding Tool, other siding tools can also be beneficial for a successful installation.
Fastening and Cutting Solutions

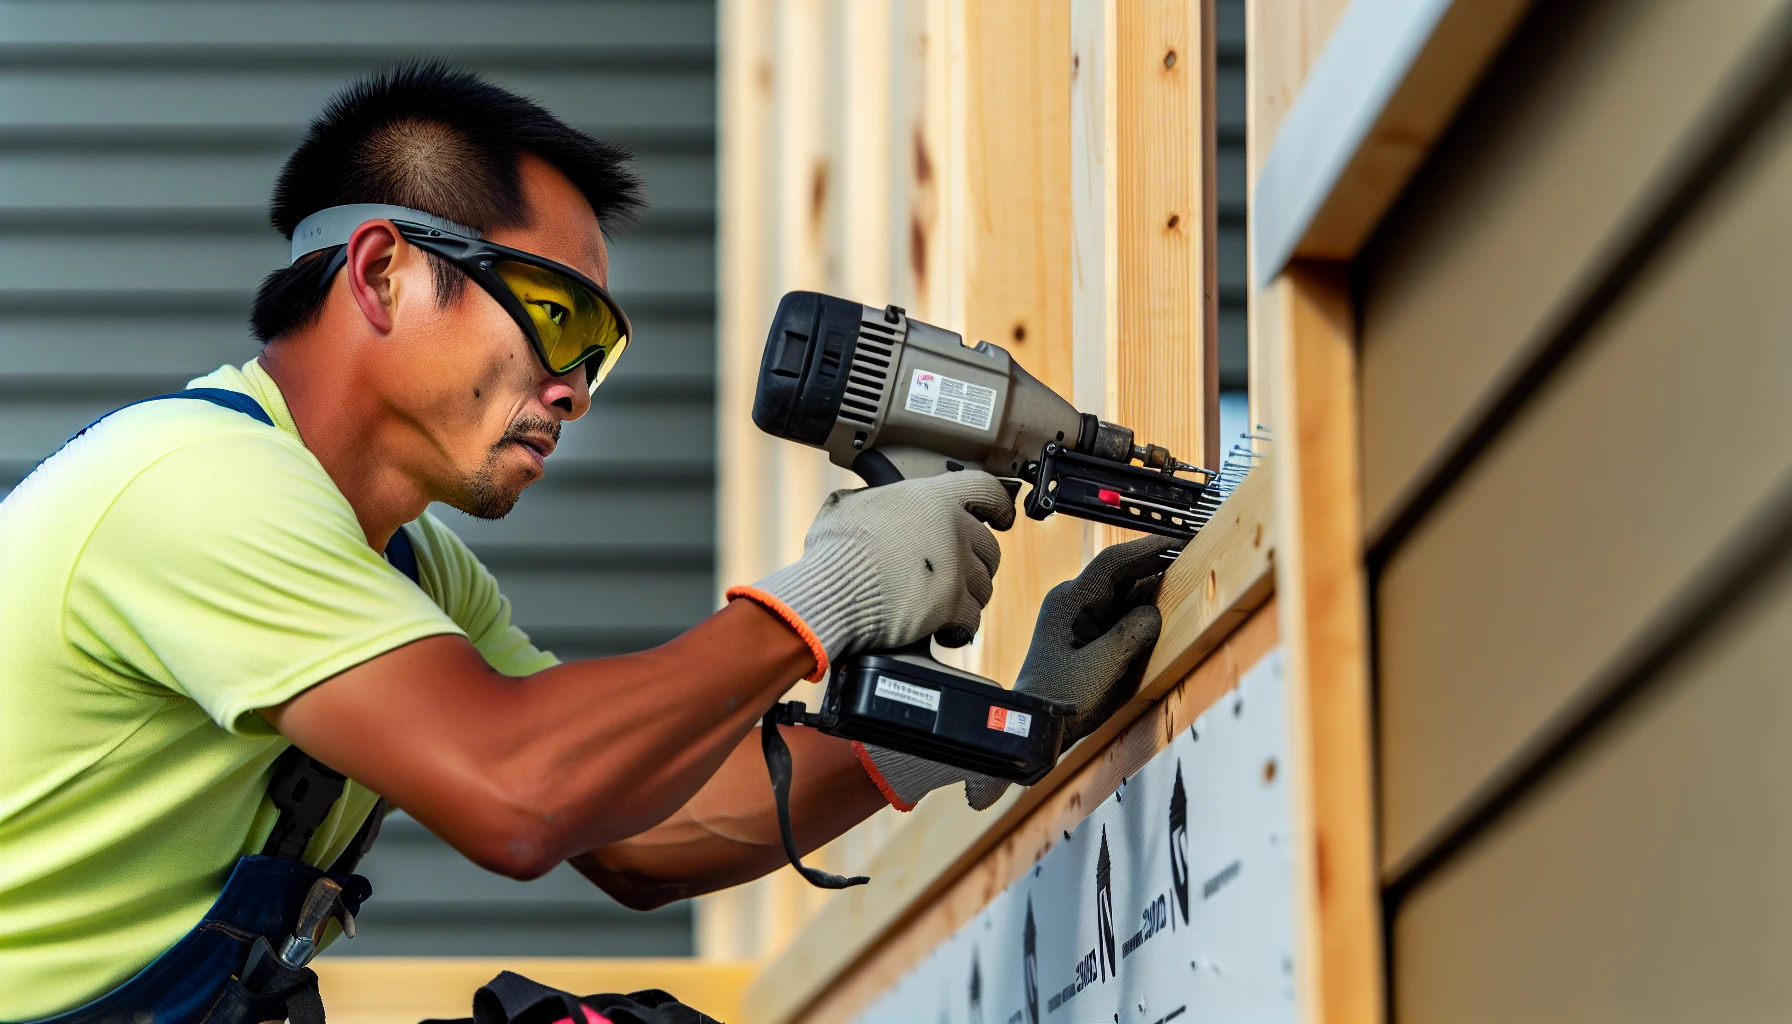
Close-up of a worker using a nail gun for fastening siding panels
Effective fastening and cutting solutions are key for vinyl siding installation. Some necessary tools and nailing materials for successful siding installation include:
- Nail guns
- Snips
- Utility knives
- J-Channel Cutters
These tools ensure a tight fit and accurate cuts for siding panel installation. Additionally, a butt lock can be used to secure the ends of siding panels together, providing a seamless finish.
Using the correct type of saw blade is necessary when cutting vinyl siding. A fine tooth blade with 12 to 16 teeth per inch is recommended for achieving precise cuts. The same procedure can be used for cutting other siding materials, such as fiber cement, with the appropriate blade.
Snap lock punches are an essential tool for siding installation. They are designed to create “ears” or “lugs,” which act as a locking mechanism for the siding panels. They can also be used to punch lugs or holes in the cut edges of siding for the finishing course at the top of a wall or underneath a window.
Safety Gear for Siding Installation
Prioritizing safety is fundamental during vinyl siding installation. Utilizing appropriate safety gear protects workers from potential risks and ensures compliance with safety regulations. According to OSHA requirements, employers involved in residential construction must adhere to prescribed fall protection measures and provide appropriate personal protective equipment (PPE) for their workers.
Essential safety gear for siding installation includes head protection (hard hat or helmet), eye protection (safety glasses or goggles), face protection (face shield), foot protection (sturdy work boots), hand protection (gloves), hearing protection (earplugs or earmuffs), and fall protection (harness and safety lanyard). The most suitable gloves for siding installation are Ironclad EXOT Series Tactical Operator Impact gloves, Carhartt A518 leather work gloves, and SHOWA Atlas gloves. Always ensure that the safety equipment used is suitable for the job and compliant with safety regulations.
Advanced Siding Tools for Professionals
For professional contractors aiming to enhance efficiency and accuracy, advanced siding tools such as the Precision Siding Tool, siding gauges, and a tape measure can contribute significantly to the installation process. The Precision Siding Tool enables a one-person installation of siding planks and accurately measures a standard 1-1/4-inch overlap, streamlining the siding application.
The Snap Lock Punch for Vinyl Siding (SL8R) is another advanced tool designed to work with the nail hem slot, ensuring:
- Raised tabs to increase surface area and secure against potential dislodgement during periods of strong wind and pressure
- RedLine Handles feature user-friendly design, offering an advantage of 7:1 mechanical advantage
- This makes it easy to work with the SL8R while siding installation, ensuring both comfort and strength is achieved.
J-Channel Cutters are also available in three sizes (1/2”, 5/8”, and 3/4” channels) and feature graduations on the upper jaw for measuring tab or notch depths ranging from 3/8” to 1-1/4”. These advanced tools help ensure a professional-quality siding installation that will leave your customers satisfied.
Finishing Touches: Trim and Accessories
An impeccable siding installation incorporates finishing elements like:
- J-channels
- Corner posts
- Soffit
- Trim frames
These accessories can enhance the overall look of vinyl siding, concealing seams and providing architectural accents to corners, windows, and doors. They improve the look of the siding and contribute to the overall aesthetic of the structure.
Popular trim types for vinyl siding installation include lumber clad with aluminum and extruded trim such as PVC. It’s important to choose exterior trim that complements the style and appearance of your vinyl siding, as well as enhances the features of your home’s exterior.
When installing trim and accessories, steer clear of common mistakes such as:
- Nailing the siding too tightly
- Misalignment
- Failing to create adequate overlap
- Neglecting to use sill trim at the soffits
- Not following manufacturer guidelines
Attending to these details will result in a professional and impeccable finish for your vinyl siding installation.
Installation Tips and Techniques
For a successful vinyl siding installation, adhere to these tips and techniques:
- Avoid caulking the panels where they meet the receiver of inside corners, outside corners, or J-trim.
- Use galvanized roofing nails to secure the siding in place and withstand weather conditions.
- Prepare a smooth surface before installing the siding.
- Take into account the expansion and contraction of the vinyl siding.
- Attach two J-channels back-to-back at the same diagonal cut where the corner joists meet.
When it comes to installing vinyl siding, the recommended method for fastening is to use 1 5/8 construction screws or longer if needed, or alternatively, 3D painted nails that match the siding color to secure the top of the last piece.
Summary
In conclusion, having the right set of tools, safety gear, and knowledge of proper installation techniques is crucial for successful vinyl siding installation. By following the tips and guidelines outlined in this blog post, you’ll be well-equipped to tackle your vinyl siding project with confidence and achieve a professional-quality result that enhances the appearance and value of your home or building.
Frequently Asked Questions
What tools are required to install vinyl siding?
Installing vinyl siding requires a hammer, circular saw blades, a pry bar, utility knife, large rafter square, vinyl saw blade, power saw, measuring tape, level, ladder, pliers, starter strip, J-channel, flashing, and corner pieces.
What’s the best tool for cutting vinyl siding?
For cutting vinyl siding, a utility knife is typically best for longitudinal cuts, while tin snips or a hand saw are the most suitable for making vertical cuts. For larger jobs, a circular saw can also be used.
What tools do I need to replace siding?
To replace siding, you’ll need a hammer, vinyl siding blades, a pry bar, and a utility knife. Menards carries the necessary tools to get the job done.
What do you fasten vinyl siding with?
For vinyl siding installation, use aluminum, galvanized steel, or other corrosion-resistant nails, staples, or screws. Aluminum trim pieces should be fastened with aluminum or stainless steel fasteners that can penetrate 1 1/4″ into nailable material.
How do I ensure accurate measurements and leveling during vinyl siding installation?
Ensure accurate measurements and leveling during vinyl siding installation by using precision measuring and leveling instruments, such as levels, tape measures, and chalk lines.

