Can Storms Damage Windows? What Missouri Homeowners Should Watch For
Can Storms Damage Windows? What Missouri Homeowners Should Watch For
Key Takeaways
Living in Mid-Missouri means dealing with some of the most unpredictable weather in the country. Here’s what you need to know about storm damage and your home’s windows:
- Mid-Missouri storms—including hail, straight-line winds exceeding 60 mph, and tornadoes—can crack glass, loosen seals, and damage frames in ways that aren’t always immediately visible
- Even minor window damage can lead to water leaks, persistent drafts, higher energy bills, and long-term problems like rot or mold inside your walls
- Homeowners in Columbia, Jefferson City, Boonville, Moberly, and Lake of the Ozarks should visually inspect windows after every major storm and call a professional if anything looks off
- CoMo Premium Exteriors offers free post-storm window and exterior inspections across Mid-Missouri and can help navigate the insurance claim process for storm damage
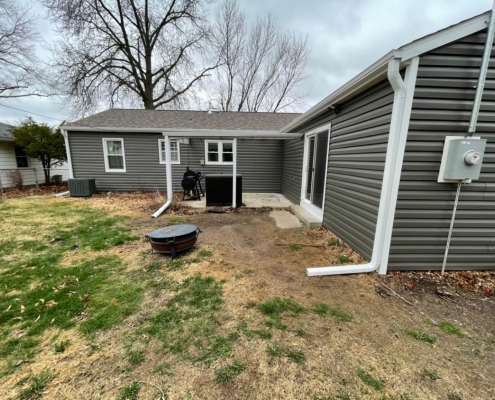
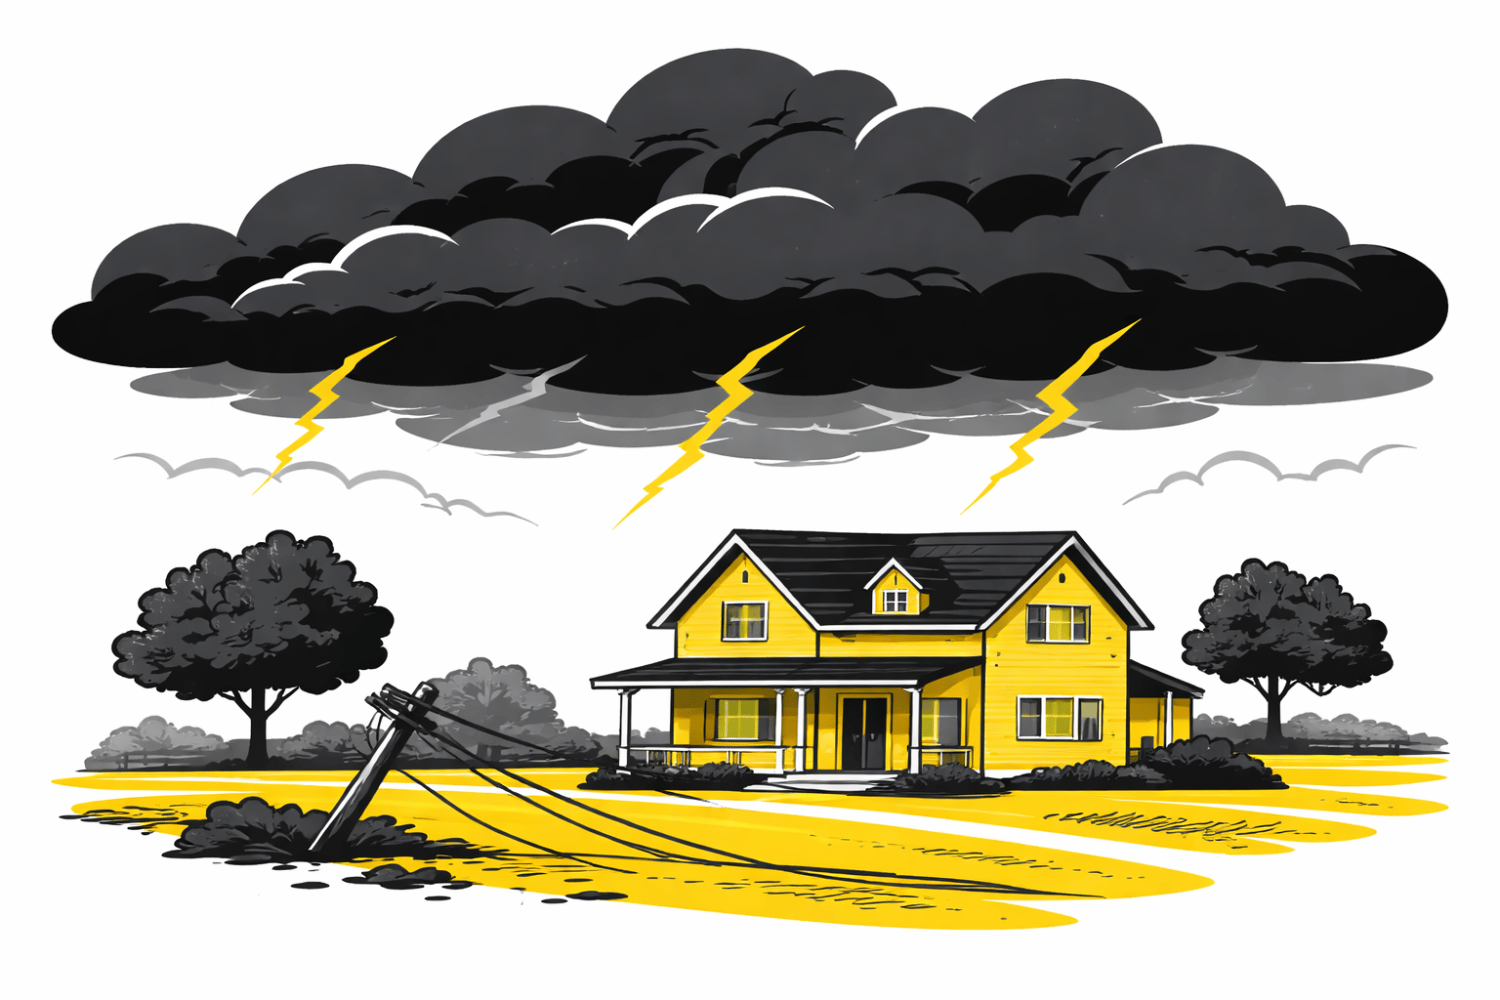
How Missouri Storms Actually Damage Your Windows
If you’ve lived in Central Missouri for any length of time, you know our weather doesn’t do anything halfway. Spring brings hailstorms that can drop golf ball-sized ice in minutes. Straight-line winds regularly exceed 60-70 mph during severe thunderstorms. And the May-June and late fall tornado seasons remind us we’re living on the edge of Tornado Alley—Missouri has recorded over 1,000 tornadoes since 1950.
When we talk about storm damage to windows, most people picture shattered glass scattered across the floor. But the reality is more complicated. Storm damage takes many forms:
- Wind pressure and flexing: High winds create pressure differentials that can bow frames, stress seals, and force moisture into places it shouldn’t go
- Hail impacts: Even smaller hail (under 1 inch) can create micro-cracks in glass that aren’t obvious at first but spread over time with temperature changes
- Flying debris: Winds over 50 mph can turn tree limbs, roof granules, fence panels, and outdoor furniture into projectiles aimed at your windows
- Wind-driven rain: Horizontal rain during severe weather can force water past compromised seals and into wall cavities
Here’s something many homeowners don’t realize: damage can be immediate—like broken glass from a direct hit—or delayed, with seals failing and water stains showing up weeks or months after the storm has passed.
Homes in open areas near fields or around the Lake of the Ozarks tend to be especially vulnerable to wind damage since there’s less natural windbreak. And if your Mid-Missouri home was built before the early 2000s, there’s a good chance you have builder-grade windows that are significantly less impact resistant than modern options. These older windows are more likely to fail under repeated storm exposure.
First Things To Do After a Storm Hits Your Missouri Home
Before you even think about checking your windows, make sure the storm has fully passed and conditions are safe. Watch for downed power lines, unstable tree limbs, and broken glass before stepping outside or walking through your home.
Once you’ve confirmed it’s safe, do a quick walk-through of your entire house—both inside and outside. Look for obvious problems: broken windows, visible cracks in glass panes, or water that blew in around window frames during the storm. Check every room, including upstairs and basement windows that are easy to forget.
If you spot any suspected window damage, grab your phone and start documenting immediately:
- Take close-up photos of any cracks, chips, or dents
- Capture wider context shots showing which window and which side of the house
- Record short videos if water is actively leaking or damage is extensive
- Note the date, time, and general storm conditions
This documentation is critical for both contractors and insurance adjusters. Don’t skip this step—even if you’re anxious to start cleanup.
For obvious damage like broken glass or gaps where wind is blowing through, take temporary measures to protect your home. Cover openings with heavy plastic, cardboard, or plywood (if you can do so safely) to prevent further damage from additional rain, pests, or debris. These aren’t permanent fixes, but they’ll buy you time until a professional can respond.
Once your property is secure, give us a call at CoMo Premium Exteriors. We can schedule a free, detailed inspection of your windows, siding, roofing, and gutters—typically within a few days of major storm events in the Mid-Missouri area.
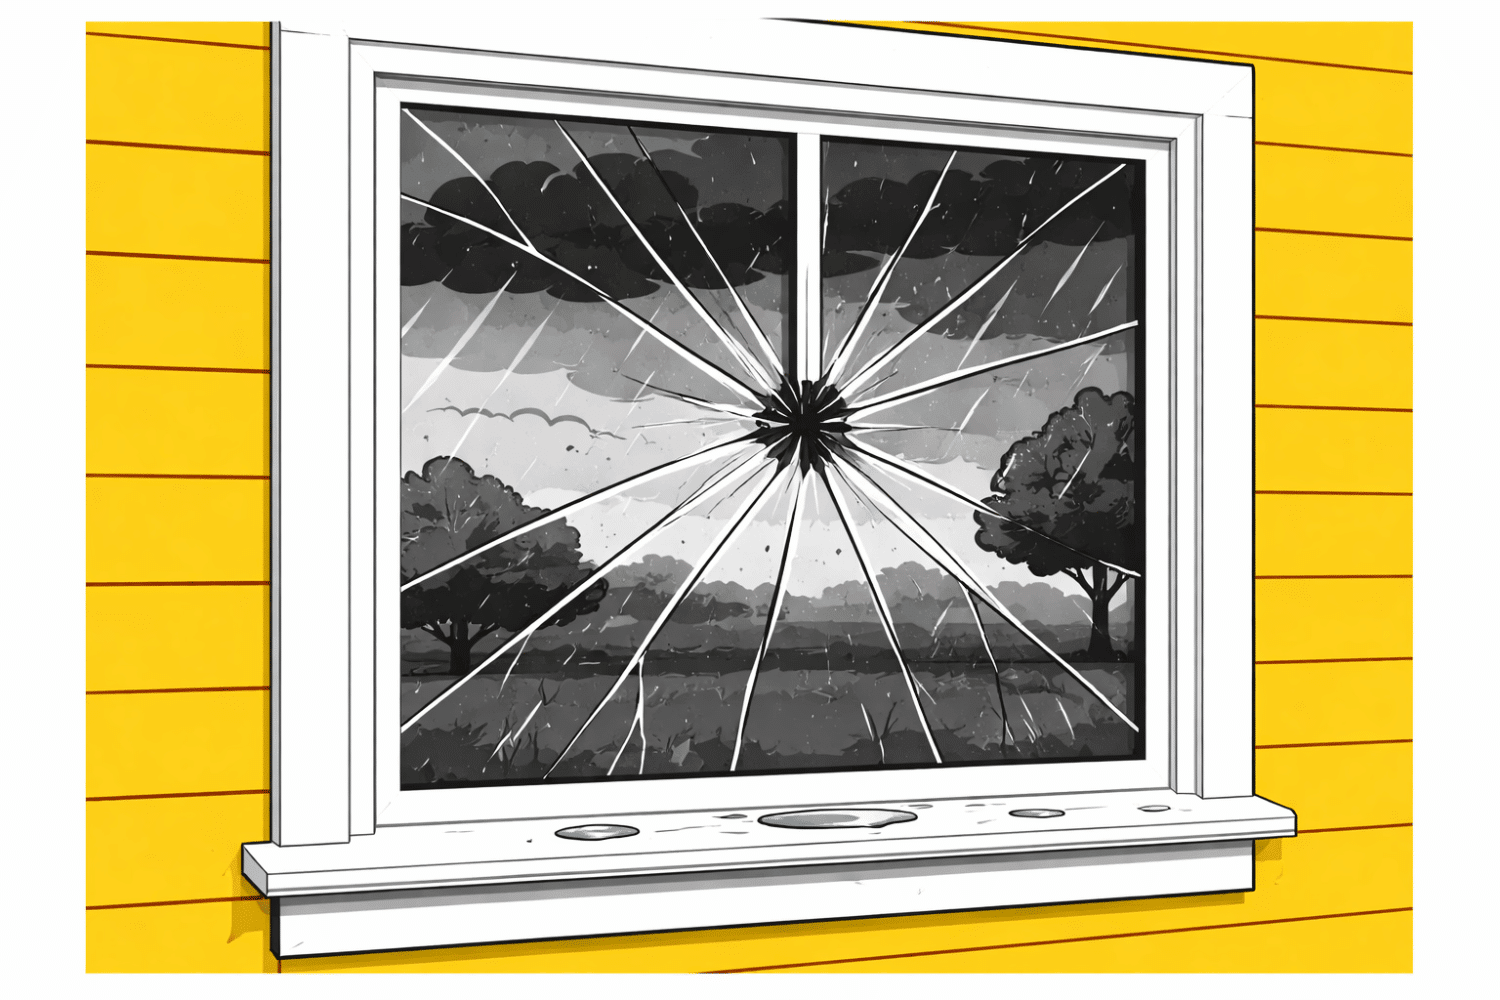
Visible Window Damage Missouri Homeowners Should Watch For
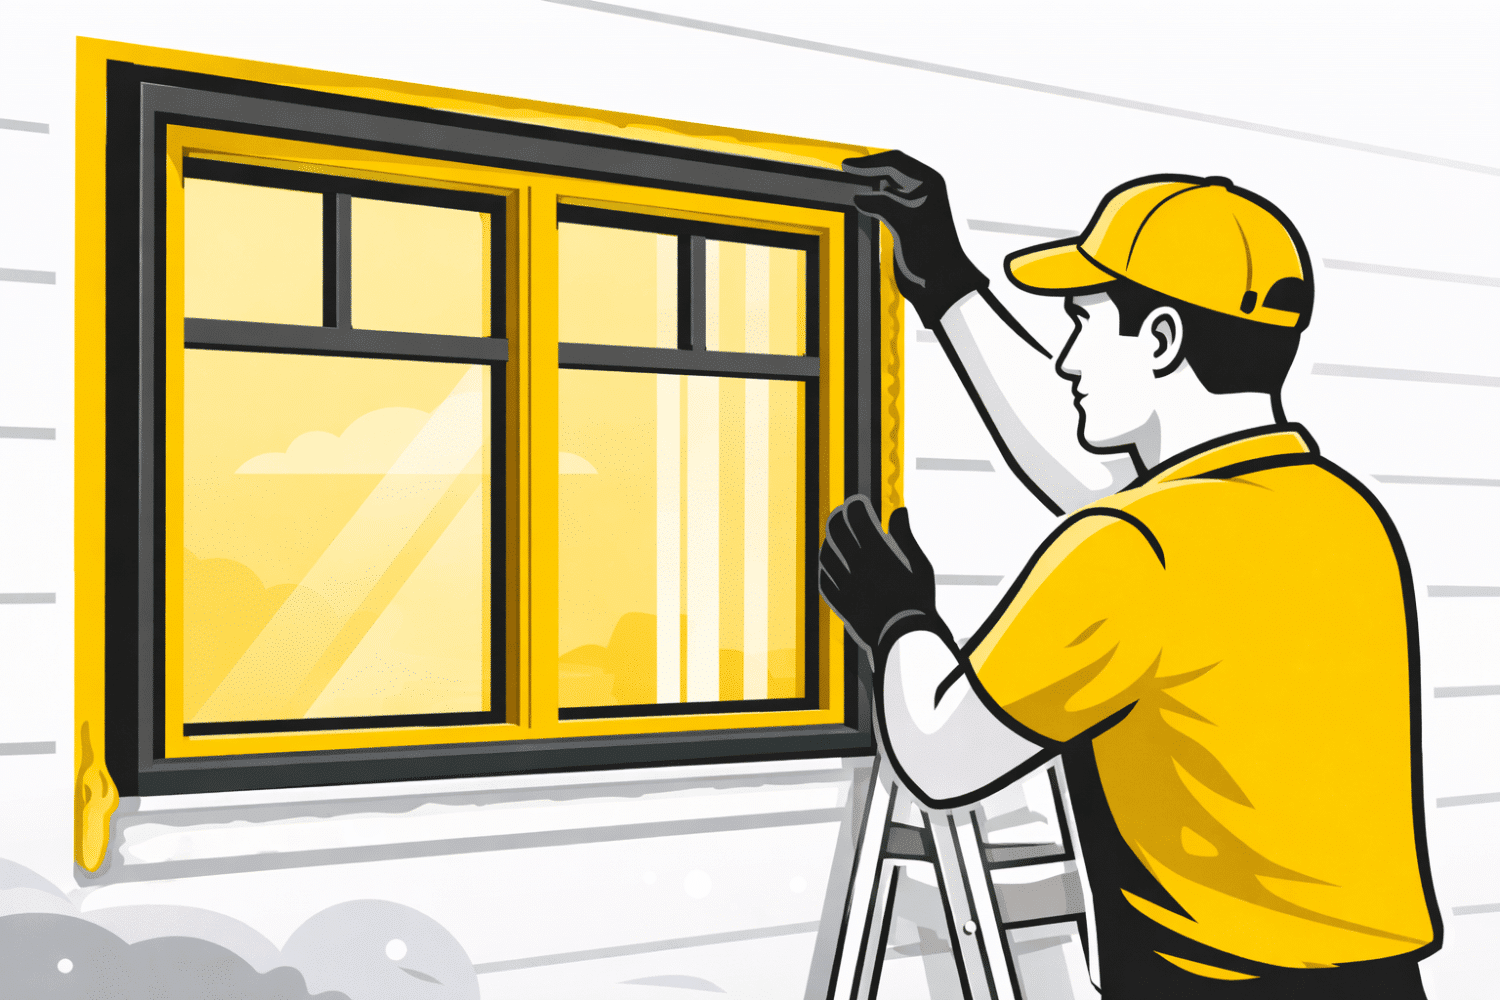
Some storm damage is easy to spot if you know what you’re looking for. We recommend walking both the exterior and interior of your home, checking every window—especially those on the side of the house that faced the storm.
Here are the visible issues you should watch for:
|
What to Look For |
Where to Check |
What It Means |
|---|---|---|
|
Cracked or shattered glass |
All panes, including small starburst patterns |
Direct hail or debris impact; needs repair or replacement |
|
Chipped, bent, or dented frames |
Storm-facing exterior frames |
Hail damage or flying debris strike |
|
Torn or missing screens |
All window screens |
Debris impact—glass may also be affected |
|
Water stains or bubbling paint |
Interior walls near windows |
Water infiltration during the storm |
|
Soft drywall |
Touch areas around window interior |
Hidden water damage behind walls |
|
Warped sashes or frames |
Look at the window from an angle |
Frame movement from wind pressure |
If you find broken glass or a loose sash, don’t try to operate that window until it’s been inspected. A cracked pane under stress can shatter unexpectedly, and damaged frames may not support the weight of the glass properly.
Any significantly cracked glass or shattered pane typically requires repair or full replacement—this isn’t cosmetic damage you can ignore. A professional contractor can advise whether just the glass, the sash, or the entire window unit needs to be replaced based on the location and severity of damage.
Hidden Storm Damage: Drafts, Leaks, and Seal Failures
In Mid-Missouri, many storm-related window problems don’t show up right away. The visible glass might look fine, but subtle comfort or moisture issues can develop weeks after a big storm—especially after repeated hail or high wind events.
Watch for these hidden signs of damage:
- New drafts or temperature swings: If you notice cold air near a window when the wind blows (or hot spots in summer), the weatherstripping or seals may be compromised
- Foggy windows or condensation between panes: This cloudy appearance in double pane windows or multi pane windows signals that the seal has failed and the insulating gas has leaked out
- Musty odors near windows: This often indicates water has gotten into the wall cavity and moisture is building up
- Discolored or separating caulk: Check the caulk lines around window frames for pulling away, cracking, or color changes
- Windows that stick or won’t close properly: If a window that worked fine before the storm is suddenly difficult to operate, the frame may have shifted
What causes these hidden problems? High winds and pressure changes during severe weather can flex window frames—sometimes just enough to break the seal between the frame and glass or between the frame and the wall. The glass might look perfect, but the window’s ability to keep air and water out has been compromised.
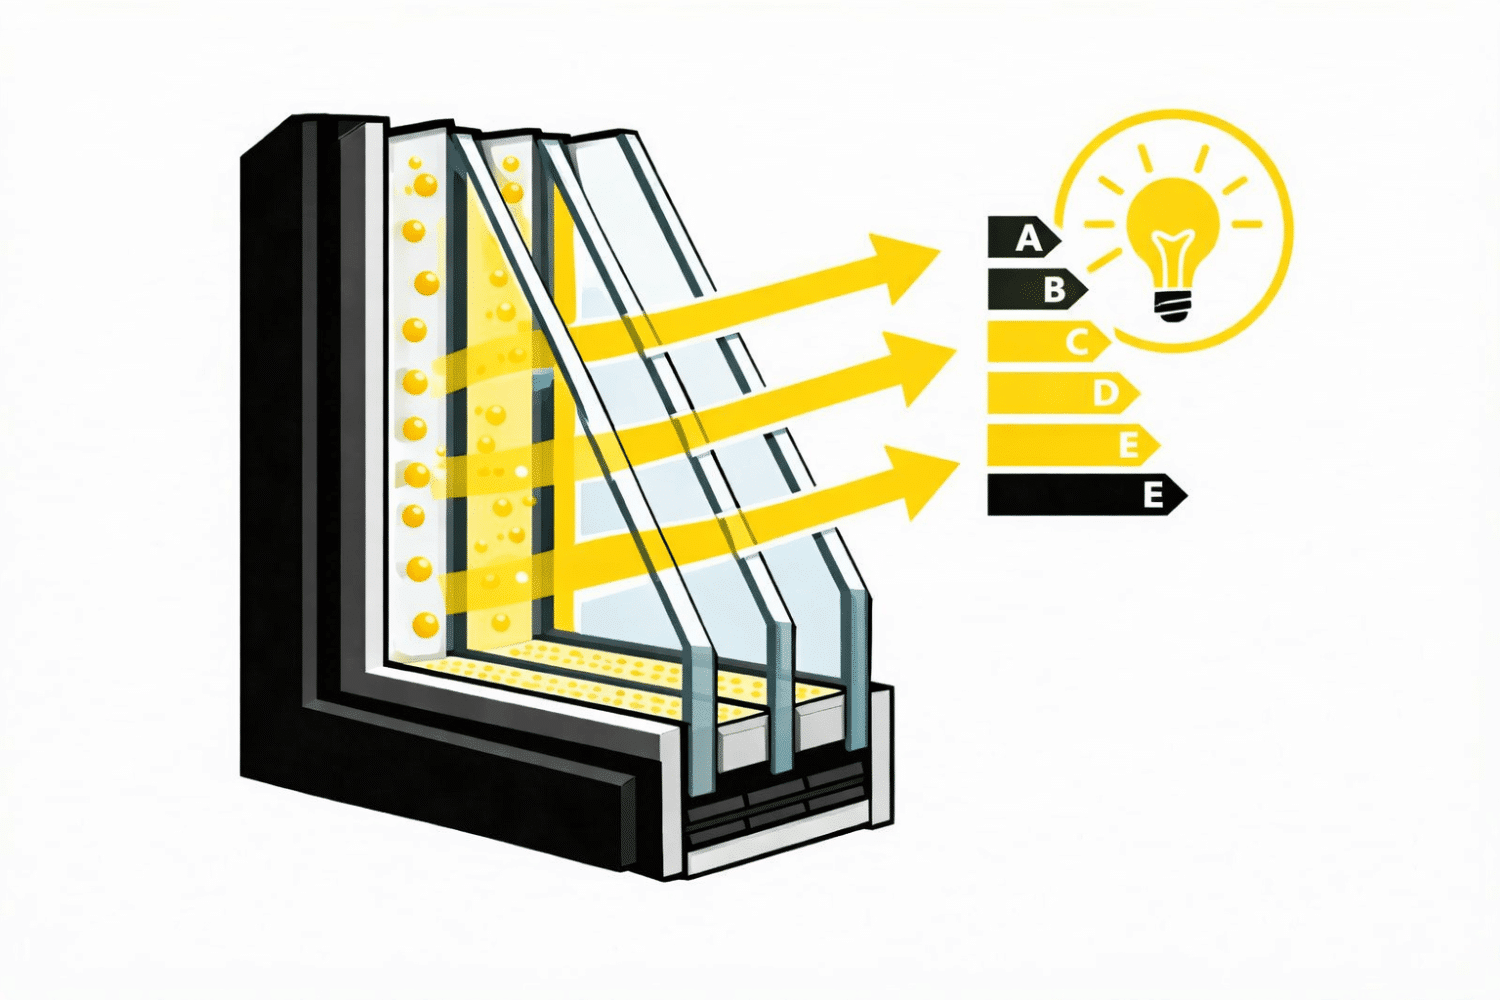
These hidden issues have real consequences. Failed window seals can reduce the R-value of insulated glass from 3-4 down to nearly zero, meaning your HVAC system works overtime to compensate. Over the course of a Missouri summer and winter, that can add up to significantly higher energy bills. Even worse, hidden moisture can lead to rot or mold behind your trim and inside your walls.
If any of these signs appear after a known storm event, schedule a professional inspection rather than just re-caulking the visible gaps yourself. The problem often runs deeper than surface fixes can address.
How Different Window Frame Materials React to Missouri Storms
Mid-Missouri homes feature a mix of window frame materials, and severe weather affects each type differently. Understanding your frame type helps you know what storm damage to look for.
Wood frames:
- Prone to swelling and eventual rot when repeatedly exposed to wind-driven rain
- Look for peeling paint, soft spots, or spongy wood after a storm
- Check corners and bottom rails where water tends to collect
- Older wooden frames in Mid-Missouri homes may already have hidden damage from years of exposure
Vinyl frames:
- Can crack, warp, or pull away from the wall under strong wind loads
- Hail impacts may leave hairline cracks, especially in corners
- Look for discoloration or fading on the storm-facing side
- Extreme temperature changes in Missouri (from -10°F winters to 100°F summers) stress vinyl over time
Aluminum or metal-clad frames:
- Prone to dents, bends, and corrosion where the finish is chipped by hail
- Check for dent marks along exterior faces
- Look for rust forming at fasteners and joints
- Soft metals like aluminum are particularly vulnerable to hail damage that insurance adjusters sometimes miss
Fiberglass and composite frames:
- More stable under Missouri’s dramatic temperature swings
- Seals and glass can still be damaged by flying debris or hail impacts
- Generally hold up better than older vinyl in repeated storm exposure
Many Mid-Missouri neighborhoods built between the 1990s and 2010s still have their original builder-grade vinyl or aluminum windows. If your home falls into this category, those windows may already be approaching the end of their intended service life—and storm damage can accelerate that timeline significantly.
At CoMo Premium Exteriors, we can recommend modern replacement windows—including energy-efficient vinyl and composite options—that hold up far better to repeated wind and hail than many older windows we see across the region.
Storm-Damaged Windows: When Can You Repair and When Should You Replace?
Not every storm damaged window in Missouri needs full replacement. But some conditions make replacement the safer and more cost-effective long-term choice. Here’s how to think about the decision.
Repair may be appropriate when:
- Damage is minor and cosmetic—small chips in the frame finish with no leaks or drafts
- Only the caulk or weatherstripping has failed, and the frame and glass are structurally sound
- Hardware issues (locks, latches, cranks) can be replaced without disturbing the entire window unit
- The window is relatively new and otherwise in good condition
Replacement is the better choice when:
- Glass is cracked, shattered, or visibly weakened—especially on double pane windows where the seal is broken
- Damaged frames are warped, twisted, or pulled away from the wall after wind damage
- You’re seeing ongoing water intrusion around or under the window, with water stains or soft spots in framing materials
- The window has needed multiple prior repairs, indicating it’s at the end of its practical life
- Cracked frames or severely damaged frames compromise the window’s structural integrity
A trusted professional contractor should evaluate both the window and the surrounding wall structure before making a recommendation. Sometimes what looks like simple window damage actually extends to the rough opening, flashing, or interior framing—and that changes the scope of needed repairs.
At CoMo Premium Exteriors, we focus on long-term value. We’ll walk you through whether a targeted repair makes sense or whether investing in new windows is the better 20-30 year solution. We’ve handled over 500 storm-related projects across Mid-Missouri, and about 70% involve damage to multiple exterior components—so we understand how window issues often connect to roof or siding problems.
How Storm-Damaged Windows Affect Energy Bills and Comfort in Mid-Missouri
Damaged windows can quietly drive up utility costs in ways many homeowners don’t connect to that big storm from last spring. In Columbia, Jefferson City, and surrounding towns—where summers are hot and humid and winters regularly drop below freezing—even minor window damage affects your comfort and your wallet.
Here’s how storm damage impacts window performance:
- Lost insulating gas and failed seals: When the seal breaks on double pane windows, the argon gas that provides insulation escapes. This can reduce the R-value to nearly zero, making rooms noticeably hotter in July and colder in January
- Drafts from warped frames or damaged weatherstripping: Even small gaps force your HVAC system to run longer, increasing your Ameren or local electric co-op bills
- Hidden moisture leaks: Water intrusion can damage insulation inside your walls, decreasing thermal performance and adding to discomfort throughout your home
- Temperature swings near windows: Rooms with damaged windows feel uncomfortable even when the rest of the house is fine
If you’ve noticed a sudden spike in energy efficiency problems—higher energy bills without an obvious explanation—after a major storm, consider scheduling a professional window and exterior inspection. The culprit may be storm damage you haven’t connected to your utility costs.
Replacing badly damaged or outdated windows with modern ENERGY STAR-rated units can significantly improve comfort and help stabilize long-term energy costs. Modern impact resistant options can boost efficiency by 15-20%, potentially saving Mid-Missouri homeowners $200-400 per year on heating and cooling.
CoMo Premium Exteriors can explain available glass packages and frame options that perform well in Central Missouri’s challenging climate—humid summers, freeze-thaw cycles, and everything in between.
Insurance, Documentation, and Working With a Local Missouri Contractor
Many wind and hail events in Mid-Missouri are covered by standard homeowners insurance. Severe storms that move through Boone, Cole, and Callaway Counties each spring often trigger legitimate claims—but the process can feel overwhelming when you’re also dealing with cleanup and repairs.
Here’s how to approach the insurance claim process:
Document everything immediately:
- Photograph and video all window damage and exterior damage right after the storm
- Include close-ups showing specific damage and wider shots for context
- Note dates, times, and storm conditions
- Keep a written log of what you observed and when
Review your policy:
- Check your coverage for wind and hail damage
- Understand your deductible and whether you have Actual Cash Value (ACV) or Replacement Cost Value (RCV) coverage
- Note any filing deadlines—Missouri policies typically have a 1-2 year window
Contact your insurance company promptly:
- After large regional events, adjusters get backed up quickly
- Early contact helps establish your place in the queue
- Industry data shows about 30% of claims are denied due to poor documentation—don’t let that be you
How a local contractor helps:
At CoMo Premium Exteriors, we can perform a thorough inspection of your entire exterior—windows, siding, roofing, gutters, and doors—and prepare a detailed report with photos. We’ve worked with insurance adjusters for over 25 years across Mid-Missouri, and we know what they look for and what they sometimes miss.
We can meet with your insurance adjuster on-site to point out damage that might be overlooked in a quick walkthrough—including issues like valley flashing interactions with window rough openings and secondary damage that’s not immediately visible. Our team can help you understand the full extent of work needed, local building codes that apply, and upgrade options that may be available within your claim.
One more piece of advice: after major hail events, “storm chaser” crews often knock on doors offering quick repairs. These out-of-state companies frequently disappear after the job, leaving homeowners without warranty support or anyone to call if problems arise. Instead, work with a vetted local company like CoMo Premium Exteriors—we’ve been here since 2010, and we’ll be here when you need us years from now.
Why Mid-Missouri Homeowners Trust CoMo Premium Exteriors After Storms
Since 2010, CoMo Premium Exteriors has served homeowners across Columbia, Jefferson City, Boonville, Moberly, and Lake of the Ozarks as a trusted exterior specialist. We’ve seen firsthand how Missouri’s severe weather—from spring hailstorms to summer derechos to fall tornado outbreaks—affects homes in our region.
What sets us apart:
- We’ve completed hundreds of storm-related projects across Mid-Missouri, including window replacement, roofing, siding, and gutters
- Our limited lifetime workmanship warranty means we plan for decades of performance, not quick fixes that fail in a few years
- We coordinate window work with roofing and siding repairs so you don’t have to juggle multiple contractors after a big storm hits
- As the only triple-certified contractor in the region (GAF Master Elite, OC Platinum, James Hardie Elite), we maintain strict quality standards that benefit every project
Our approach—education first:
We start every project with a free, detailed inspection and a clear explanation of what we see. You’ll receive photos you can keep, along with a straightforward assessment of your options. We explain repair vs. replacement considerations, estimated lifespans for different solutions, and how each choice affects your home’s safety, energy efficiency, and long-term maintenance needs.
If you’ve recently experienced hail, high winds, or tornado warnings and aren’t sure whether your windows were affected, give us a call. Catching minor damage in 2024-2025 can often prevent major structural repairs down the road—especially in older Mid-Missouri homes where builder-grade windows have already seen decades of weather exposure.
We’re happy to take a look—no obligation, no pressure, just honest advice from your neighbors who’ve been doing this for over 25 years.
FAQs
How soon should I check my windows after a storm in Mid-Missouri?
Do a basic safety check as soon as the storm has clearly passed and conditions allow—no active lightning, no high winds still blowing, no downed power lines nearby. Walk through your home the same day to look for broken glass, water entry, or obvious frame damage. If anything looks suspicious, schedule a professional inspection within a few days. Early photos and detailed notes help both contractors and your insurance agent understand exactly what happened and when.
Can small hairline cracks in window glass wait, or are they urgent?
Even tiny star-shaped cracks from hail impacts can spread over time. Missouri’s dramatic temperature changes—from freezing winters to scorching summers—put stress on cracked glass with every temperature swing. We recommend avoiding operating a window with cracked glass and having it evaluated promptly. Addressing small cracks early is typically less expensive than waiting until the pane fails completely or the damage extends to the frame.
What if my windows look fine, but the room feels draftier after a storm?
New drafts or cold/hot spots near a window often mean the seals, caulk, or weatherstripping were compromised—even if you can’t see visible damage. Wind pressure during future storms will make these problems worse. A thorough inspection can test for air leakage and check for frame movement or hidden damage before you spend time and money on DIY re-caulking that may not solve the underlying problem.
Do I have to replace all of my windows at once after a hailstorm?
Not necessarily. Storms don’t affect all windows equally—sometimes only the storm-facing side of your home or certain individual units sustain significant damage. A good professional contractor will assess each window individually and help you prioritize which ones need immediate attention versus which can reasonably wait. At CoMo Premium Exteriors, we can phase window replacement over time or coordinate it with other exterior work to fit your budget and schedule.
Can CoMo Premium Exteriors inspect more than just my windows after a storm?
Absolutely. Our team routinely checks roofing, siding, gutters, windows, and doors in a single visit for homeowners across Mid-Missouri. This whole-exterior approach helps catch related damage you might otherwise miss—for example, hail that cracked your windows often also bruises shingles and dents metal gutters. Contact us for a comprehensive exterior assessment and a straightforward explanation of any recommended next steps. Call us at (573) 424-9008 or request an inspection online—we’re here to help.