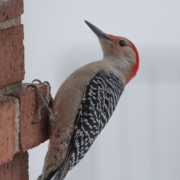
Are woodpeckers and vinyl siding damaging your home’s siding? Vinyl siding offers a potential solution. This article explains why woodpeckers target homes, how vinyl siding helps, and what other strategies you can use to protect your house.
Vinyl siding is a durable and cost-effective option that deters woodpeckers, reducing maintenance costs and extending the lifespan of your home’s exterior.
Using visual and auditory deterrents, combined with protective barriers like netting, creates a comprehensive strategy to protect your home from woodpecker damage.
It’s crucial to address existing woodpecker damage promptly and consider upgrading to resilient siding materials for long-term protection against pests.
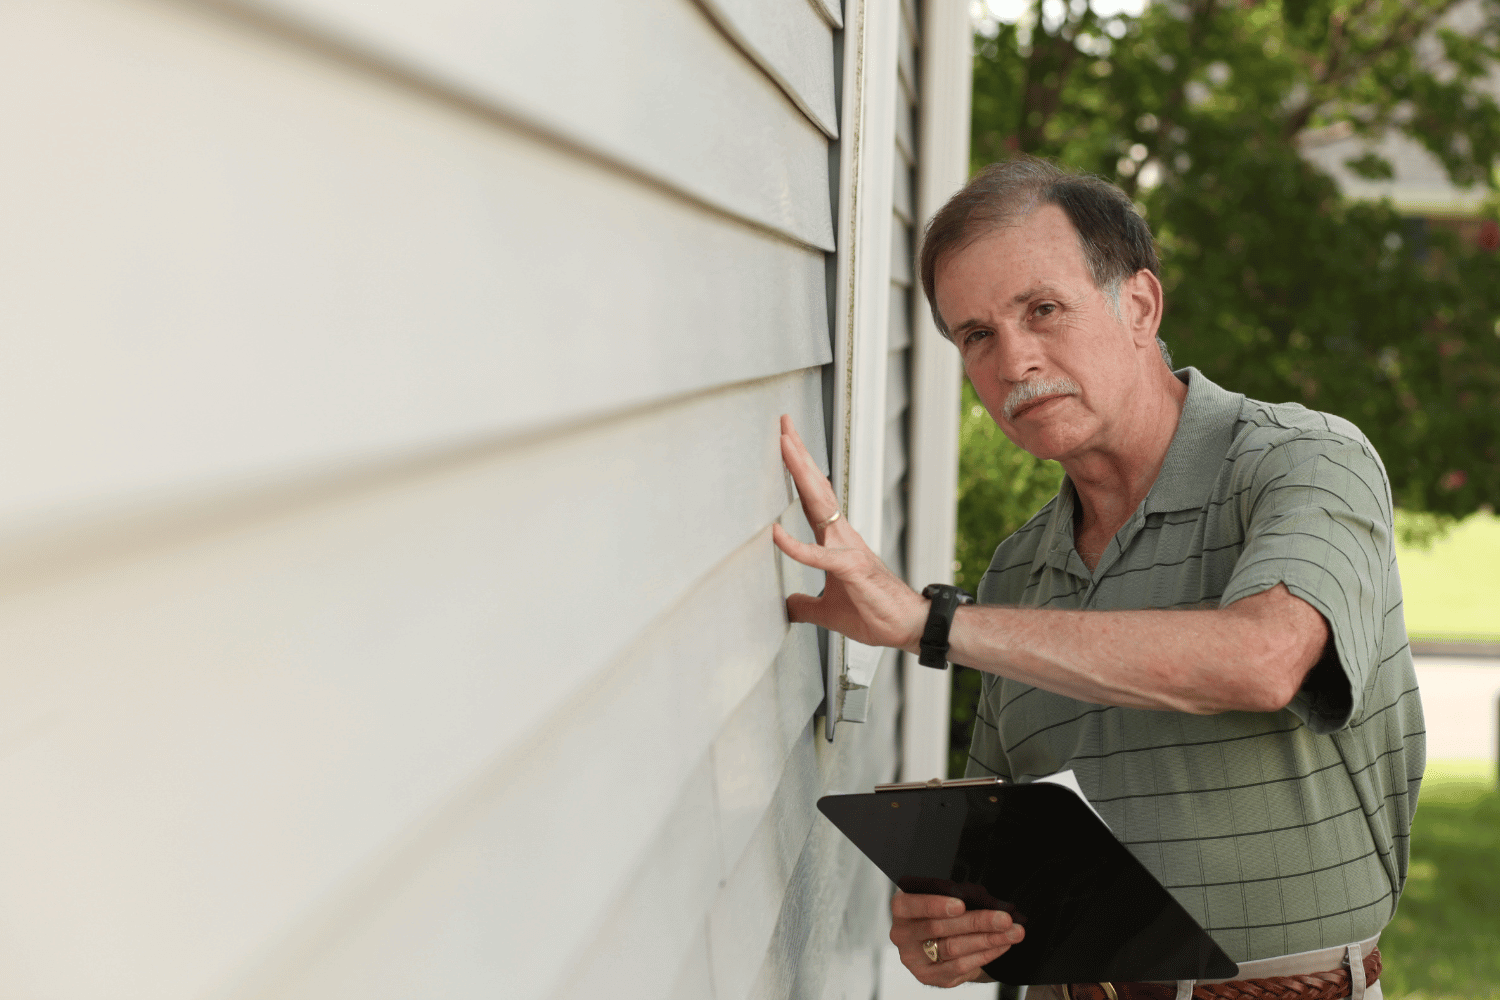
A homeowner inspecting vinyl siding for woodpecker damage.
Vinyl siding is not just an aesthetic choice for your home; it’s also a practical one. Due to its hardness and resistance to insects, vinyl siding is less appealing to woodpeckers compared to other materials like wood or cedar shake siding. This means fewer holes and less damage, which translates to lower maintenance costs and a longer lifespan for your home’s exterior.
Steel siding is another durable option that effectively resists woodpecker damage. However, vinyl remains a popular choice due to its affordability and versatility. In contrast, cedar clapboards siding, especially when stained in earth tones, can attract woodpeckers and is easily damaged. Homes painted in white or pastel colors are less likely to be targeted by these birds.
When considering replacement siding, weigh the benefits of different materials. While vinyl siding offers excellent protection against woodpeckers, other options like steel or fiber cement siding may also be worth exploring, especially if you live in an area prone to woodpecker activity.
Woodpeckers can cause significant damage to your home’s siding, often creating small holes that can lead to more extensive issues if left unaddressed. This damage typically begins in the spring when woodpeckers are storing food or looking for a mate. Visual deterrents, such as windsocks and reflective streamers, can be effective in scaring woodpeckers away from your home’s exterior.
These methods can create a comprehensive strategy to protect your home when combined with netting. Netting is another effective way to protect vulnerable areas of your house from woodpeckers. Preventing these birds from accessing your siding significantly reduces the risk of damage.
Visual deterrents and netting together create a robust defense system, keeping your home safe from woodpecker damage.
Understanding woodpecker behavior is crucial for effective deterrence. Woodpeckers drill into siding primarily in search of insects living within the wood or to create nesting holes. This behavior is particularly common during the nesting season when they are looking to attract a mate or establish a nest cavity. Even woodpeckers that are not actively nesting may still engage in woodpeckers drumming on your siding as a way to mark their territory and communicate with other birds.
Certain types of woodpeckers, such as acorn woodpeckers, are known for storing food and creating multiple holes in the process. These birds can cause significant damage to cedar and other softwood siding, often creating large holes that penetrate through insulation. Understanding these behaviors can help you implement effective deterrent strategies and protect your home from further damage.
Shiny objects or reflective tape can prevent woodpeckers from targeting your siding. These deterrents work by disorienting the birds and making your home less attractive as a pecking site. Combining these with other strategies creates a comprehensive plan to keep woodpeckers at bay.
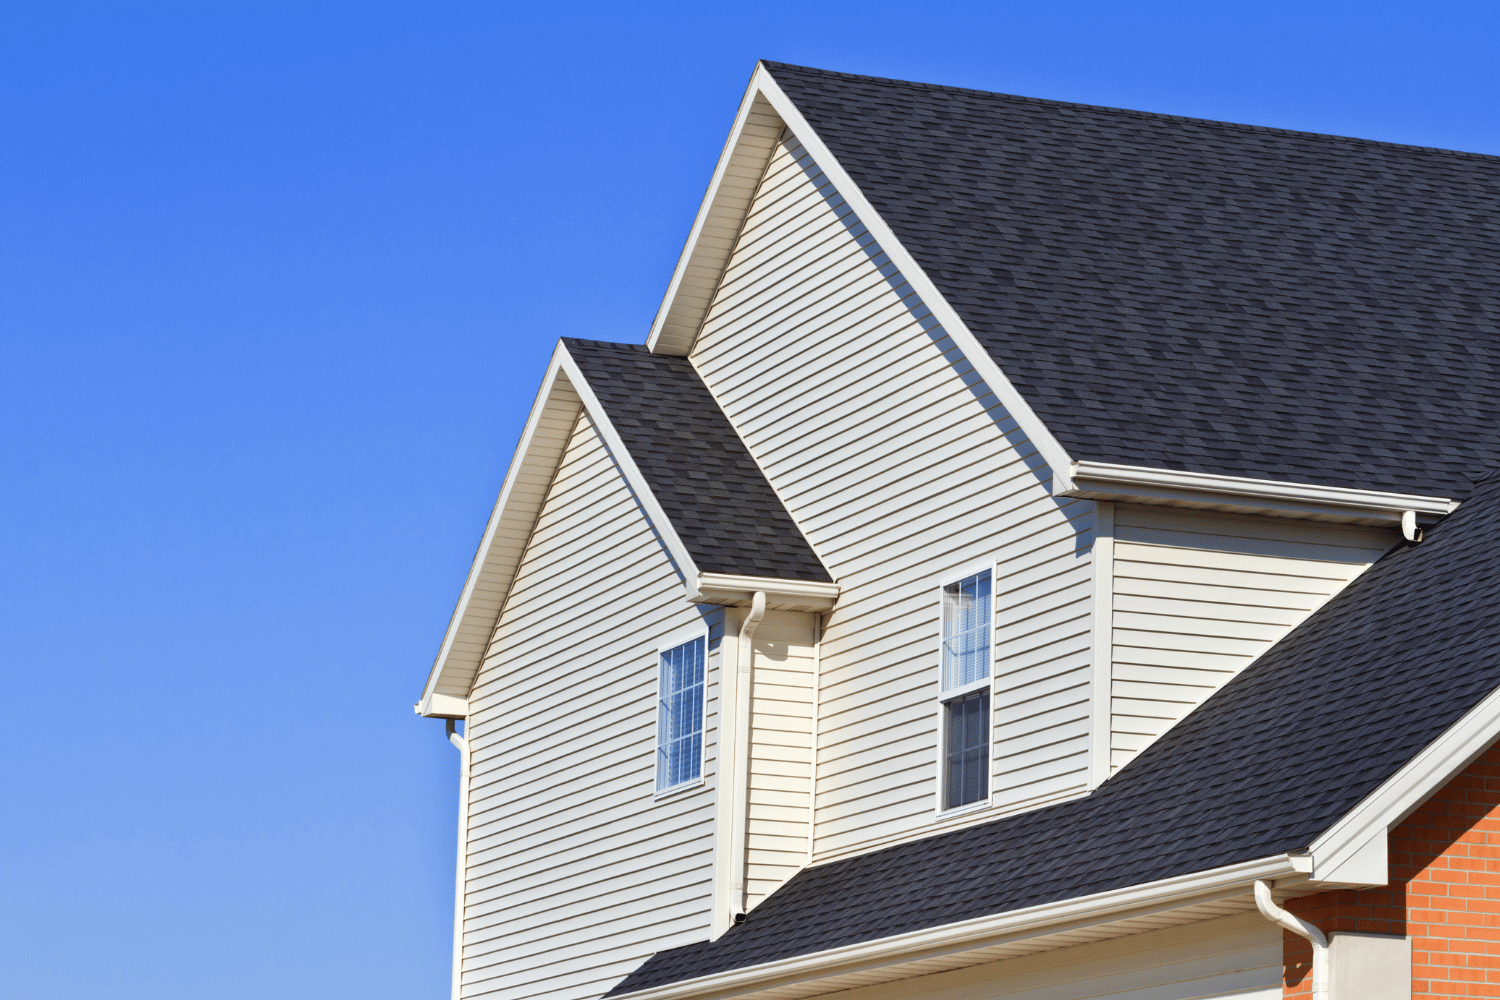
Vinyl siding that effectively deters woodpeckers.
Vinyl siding is an excellent choice for homeowners looking to deter woodpeckers. The hardness and insect resistance of vinyl make it less appealing to these birds compared to softer materials like wood siding. Woodpeckers are less likely to drill into materials that do not emit sounds mimicking insect activity, which is why vinyl siding is so effective in preventing woodpecker damage.
Another advantage of vinyl siding is its ability to stop woodpecker drumming and the loud noises associated with it. This can create a more peaceful environment for homeowners and reduce the risk of damage to your home’s exterior. In addition, vinyl siding’s durability means that it can withstand the elements and remain effective in deterring woodpeckers over the long term.
Vinyl siding not only helps deter woodpeckers but also provides a cost-effective and low-maintenance solution for your home. Choosing vinyl siding protects your home from woodpecker damage while enhancing its aesthetic appeal and overall value.
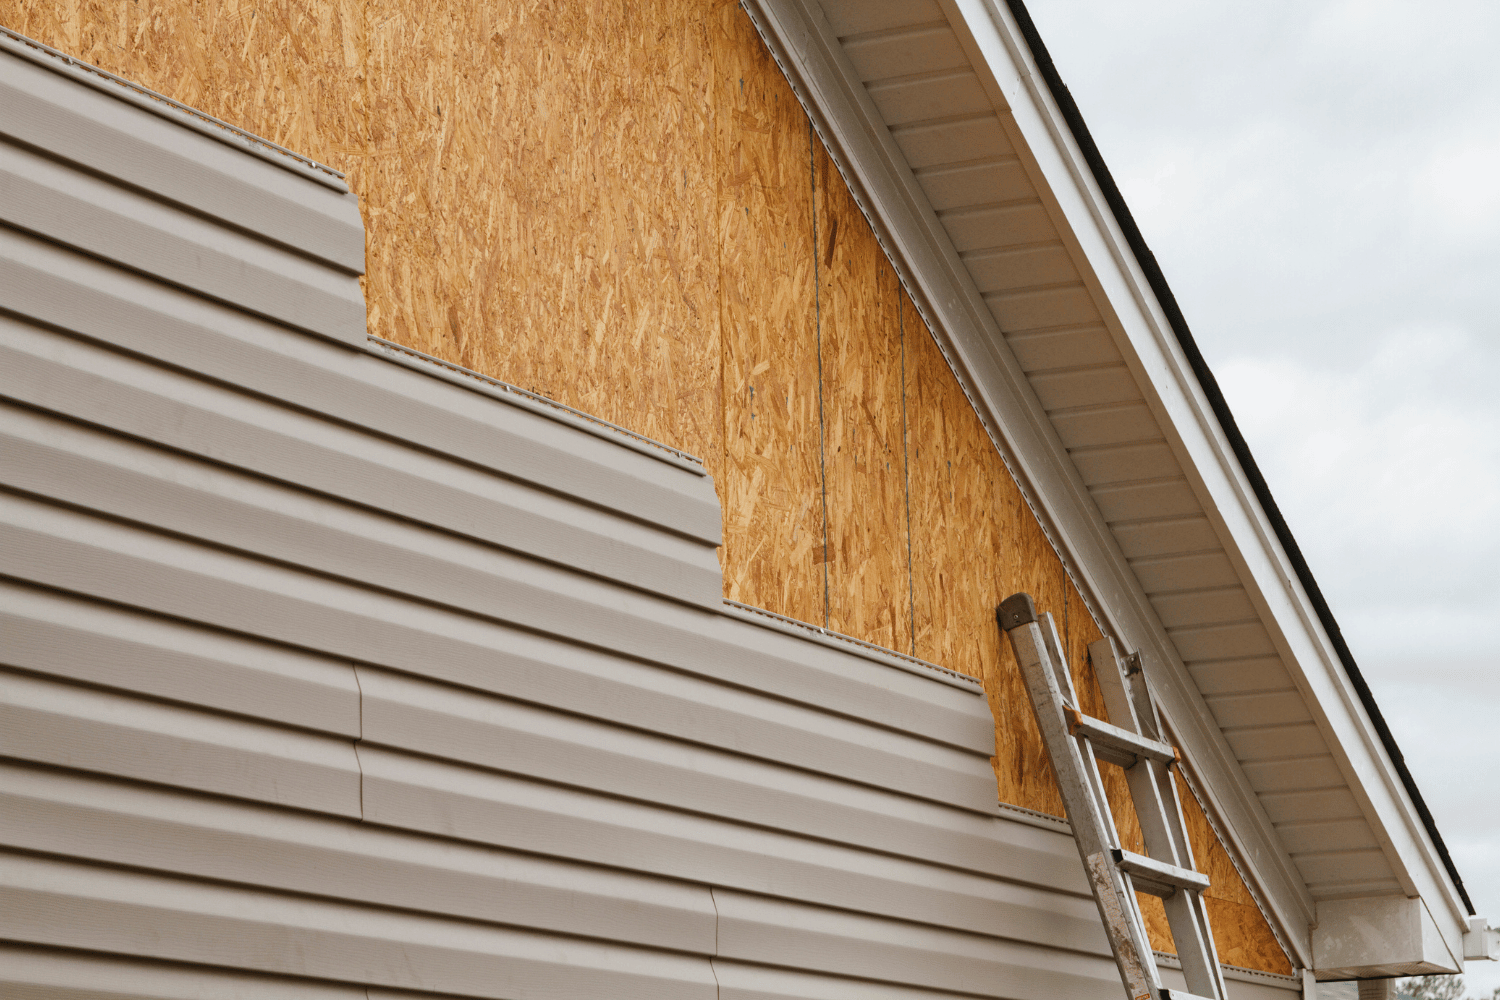
Benefits of full vinyl siding replacement illustrated.
Opting for full vinyl siding replacement offers numerous benefits for homeowners. Vinyl siding is a durable and affordable option that enhances your home’s aesthetic appeal, providing long-term protection and value. Made from high-quality PVC compounds, vinyl siding is recognized for its cost-effectiveness, making it a solid investment in home improvement.
Replacing vinyl siding, soffit, and fascia is recommended for effective deterrence against woodpeckers. This approach ensures that all weak points on your house are addressed, reducing the risk of woodpecker damage. New soffit and fascia that match your existing siding can create a cohesive look while providing comprehensive protection.
Eliminating potential weak points through full vinyl siding replacement helps maintain the integrity of your home’s exterior. This not only protects your home from woodpecker damage but also increases its overall value and curb appeal with new siding.
Even with vinyl siding, certain areas of your home may remain vulnerable to woodpecker damage. Wood fascia boards, for example, are still susceptible to damage from woodpeckers creating small clustered holes from drumming. Addressing these vulnerabilities ensures comprehensive protection for your home.
Installing protective barriers, such as bird netting or metal sheathing, can shield siding from damage. Covering affected areas with burlap or bird netting can prevent woodpeckers from accessing these spots and causing further damage. Additionally, promptly repairing or replacing rotting wood can make your property less appealing to woodpeckers.
The brittleness of vinyl siding during cold weather can lead to cracks, making it crucial to address these issues promptly. Sealing small openings and providing alternative food sources reduces the likelihood of woodpeckers targeting your home.
Besides using vinyl siding, several other strategies can help deter woodpeckers. Visual deterrents like shiny objects, old CDs, or reflective tape can disorient woodpeckers and prevent them from targeting your siding. Streamers with reflective surfaces have also proven effective in deterring these birds.
Auditory deterrents, such as wind chimes, can serve as both visual and auditory deterrents to keep deterred woodpeckers away. Playing distress calls of woodpeckers may make them feel threatened and encourage them to leave. Regularly moving plastic owl decoys can help maintain their effectiveness as a deterrent.
Providing alternative food sources, like suet feeders, can redirect woodpeckers away from your home. Installing bird netting or metal sheathing can create a physical barrier to prevent woodpeckers from accessing vulnerable areas. Combining these strategies creates a comprehensive plan to deter woodpeckers and protect your home.
Address woodpecker damage promptly if your home has already sustained it. Very small holes caused by woodpeckers can be repaired using epoxy putty, which can then be sanded and repainted to match the existing siding. For larger holes that cannot be effectively repaired, replacing the siding might be necessary.
Addressing any underlying insect problems is crucial, as woodpeckers are attracted to areas where they can find food. Treating your home for pests can help prevent future woodpecker damage. Sealing existing holes with wood putty may also discourage further woodpecker activity.
Choosing durable siding options like fiber cement can provide long-term protection against woodpecker damage. By addressing both existing damage and underlying insect problems, you can effectively prevent future woodpecker damage to your home.

Various types of siding options for homeowners.
When selecting siding for your home, it’s essential to consider the pros and cons of different materials. Vinyl siding is typically the cheapest option and offers excellent protection against woodpeckers. Unlike wood or softer materials, vinyl does not provide an inviting environment for woodpeckers to nest.
James Hardie fiber cement siding is another strong choice for homeowners, offering superior resistance to harsh weather conditions and pests. This durable siding option can last 50 years or more, making it a long-lasting investment for your home. James Hardie siding benefits from proprietary ColorPlus® Technology, enhancing longevity and pest resistance.
Comparing different siding types helps you choose the best option for your home based on your specific needs and preferences. Whether you opt for vinyl, fiber cement, or wood siding, selecting the right material can help protect your home from woodpecker damage and enhance its overall value.
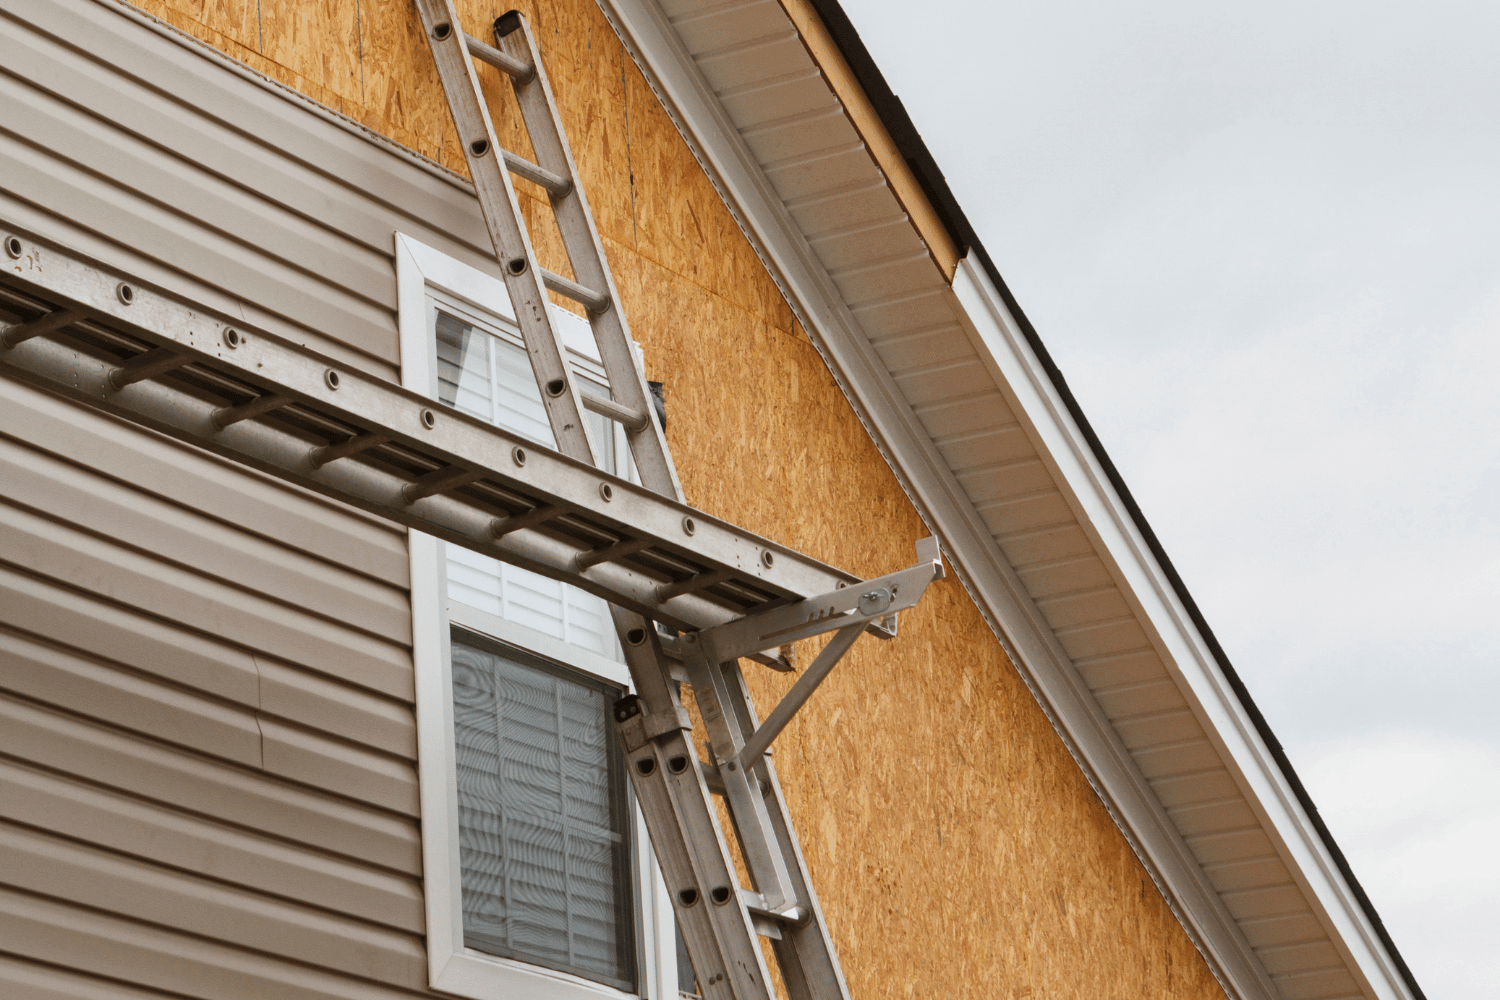
Professional team from CoMo Premium Exteriors working on siding.
CoMo Premium Exteriors is a trusted choice for homeowners looking to install or replace siding. The company offers a 5-Year Craftsmanship Warranty, ensuring that any defects in workmanship are promptly addressed. This warranty provides homeowners with peace of mind, knowing that their investment is protected.
In addition to their warranty, CoMo Premium Exteriors offers flexible financing options, making their services more accessible to a wider range of customers. Their commitment to customer satisfaction is evident through their clear communication and exceptional service during the installation process. Customers have praised the company for their prompt service, excellent communication, and high-quality workmanship.
CoMo Premium Exteriors’ extensive experience includes assisting homeowners with insurance claims, particularly after storm damages. Their team is knowledgeable in local regulations and assists clients with obtaining necessary permits for remodeling projects. Choosing CoMo Premium Exteriors ensures your siding needs will be met with professionalism and expertise.
Protecting your home from woodpecker damage requires a combination of the right siding materials and effective deterrent strategies. Vinyl siding stands out as a top choice due to its hardness and insect resistance, making it less appealing to woodpeckers. Other materials like steel and fiber cement siding also offer strong protection against these persistent birds.
By understanding woodpecker behavior, implementing visual and auditory deterrents, and addressing any existing damage, you can safeguard your home from further issues. Choosing the right siding and working with a trusted provider like CoMo Premium Exteriors ensures that your home remains protected and maintains its aesthetic appeal.
The best siding for your house really hinges on your climate, budget, and style preferences. Vinyl is a popular choice for its low maintenance, while wood and fiber cement can offer a more traditional look.
Vinyl siding is usually the most budget-friendly choice for house siding. If you’re looking to save money, it’s definitely worth considering!
The three types of siding you’ll commonly find are vinyl siding, fiber cement siding, and wood siding. Each offers unique benefits, so choose based on your needs and preferences!
The best exterior siding really hinges on what you need—fiber cement is known for its durability, vinyl is great if you’re on a budget, and wood offers that beautiful natural look. So, think about your priorities to make the right choice!
Fiber cement siding and stone veneer are your best bets for longevity, with fiber cement potentially lasting over 50 years. If you want a durable choice, these materials are definitely worth considering!
Picking a roof color might seem like a small decision, but it shapes how your entire home looks from the street. At the Lake of the Ozarks, where lakefront views, wooded lots, and a mix of traditional and contemporary homes define the landscape, your roof color does double duty — it needs to look great and hold up against Missouri’s weather swings.
Here’s what homeowners across the Lake of the Ozarks area are choosing in 2026, and how to pick a color that works for your home, your climate, and your neighborhood. When you’re ready to move forward, CoMo Premium Exteriors offers professional roofing services at the Lake of the Ozarks backed by premier certifications from both Owens Corning and GAF.
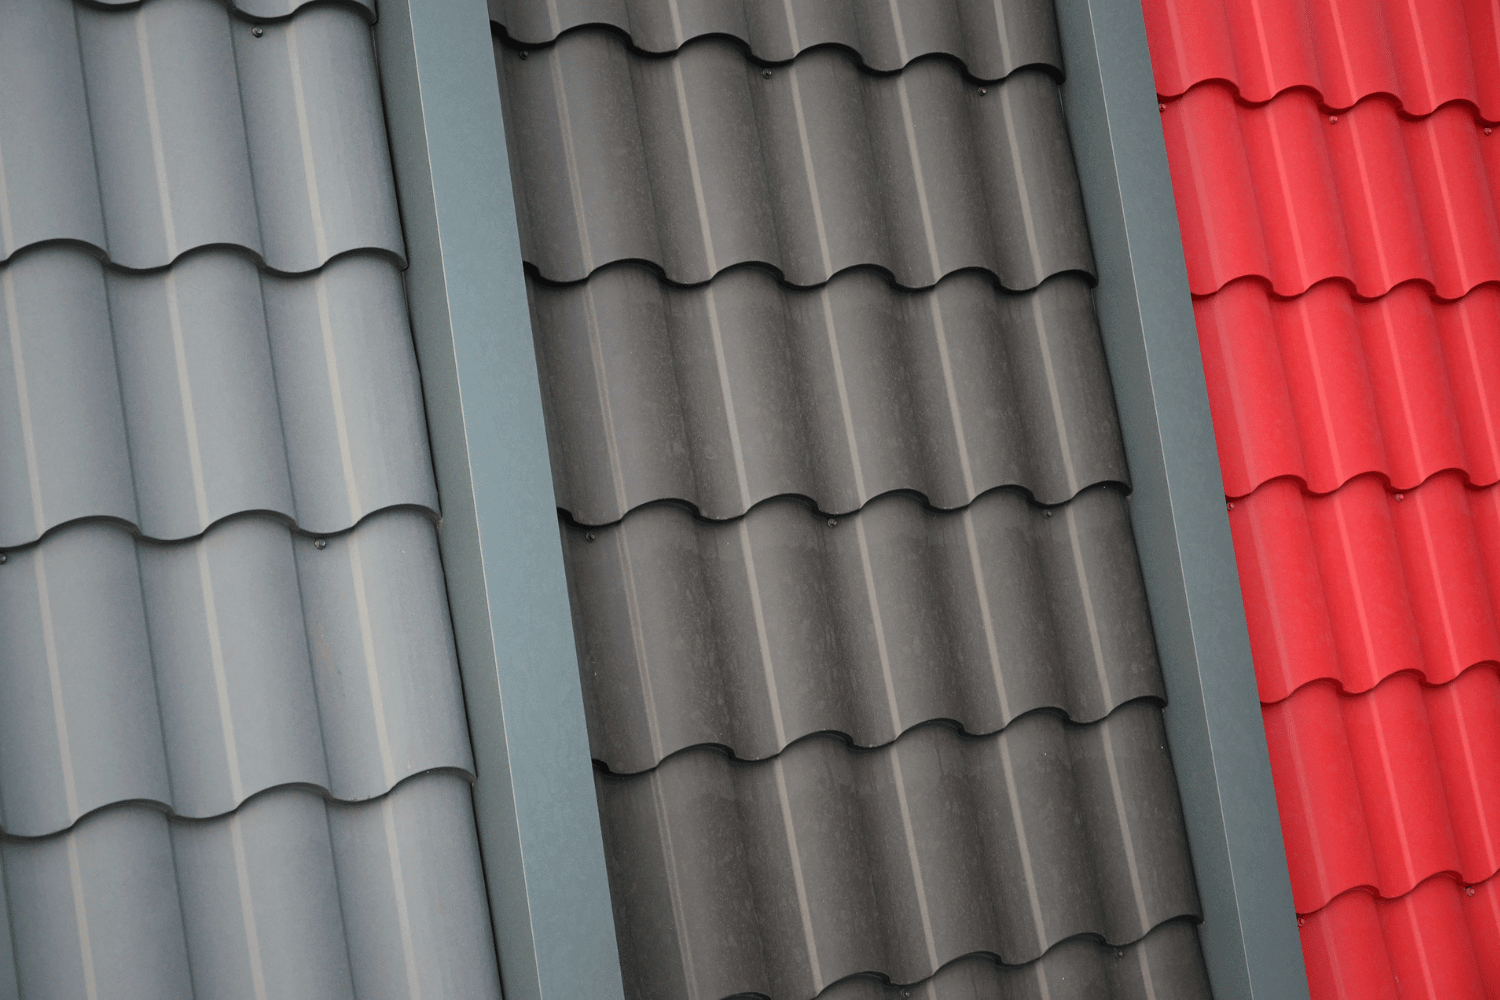
Popular roof shingle colors trending in 2026 for Lake of the Ozarks homeowners.
Earth tones and cool neutrals continue to dominate, but Lake of the Ozarks homeowners are also embracing bolder choices that stand out against wooded backdrops and lake views.
Charcoal black shingles remain the most versatile option for a reason. They pair with nearly any siding color — white, gray, stone, even cedar — and give both modern builds and traditional lake homes a sharp, finished look. On the darker side of the spectrum, charcoal works especially well when you want the roof to frame the home without competing with landscaping or waterfront views.
Weathered wood shingles mimic aged timber and are a natural fit for the Lake of the Ozarks. Cabins, A-frames, and rustic retreats benefit from the warm, layered look that blends with the surrounding tree canopy. This color also hides minor wear and debris better than lighter tones — a practical advantage in wooded areas.
Heather blend combines brown and green undertones for a dimensional, natural appearance. It’s a strong choice for homes with wood or stone accents, adding depth and character without looking too uniform. Heather blend has been gaining ground at the Lake as homeowners look for colors that age gracefully.
Deep blue shingles are the bolder pick that’s been growing in popularity. Against the lake backdrop, a deep blue roof creates a cohesive, intentional look. This shade works best on homes with white, light gray, or cream siding, where the contrast is clean rather than busy.
Desert tan shingles bring warm, inviting tones that pair well with beige, cream, and light brick exteriors. They also reflect more sunlight than darker options, which helps keep cooling costs down during Missouri’s humid summers. Desert tan is a reliable choice for homeowners who want a classic look that won’t go out of style.
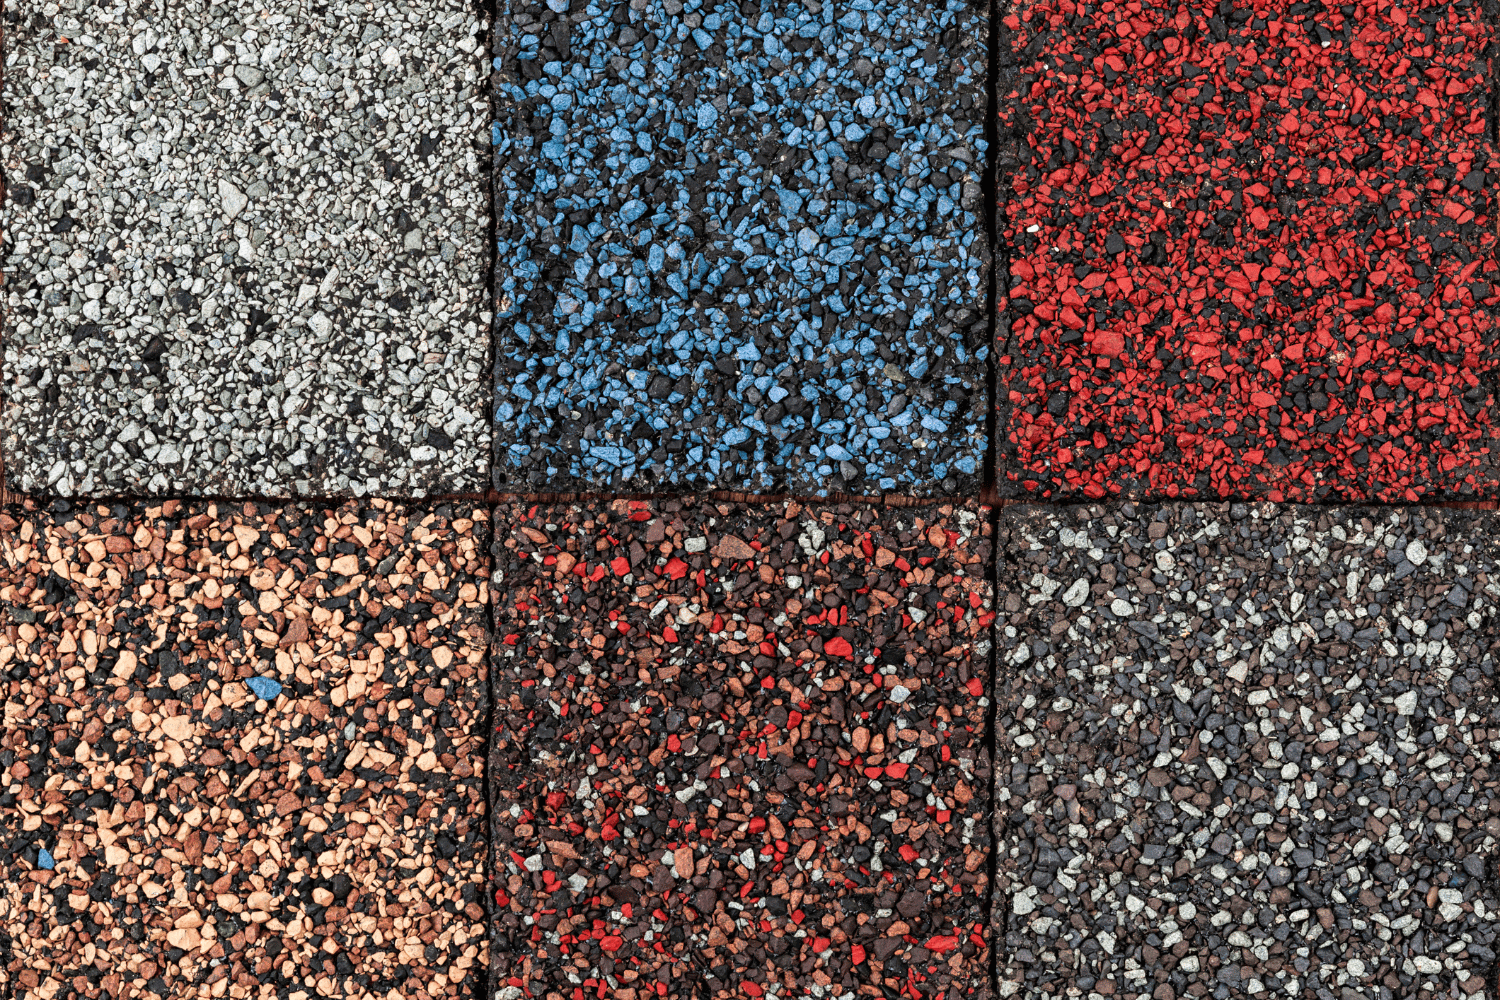
Matching roof color to your home’s style and surroundings matters as much as the color itself.
Color preference is personal, but a few practical factors should shape the final decision.
The simplest rule: warm siding pairs with warm roof tones, cool siding with cool tones. White siding works with almost anything — black, green, blue, or red shingles all create clean contrast. Gray siding looks best with darker shingles like charcoal or deep blue. Beige or tan siding pairs naturally with brown and weathered wood tones.
Central Missouri summers push into the 90s regularly, while winters can drop below freezing. Lighter shingle colors reflect more solar heat, which helps reduce cooling costs in summer. Darker colors absorb heat, which can be a modest advantage in winter but may increase attic temperatures in July and August. For Lake of the Ozarks homes, a mid-range color like heather blend or weathered wood balances both seasons well.
Modern lakefront builds can pull off bolder colors like deep blue or black without looking out of place. Ranch homes and traditional colonials tend to look best in classic neutrals — grays, tans, and blends. When in doubt, drive your neighborhood and note which roof colors complement similar home styles.
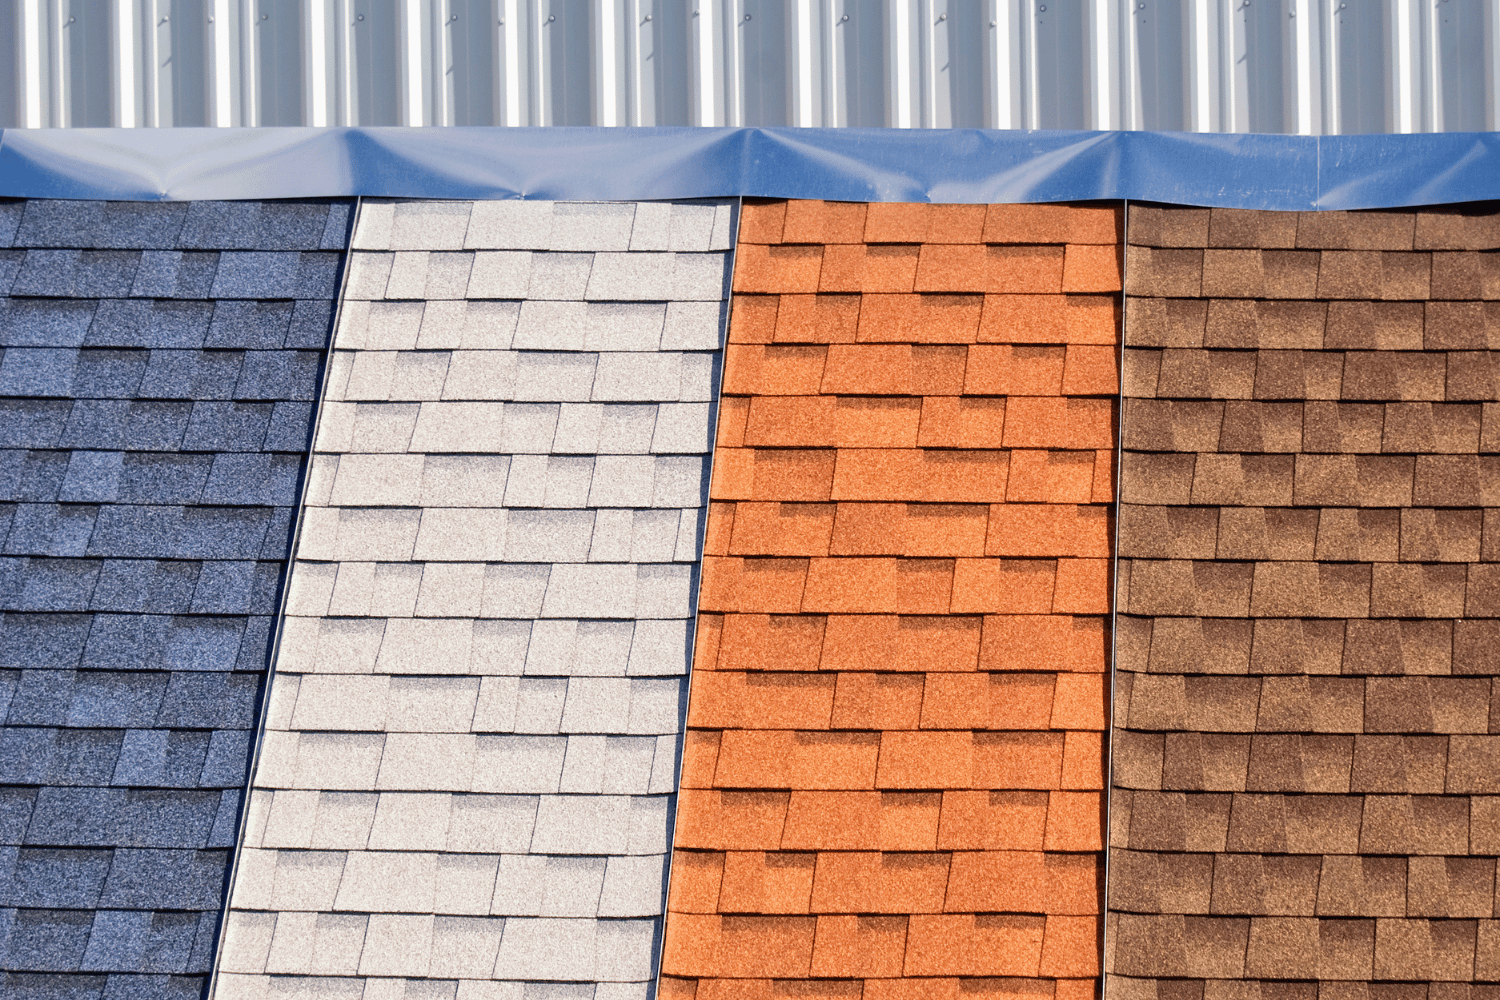
A few well-matched roof and siding combinations can make a dramatic difference in curb appeal.
Here are the most reliable combinations we see working well on homes across the Lake of the Ozarks:
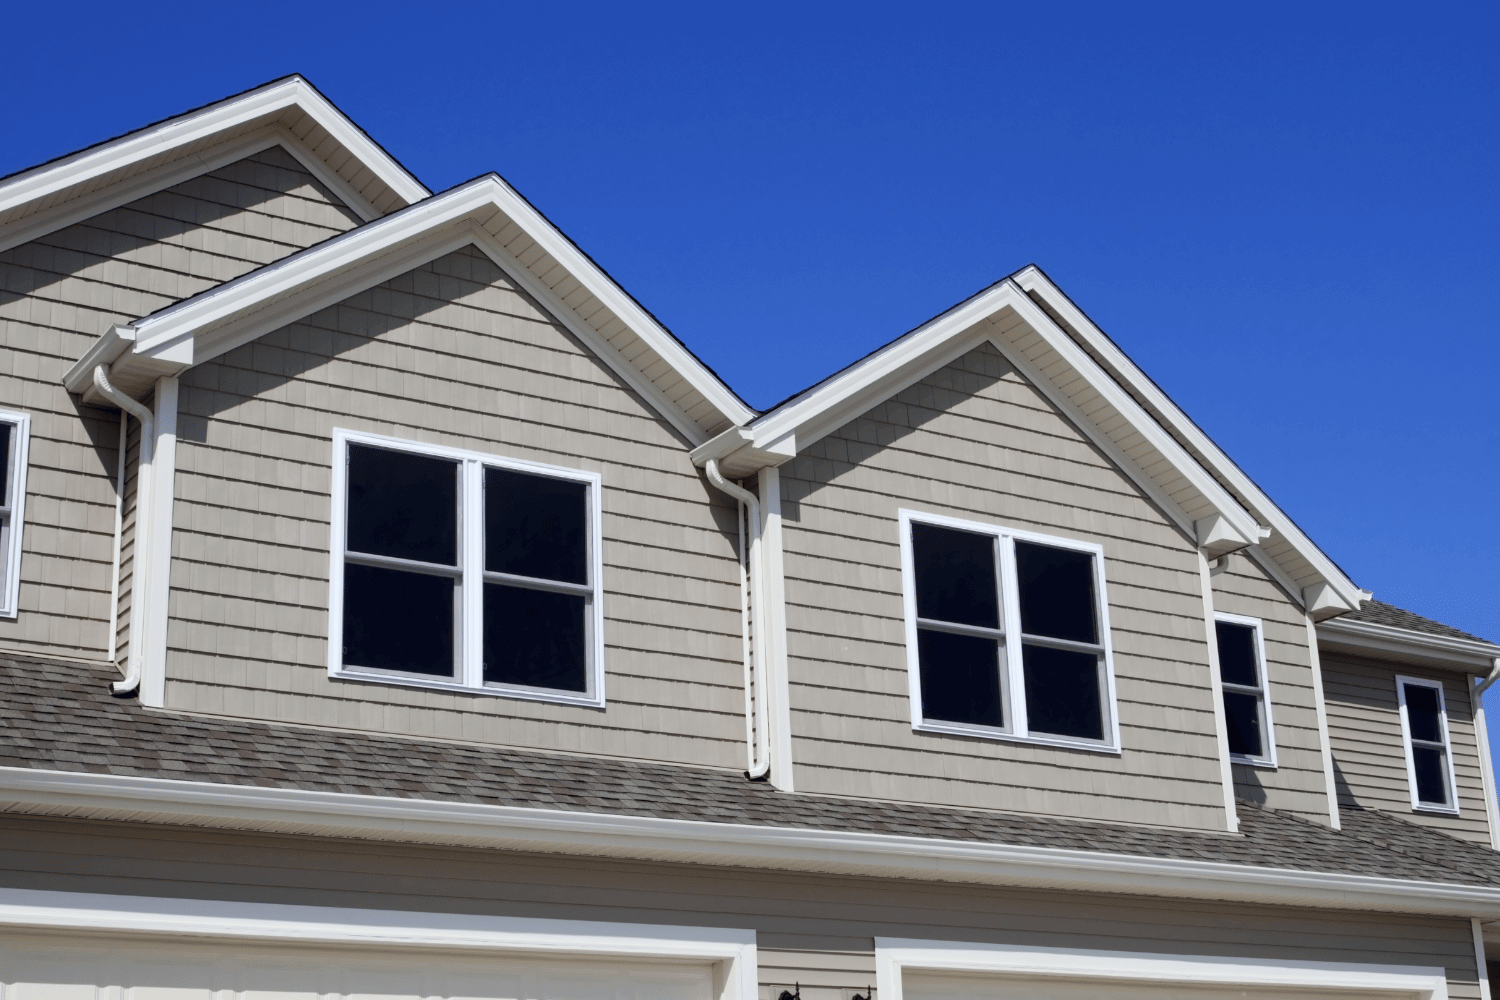
The right roof color affects curb appeal, energy costs, and how long your roof lasts.
Curb appeal and resale value: A roof that complements your home’s exterior makes a strong first impression. Real estate agents consistently note that coordinated exteriors — including the roof — help homes sell faster and closer to asking price.
Energy efficiency: Lighter shingles can measurably reduce attic temperatures. In a Lake of the Ozarks summer, that translates to lower AC bills. Darker shingles absorb more heat, which matters less when your attic is properly ventilated and insulated, but it’s still a factor worth considering.
Longevity: Color affects heat absorption, and sustained high temperatures can accelerate shingle aging. Mid-tone colors tend to offer the best balance of durability and aesthetics for Central Missouri’s four-season climate.
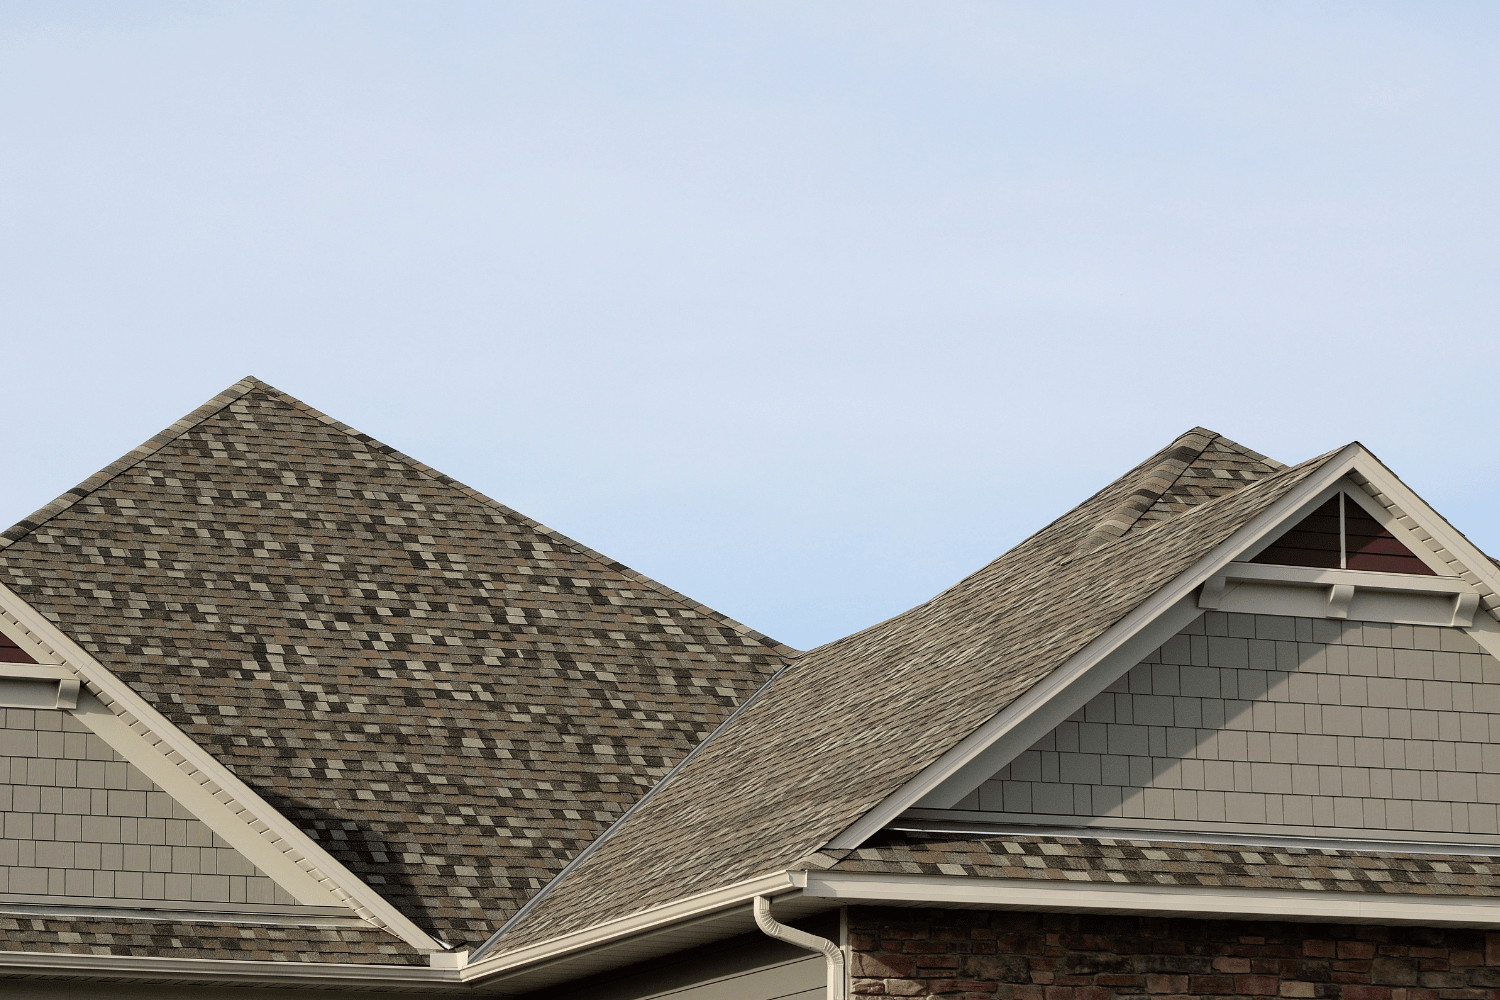
Nature-inspired tones and bolder choices are defining 2026 roof color trends.
Nature-inspired tones: Forest green and moss-toned shingles are moving from niche to mainstream, especially on properties surrounded by trees. At the Lake, these colors blend with the environment in a way that makes the home feel intentional rather than intrusive.
Warmer grays: Pure cool gray is giving way to warmer gray blends that have slight brown or taupe undertones. These read as more natural and complement the stone and wood accents common on Lake of the Ozarks properties.
Matte and textured finishes: Manufacturers are releasing shingles with more dimensional textures and lower sheen. The result is a roof that looks more like natural slate or shake without the weight or maintenance requirements.
CoMo Premium Exteriors is the only Lake of the Ozarks roofing company with premier-level certifications from both Owens Corning and GAF. Whether you’re replacing an aging roof, choosing colors for a new build, or need a professional eye on color and material options, our team handles every step — from inspection to final cleanup.
We serve homeowners across Camden, Miller, and Morgan counties with roof inspections, repairs, full replacements, and storm damage restoration. Reach out for a free consultation and let us help you choose a roof color that looks great and performs for decades.
Charcoal black and weathered wood are the two most popular roof colors heading into 2026. Both are versatile enough to work with a wide range of siding colors and home styles, which is why they remain consistent top sellers at the Lake of the Ozarks and across Central Missouri.
Yes. Lighter roof colors reflect more sunlight and can reduce attic temperatures by 20-40 degrees compared to dark shingles. In Missouri’s hot summers, that difference can lower cooling costs. However, proper attic insulation and ventilation have a larger overall impact than color alone.
Neutral colors — charcoal, gray, weathered wood, and desert tan — tend to appeal to the broadest range of buyers. Bold colors like deep blue can add curb appeal but may narrow your buyer pool if the shade doesn’t coordinate with the rest of the exterior.
You don’t need to match exactly, but your roof should feel cohesive within the neighborhood. If most homes on your street have neutral-toned roofs, a bright or unusual color could look out of place. Check any HOA guidelines as well — some Lake of the Ozarks developments have approved color palettes.
Yes. Most manufacturers offer large sample boards, and tools from Owens Corning and GAF let you upload a photo of your home and preview different shingle colors digitally. CoMo Premium Exteriors can also bring samples to your property so you can see how colors look in your specific lighting and surroundings.
Premium architectural shingles from brands like Owens Corning and GAF are engineered with ceramic-coated granules that resist UV fading for 20-30 years. Lower-grade shingles may show noticeable fading within 10-15 years. The color you choose matters less than the quality of the shingle itself when it comes to long-term color retention.
Does stone veneer increase home value? Absolutely. Installing stone veneer can not only elevate your home’s curb appeal but also offer one of the highest returns on investment in home improvement. This article dives into how stone veneer enhances visual interest, improves energy efficiency, and is a cost-effective upgrade.
Stone veneer offers a high return on investment, recouping up to 153% of installation costs while boosting curb appeal and market value.
Manufactured stone veneer provides an affordable, lightweight alternative to natural stone, offering significant savings on installation and long-term maintenance.
With increasing demand and popularity, investing in stone veneer not only enhances a home’s aesthetic but also positively impacts resale value in a competitive market.
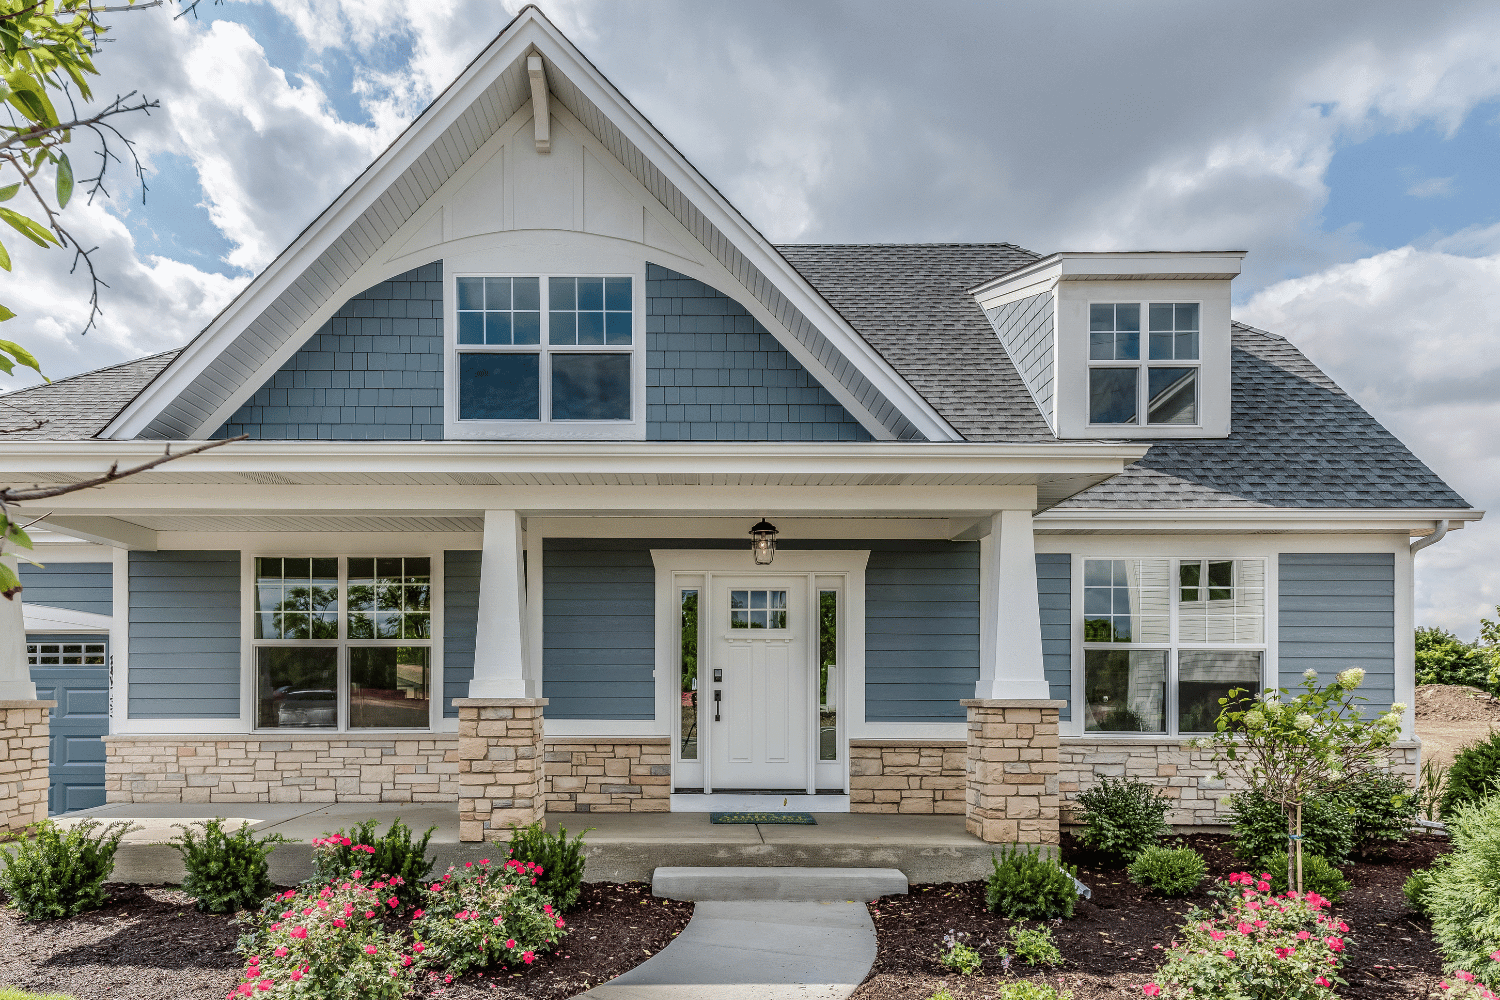
Cost-effective manufactured stone veneer applied to a home’s exterior.
Stone veneer is not just an aesthetic upgrade; it’s a strategic investment that can significantly enhance your property’s value. Stone veneer offers remarkable aesthetic and practical benefits, which directly correlate to increased home value. High-quality materials like stone veneer contribute to a home’s unique appearance, making it more appealing to potential buyers. In fact, homes with stone veneer can recoup up to 153% of their installation cost, making it one of the highest rates of return on investment in home improvement.
Stone veneer offers three main benefits: boosting curb appeal, creating visual interest, and increasing perceived value. Each factor enhances your home’s desirability and value. Here’s how stone veneer can transform your home.
The exterior of a home has a significant impact on how potential buyers perceive its value. Stone veneer can elevate a home’s curb appeal and provide a timeless architectural quality. A house with a stunning stone facade immediately stands out and captures attention. This enhanced curb appeal can translate into higher resale values, making your investment in stone veneer worthwhile.
Stone veneer can be applied to various parts of a home’s exterior, including entryways and columns, to create striking focal points with stone panels. These elements can transform your home’s entrance, making it more inviting and grandiose.
Stone veneer outshines materials like vinyl siding in aesthetic appeal, durability, and weather resistance. This makes it an attractive option for homeowners looking to boost their property’s curb appeal with minimal upkeep.
One of the most remarkable qualities of stone veneer is its ability to add visual interest to any home. Stone veneer can significantly elevate a home’s visual appeal and create a distinctive architectural style. This makes the property stand out in the neighborhood, attracting more attention from prospective buyers. The unique textures and patterns of stone veneer add depth and character, making your home visually interesting and appealing.
Stone veneer is often favored over vinyl and fiber cement siding for its aesthetic charm and durability. The rich, natural look of stone veneer is hard to replicate, making it a preferred choice for homeowners seeking elegance and sophistication. This increased visual interest can make a significant difference in your home’s appeal and market value.
Stone veneer doesn’t just improve the look of your home; it also elevates the perceived value with stone by giving an impression of quality and craftsmanship. Stone veneer can enhance a home’s perceived quality, potentially stone veneer increase home its market value and appeal. When buyers see a home with stone veneer, they often associate it with durability, luxury, and high-end construction.
Stone veneer also improves energy efficiency with its insulation properties. An extra layer of insulation from stone veneer helps regulate indoor temperatures, reducing heating and cooling costs. This not only makes the home more comfortable to live in but also adds to its long-term value.
With homes featuring stone veneer recouping up to 153% of their installation cost, it’s clear that this investment pays off, positively impacting a home’s value.
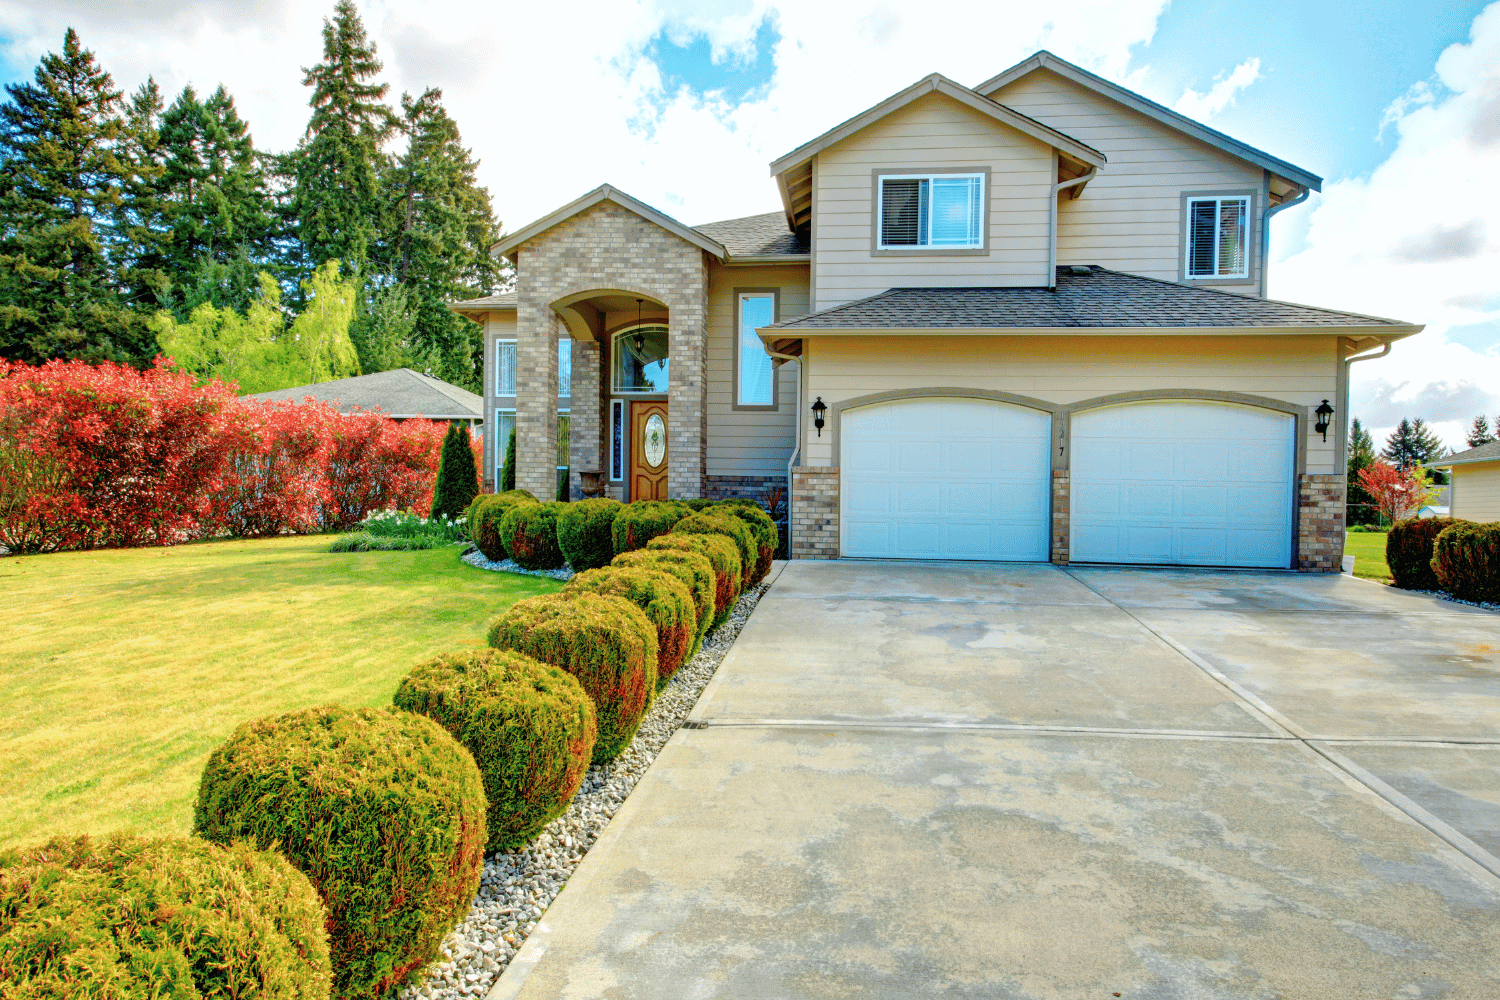
A beautiful home featuring stone veneer that enhances its value and curb appeal.
Manufactured stone veneer offers a cost-effective alternative to natural stone for enhancing your home’s exterior. Manufactured stone veneer mimics the appearance of natural stone at a fraction of the price, making it a financially viable option for homeowners. This budget-friendly option provides an attractive solution for upgrading homes without breaking the bank, without compromising on aesthetic appeal or versatility.
The cost-effectiveness of manufactured stone veneer goes beyond the initial purchase price. The lighter weight of manufactured stone veneer reduces shipping costs and simplifies the installation process, leading to significant savings on labor and materials. Let’s explore these cost benefits in more detail.
Homeowners can achieve a high-end look with manufactured stone veneer without the high-end price tag. More affordable than natural stone, manufactured stone veneer is a budget-friendly option for enhancing home exteriors. This option doesn’t skimp on visual appeal, offering the rich textures and colors of natural stone at a more accessible price.
Manufactured stone veneer can dramatically improve curb appeal and overall aesthetics, making it attractive to both homeowners and potential buyers. With minimal upkeep, manufactured stone veneer provides a low-maintenance way to achieve a sophisticated exterior.
Manufactured stone veneer offers significant savings during installation. Its lightweight nature simplifies installation, lowering labor expenses. Easier to cut and handle than natural stone, manufactured stone veneer reduces installation time and effort.
These installation savings make manufactured stone veneer an excellent choice for home improvement projects. Updating your home’s exterior or adding a new feature with easy-to-install manufactured stone veneer leads to substantial cost savings, making it a smart investment.
The cost benefits of manufactured stone veneer extend well beyond the initial installation. Resistant to mold and decay, stone veneer requires less upkeep than other materials. Regular inspections and occasional cleaning prolong the lifespan of stone veneer, ensuring it remains attractive and durable for years.
Manufactured stone veneer offers an impressive return on investment, with reports showing a 153% ROI. This high return on investment, combined with the low maintenance requirements, makes manufactured stone veneer a smart long-term choice for homeowners looking to enhance their property’s value while minimizing upkeep costs.
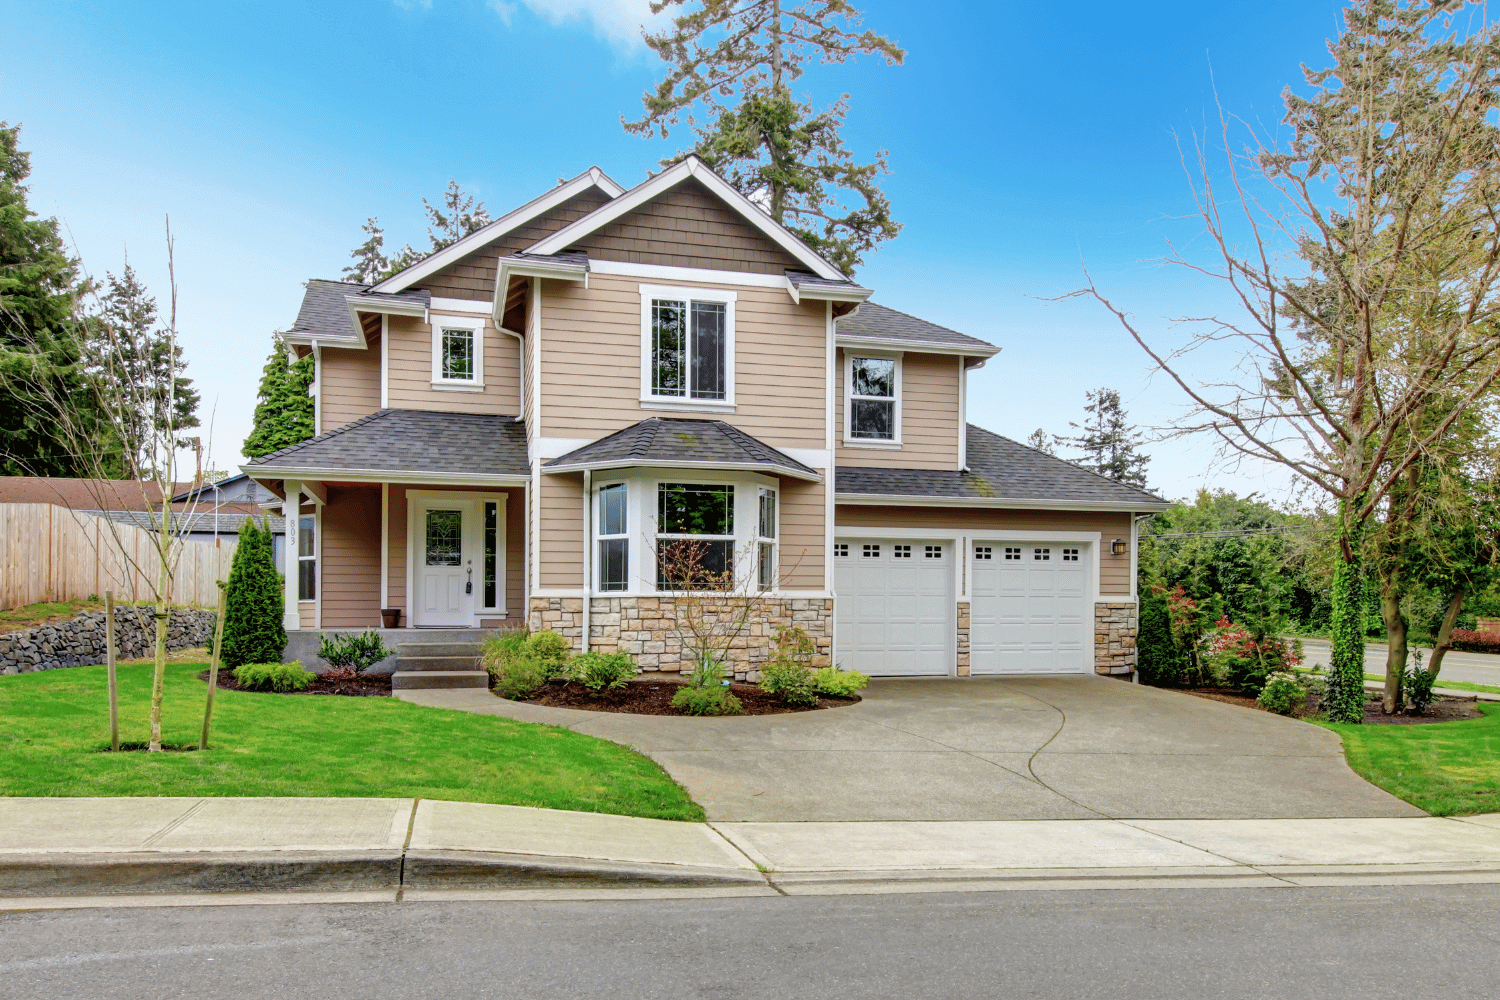
A family enjoying their home with stone veneer, showcasing its practical benefits.
Beyond its aesthetic appeal and cost-effectiveness, stone veneer offers several practical benefits that make it an excellent choice for home improvement projects. Stone veneer offers enhanced durability, longevity, improved energy efficiency, and low maintenance, adding significant value to your home.
Let’s dive into the specific practical benefits of adding stone veneer, focusing on its durability, energy efficiency, and low maintenance requirements.
Stone veneer endures severe weather conditions without compromising its appearance or structure. Its high resistance to moisture ensures that it remains intact over time, making it a reliable and long-lasting option for your home’s exterior. Manufacturing treatments enhance stone veneer’s resistance to fading and cracking, ensuring long-lasting beauty.
Stone veneer’s durability leads to fewer replacements and repairs, resulting in significant long-term savings. Warranties of up to 50 years reflect the durability and potential cost savings of manufactured stone veneer. This long lifespan makes stone veneer a practical and cost-effective choice for homeowners looking to invest in their home’s future.
Stone veneer can significantly improve your home’s energy efficiency. Stone veneer enhances insulation, helping regulate indoor temperatures more effectively. This insulation layer reduces heating and cooling costs, making your home more energy-efficient and comfortable.
Improved energy efficiency offers practical benefits beyond cost savings. A more energy-efficient home is environmentally friendly, reducing your overall impact. Investing in stone veneer enhances your home’s appeal and contributes to a sustainable future.
Stone veneer’s minimal maintenance requirement makes it a convenient choice for many. Requiring minimal upkeep, stone veneer contributes to lower maintenance costs over its lifespan. Stone veneer materials resist staining, chipping, and fading, minimizing frequent repairs and replacements.
Stone veneer maintenance is easy, requiring only standard cleaning products. This low-maintenance feature makes stone veneer an attractive option for homeowners seeking to add value without extensive upkeep.
Long-term savings and easy upkeep make stone veneer a practical, cost-effective choice for home improvement.
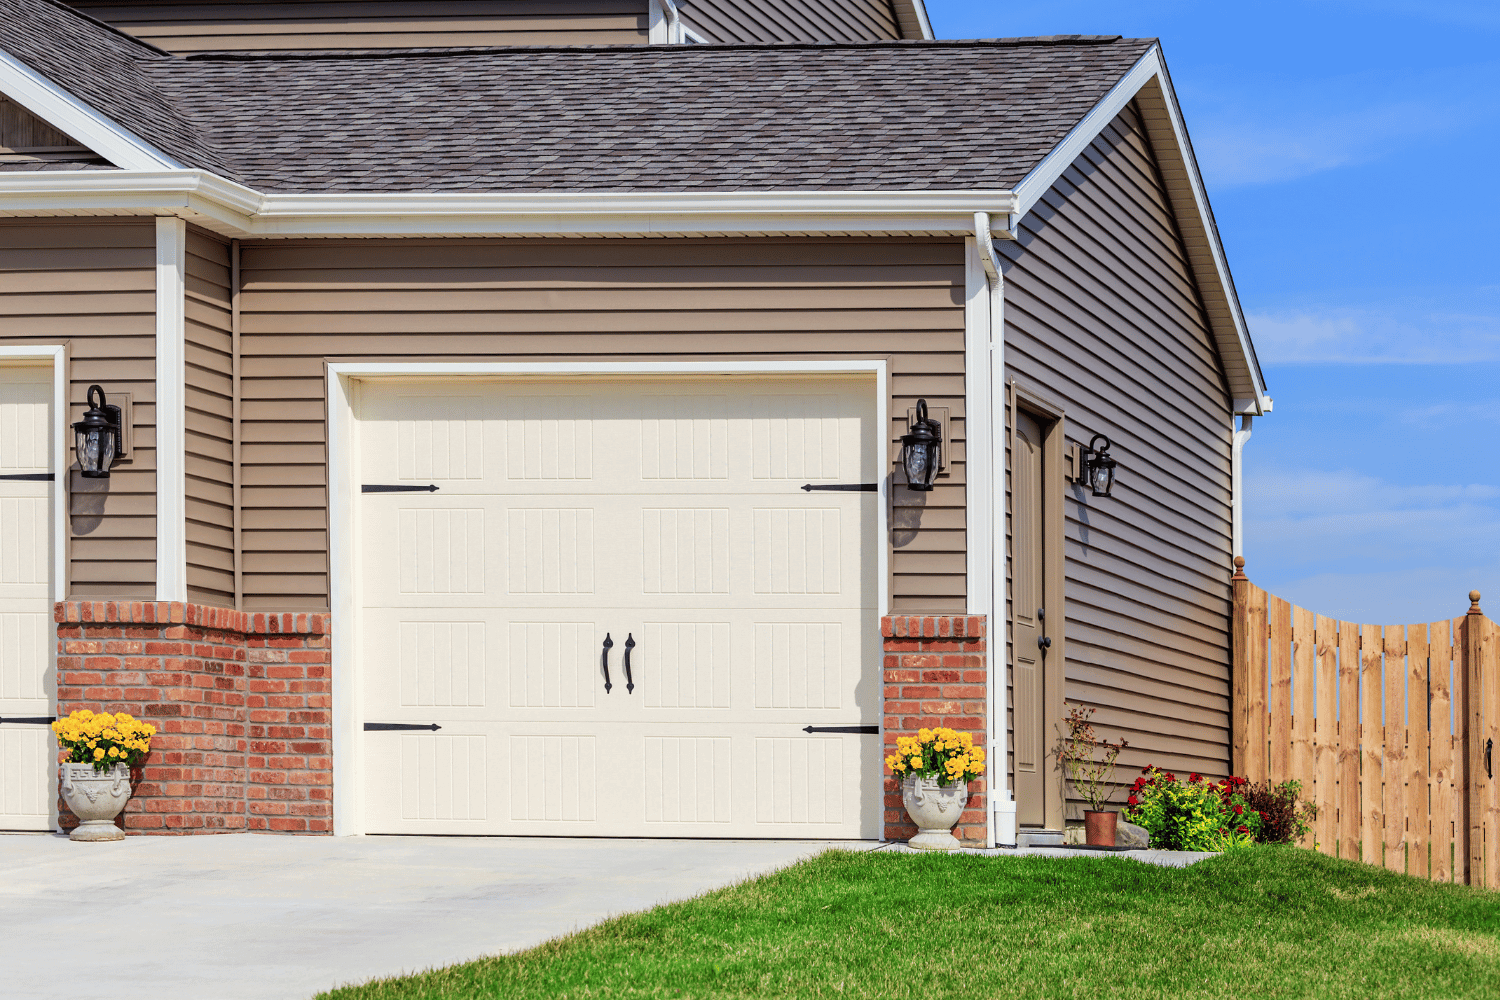
Exterior facade of a home featuring stone veneer, enhancing its overall appeal.
Stone veneer is versatile and can be used in various home improvement projects. From enhancing exterior facades to creating stunning interior accent walls, stone veneer adds elegance and sophistication to your home. Stone veneer’s lightweight nature and easy installation make it ideal for new builds and renovations.
Let’s explore some of the most popular uses of stone veneer in home improvement projects, focusing on exterior facades, accent walls, and entryways/columns.
Stone veneer enhances the exterior of a home, creating a more attractive and visually interesting facade. The aesthetic diversity of manufactured stone veneer allows for customization that mimics natural stone at a lower price. This makes it an excellent choice for homeowners looking to elevate their home’s curb appeal and overall aesthetic. Does stone veneer provide the same benefits as natural stone?
Stone veneer on exterior facades transforms your home’s look, making it stand out. Rich textures and colors of stone veneer add depth and character, creating a timeless exterior that appeals to buyers and enhances property value.
Stone veneer can also be used to create stunning interior accent walls. Stone veneer on interior walls creates a sophisticated focal point, adding elegance and texture. Stone veneer on interior walls adds texture and sophistication, making the space feel luxurious and inviting.
Whether you’re looking to enhance your living room, dining room, or bedroom, stone veneer can transform an ordinary space into something extraordinary. The added texture and visual interest make your interior spaces more appealing and unique, adding value to your home.
Integrating stone veneer into entryways can transform them into impressive statements that elevate the home’s entrance. Stone veneer on entryways creates impactful focal points, elevating overall design and making your home more inviting. Stone veneer on columns creates a dramatic look, adding elegance and sophistication to your home’s exterior.
Using stone veneer on entryways and columns not only enhances the visual appeal but also adds to the structural integrity and durability of these features. This combination of beauty and strength makes stone veneer an ideal choice for homeowners looking to make a lasting impact with their home improvement projects.
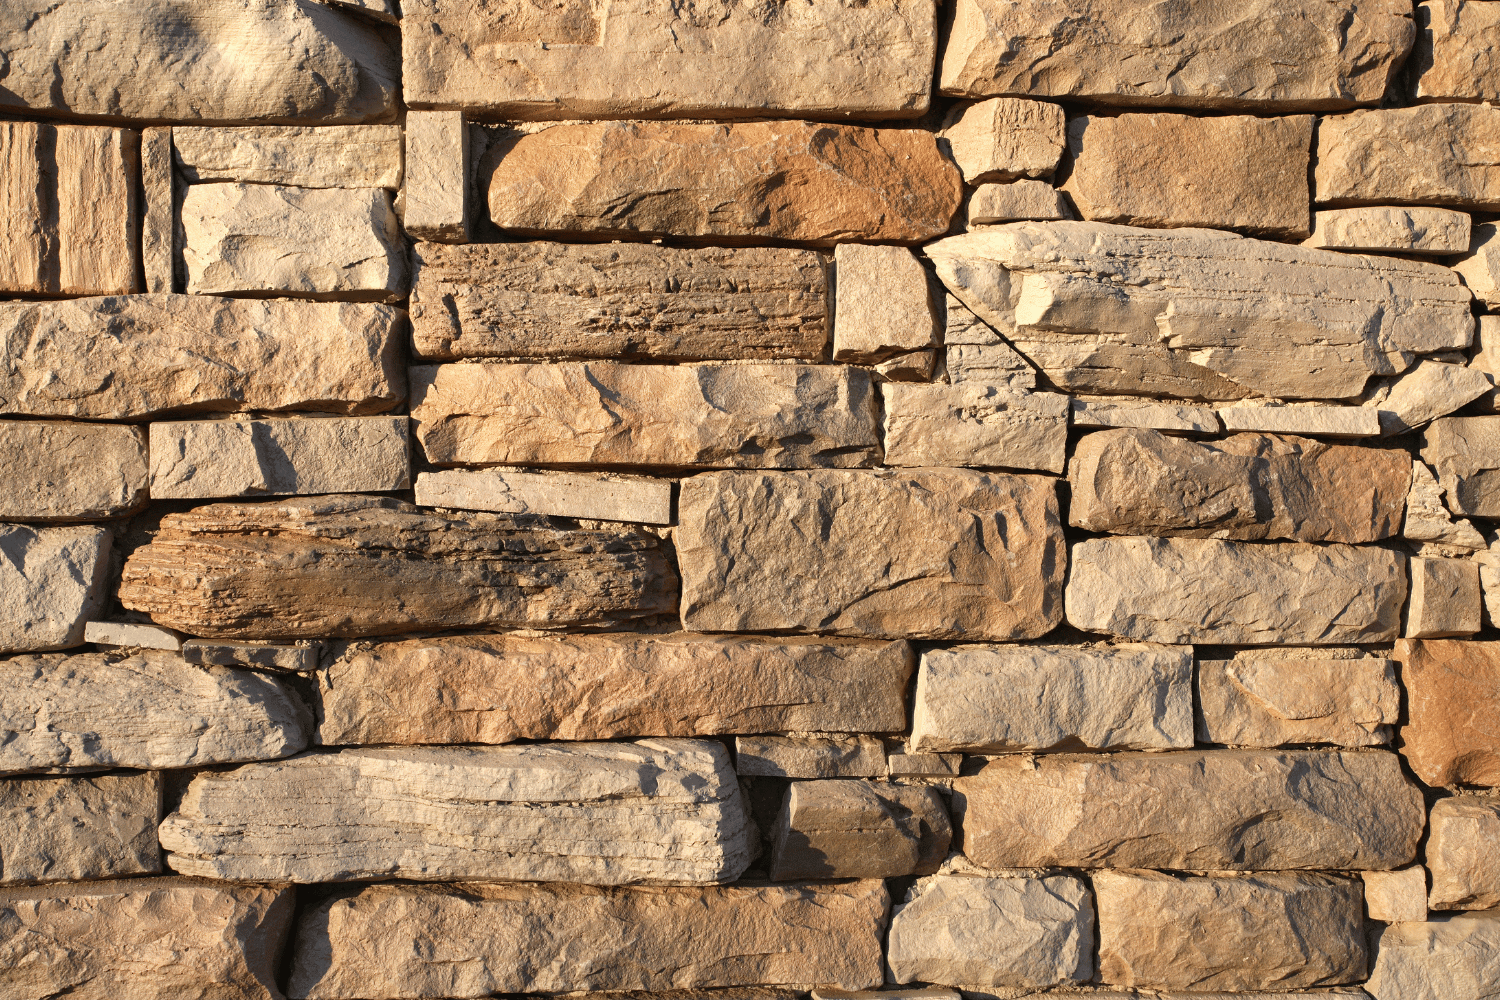
Graph illustrating the rising market trends and demand for stone veneer, indicating its impact on home value.
Demand for stone veneer has been steadily rising, reflecting its growing popularity among homeowners and real estate professionals. The U.S. stone veneer market was valued at approximately $675.7 million in 2023 and is projected to reach $974.2 million by 2032, reflecting a compound annual growth rate (CAGR) of 4.2%. This surge in demand is driven by the material’s aesthetic appeal, durability, and ability to enhance property value.
Manufactured stone veneer is a favored choice in home improvement projects, offering a cost-effective and visually appealing alternative to natural stone veneer. As market trends continue to evolve, the preference for stone veneer is expected to grow, making it a smart investment for homeowners looking to enhance their property’s curb appeal and resale value.
The increasing popularity of stone veneer among homebuyers and real estate professionals is notable. Stone veneer can significantly enhance a home’s resale value, as buyers often see it as a desirable upgrade. Growing demand indicates that stone veneer plays a crucial role in modern home improvement projects, offering both aesthetic and functional benefits.
Compared to materials like vinyl and fiber cement siding, stone veneer is increasingly in demand for its unique appearance and potential to raise property values. This trend highlights the importance of investing in materials that not only improve the look of a home but also offer long-term value and appeal to discerning buyers.
Stone veneer notably impacts home resale value. Recent evaluations show stone veneer outperforms other cladding materials, including vinyl and fiber-cement siding, in resale value. Adding stone veneer can significantly enhance a home’s resale value, making it a compelling choice for sellers.
Improving curb appeal and perceived quality, stone veneer attracts buyers and increases property market value. Stone veneer’s long-term value and return on investment make it a smart choice for homeowners looking to maximize property worth.
Compared to traditional materials like vinyl and fiber cement siding, stone veneer continues to grow in demand, appealing to buyers seeking unique, high-quality exterior options. The increasing popularity of stone veneer among homebuyers suggests a shift towards more aesthetically appealing materials.
Adding stone veneer can positively influence resale value, positioning properties favorably in the competitive real estate market. As real estate demands evolve, the trend towards stone veneer is likely to continue, driven by homeowners’ desire for distinct, durable exterior finishes.
Stone veneer offers a multitude of benefits that can significantly enhance the value and appeal of your home. From boosting curb appeal and creating visual interest to increasing perceived quality and offering practical advantages like durability and energy efficiency, stone veneer is a versatile and cost-effective choice for any home improvement project.
As market trends continue to favor stone veneer, its popularity and demand are expected to grow, making it a smart investment for homeowners looking to enhance their property’s value. By choosing stone veneer, you not only improve the look of your home but also ensure long-term value and appeal. Consider incorporating stone veneer into your next home improvement project and experience the transformative impact it can have on your home.
Stone veneer instantly elevates your home’s exterior, providing a timeless look that captivates onlookers and enhances curb appeal. Investing in this stylish upgrade can truly transform your property’s first impression!
Absolutely! Manufactured stone veneer offers the beauty of natural stone but at a fraction of the cost, making it a smart choice for budget-conscious homeowners.
Adding stone veneer to your home not only boosts its durability and energy efficiency but also reduces maintenance efforts. It’s a smart investment that enhances both the aesthetic appeal and functionality of your space!
Stone veneer can greatly boost your home’s resale value by enhancing its curb appeal and perceived quality, making it an attractive choice for potential buyers. Investing in stone veneer is a smart move for those looking to maximize their return when selling.
Stone veneer is increasingly popular because it offers a stunning aesthetic, exceptional durability, and can significantly enhance your property value. Embrace this stylish option to elevate your home’s appeal!
Board and batten and lap siding are the two most popular siding profiles we install across Central Missouri. Each has strengths, and the right choice depends on your home’s architecture, your budget, and how you want the finished exterior to look. At CoMo Premium Exteriors, we work with both styles daily in Columbia, Jefferson City, and the Lake of the Ozarks area, so here is an honest, side-by-side breakdown.
Board and batten siding uses alternating wide vertical boards and narrow strips (battens) that cover the seams between them. The design originated on barns and farmhouses nearly 200 years ago, and has seen renewed interest in modern residential architecture. The vertical lines create a tall appearance that works particularly well on gable ends, entryways, and accent sections.
Today’s board and batten comes in several materials:
Lap siding (also called clapboard or bevel siding) consists of horizontal boards installed so each row overlaps the one below it. This is the most common siding profile in the United States and has been used on American homes for centuries. The overlapping design naturally sheds water, making it a strong choice for moisture management.
Common lap siding styles include:
Lap siding is available in the same material options as board and batten: wood, fiber cement, vinyl, and engineered wood. According to James Hardie, their HardiePlank lap siding is the most popular brand of siding in America, and it is our top recommendation for Mid-Missouri homes seeking the horizontal look.
Board and batten makes homes look taller and adds a modern farmhouse or contemporary feel. You will see this style in Columbia neighborhoods like Thornbrook, The Highlands, and newer developments in Ashland and Hallsville. The vertical lines create bold shadow lines that photograph well and give the home distinctive character.
Lap siding gives a home a more traditional, grounded appearance. The horizontal lines visually widen the home and complement classic architectural styles like Cape Cod, Colonial, Ranch, and Craftsman — all common across Mid-Missouri. Lap siding is the safe, timeless choice that appeals to the broadest range of buyers if resale value is a consideration.
Here is what each style typically costs installed in the Columbia and Jefferson City market:
For a typical 1,500-square-foot Columbia home with approximately 1,200 square feet of siding area, the total siding replacement cost ranges from $3,600 for basic vinyl lap to $18,000 for fiber cement board and batten.
Our climate is tough on siding. The National Weather Service confirms that Central Missouri experiences temperature swings from below zero to above 100 degrees, 40+ inches of annual rainfall, regular hail, and ice storms.
Lap siding’s advantage: The overlapping horizontal design naturally channels water downward and away from the wall. This gives it a natural edge in moisture management, which is critical in our humid climate. Fiber cement lap siding from James Hardie is rated to withstand sustained winds up to 150 mph.
Board and batten’s challenge: The vertical seams between boards can allow moisture to penetrate if the battens are not properly installed and sealed. Quality installation matters more with board and batten than with lap siding. When done right with fiber cement or properly maintained wood, board and batten performs well in our conditions.
Lap siding is faster and simpler to install. The single-piece overlapping design means a crew can cover more area per day. A full lap siding project on a typical Columbia home takes 3 to 7 days depending on material and complexity.
Board and batten takes longer because it requires two-piece construction — the boards go up first, then the battens. Alignment must be precise for both structural integrity and visual appeal. Expect 5 to 10 days for a full board and batten installation. The added labor contributes to the higher installed cost.
Maintenance needs depend more on material than on profile style:
One of the most popular design trends in Mid-Missouri right now is combining both profiles on the same home. This mixed-profile approach creates visual depth and architectural interest. Common combinations we install include:
When combining profiles, we recommend using the same material (for example, all fiber cement) and coordinating colors to keep the design cohesive. The City of Columbia building codes treat both profiles the same, so there are no permitting complications with mixed installations. You can check specific requirements through the City of Columbia Building Division.
Choose board and batten if:
Choose lap siding if:
Choose a combination if:
Yes, board and batten typically costs 15 to 30 percent more than lap siding in the same material. The difference comes primarily from the more complex installation requiring two-piece construction. In the Central Missouri market, expect to pay $1 to $3 more per square foot installed for board and batten compared to lap siding in the same material.
Lap siding has a natural advantage in moisture management because its overlapping design channels water away from the wall. Board and batten can perform equally well in our climate when properly installed with quality flashing and sealant, but it is less forgiving of installation shortcuts. In either profile, fiber cement is the most weather-resistant material choice for our area.
Absolutely, and it is one of the most popular design choices we see in Columbia right now. The key is to use the same material for both profiles and choose complementary colors. Most homeowners use board and batten as an accent (gable ends or entryways) with lap siding as the primary profile.
Lap siding has the broadest market appeal because it fits the widest range of architectural styles. However, board and batten can command a premium on homes where it fits the design, particularly in the modern farmhouse style that is popular in newer Columbia subdivisions. The material matters more than the profile for resale — fiber cement consistently outperforms vinyl in appraisal values.
Lifespan depends primarily on material, not profile. Fiber cement (either profile) lasts 50 or more years. Vinyl lasts 30 to 50 years. Wood lasts 20 to 40 years with proper maintenance. Our freeze-thaw cycles, humidity, and storm exposure are the biggest factors affecting siding longevity regardless of style.
The City of Columbia generally does not require a building permit for siding replacement if the project does not involve structural changes. However, if you are changing the wall structure, adding insulation, or your home is in a historic district, a permit may be required. We handle permitting as part of our project management when needed.
James Hardie fiber cement with lap siding as the primary profile and board and batten accents on gable ends is our most requested combination. The HardiePlank/HardiePanel pairing gives a clean, modern look with the durability that handles our Central Missouri weather year after year.
Both profiles require precise installation for proper weather performance and warranty coverage. Board and batten in particular demands exact alignment and sealing. Professional installation ensures the manufacturer warranty remains valid — James Hardie warranties, for example, require certified installer credentials. For Columbia homeowners, professional installation also means the project stays on schedule and meets local code requirements.
Board and batten suits specific styles best — modern farmhouse, contemporary, craftsman, and some Prairie designs. It can look out of place on traditional Colonial or Cape Cod homes. Lap siding works across a broader range of styles. If you are unsure which profile fits your home, a design consultation can clarify what will complement your architecture.
Fiber cement board and batten needs minimal upkeep. Plan to rinse off dirt occasionally and inspect caulking around windows and doors every few years. Repainting typically happens every 15 to 20 years rather than every 3 to 7 years like wood. No concerns about rot, termites, or or warping from Missouri humidity.
In most cases, we recommend removing old siding before installing new material. Going over existing siding can trap moisture, hide rot, and void manufacturer warranties. Columbia building codes may also require removal for permit compliance. The exception: some vinyl siding in good condition can accept new vinyl board and batten directly, though this limits material choices.
Look for cracking, warping, fading, or or loose panels. Check for soft spots on wood siding (rot indication). If you see granules from asphalt shingles accumulating near your siding, your roof may be failing and the siding could be next. Energy bills climbing steadily can mean your siding lacks proper insulation. When in doubt, a professional inspection identifies issues before they become expensive problems.
Ready to explore your siding options? Call CoMo Premium Exteriors at (573) 424-9006 or schedule a free exterior inspection. We serve Columbia, Jefferson City, Lake of the Ozarks, Fulton, Boonville, Ashland, and communities throughout Mid-Missouri.
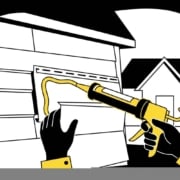
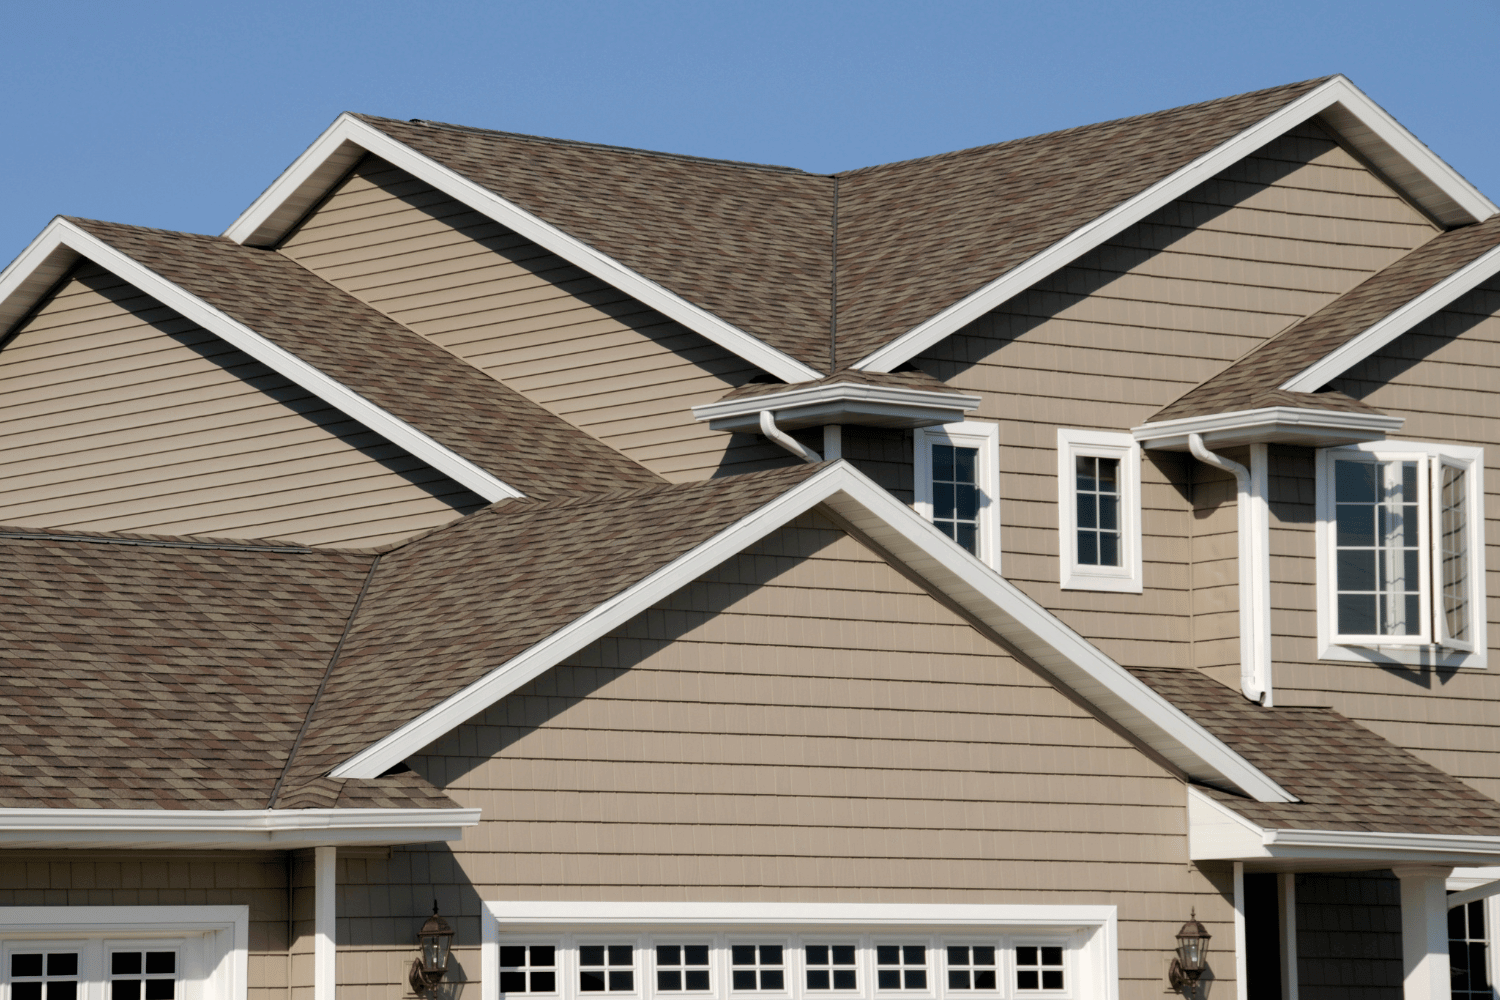
Applying vinyl siding adhesive during a repair project.
When a vinyl siding panel comes loose, adhesive is usually the fastest way to reattach it without pulling out the nail gun. This guide covers which adhesives actually hold up outdoors, how to apply them so the bond lasts, and what to avoid if you want the repair to stick through Missouri’s temperature swings.
Nails and screws work fine for initial vinyl siding installation, but they’re not always the best call for repairs. Drilling into an existing panel can crack it, and face-nailing a loose section creates a new penetration point that moisture can exploit.
Adhesive gives you full-surface contact instead of a single point of attachment. That matters in Columbia and across Mid-Missouri, where summer temperatures push vinyl past its expansion limits and winter cold pulls it back. A bonded surface flexes with the panel instead of fighting it.
Construction adhesive also won’t corrode, which is more than you can say for the nails currently rusting behind a lot of older siding jobs in the area.
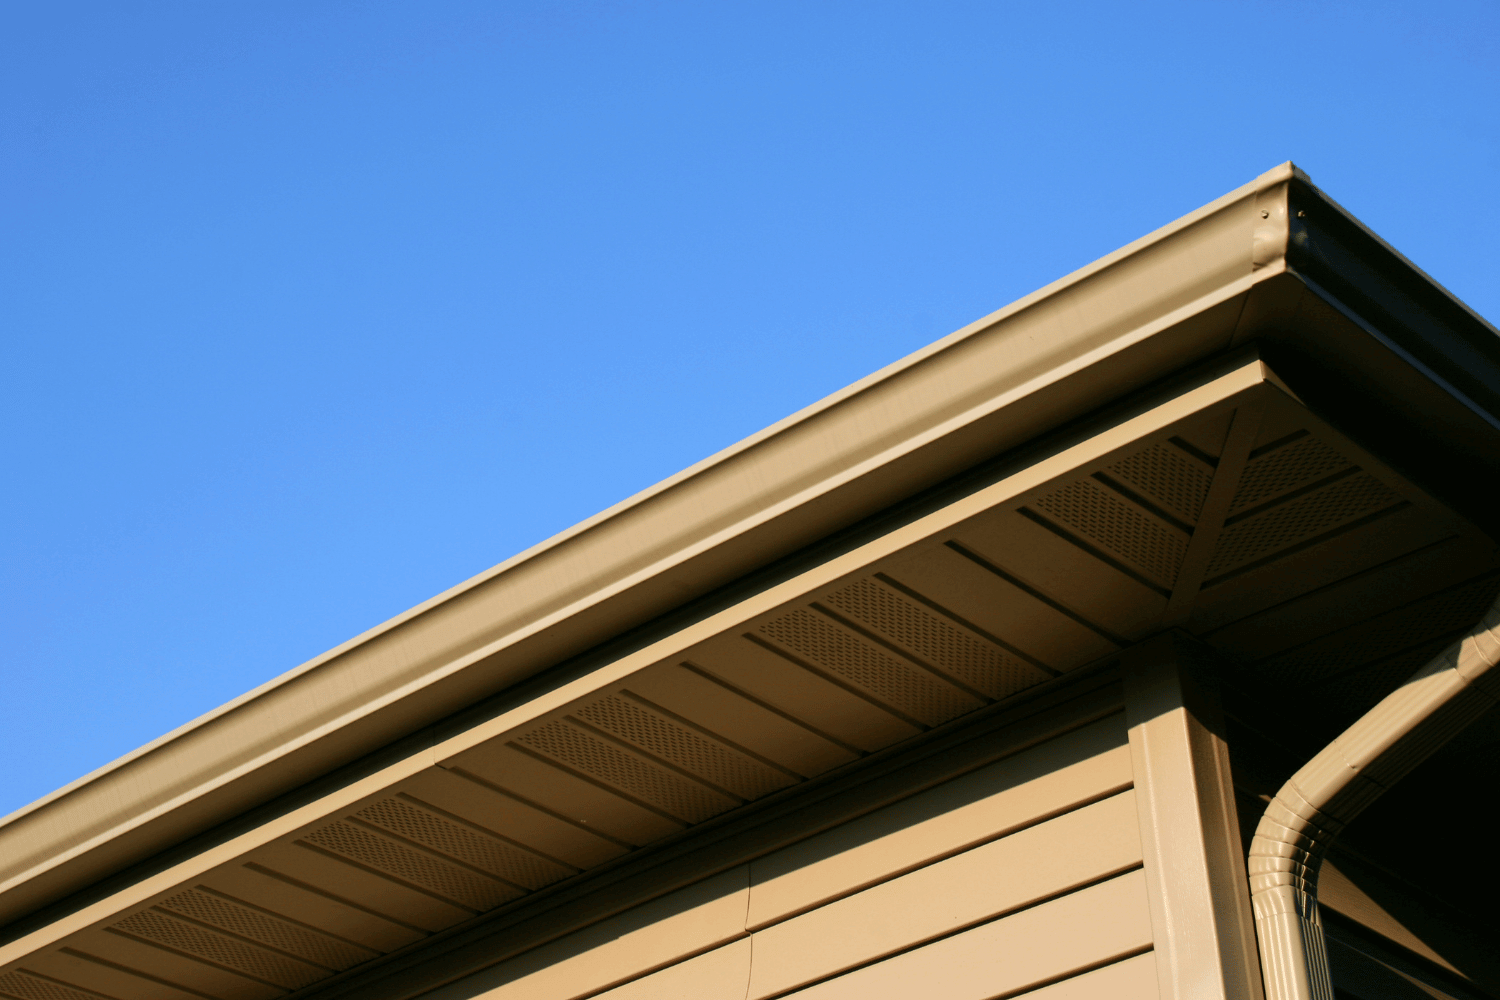
Common vinyl siding adhesive types.
Not every adhesive sold at the hardware store is right for exterior vinyl. Here are the three main categories that actually perform on vinyl siding:
The most versatile option. Products like Loctite PL Premium and Liquid Nails LN-609 bond vinyl to wood, metal, concrete, and other vinyl panels. They handle temperature cycling well and remain flexible after curing. For most Mid-Missouri repair jobs — reattaching a loose panel, securing a corner post, or fixing trim — this is what you want.
PVC cement creates a solvent weld, essentially fusing two vinyl pieces into one. It’s strong, but it sets fast (sometimes under 30 seconds), so you need to have everything aligned before you apply it. Best for small, precise repairs like patching a crack or reattaching a decorative piece.
Polyurethane adhesives like Gorilla Glue expand as they cure, filling gaps in uneven surfaces. They’re waterproof and handle temperature swings, but the expansion can push panels out of alignment if you use too much. Clamp whatever you’re bonding and use it sparingly.
Match the adhesive to the job, not the other way around. A few questions to ask before you buy:
Always follow manufacturer guidelines for the specific product. Application temperatures, cure times, and surface prep requirements vary between brands.
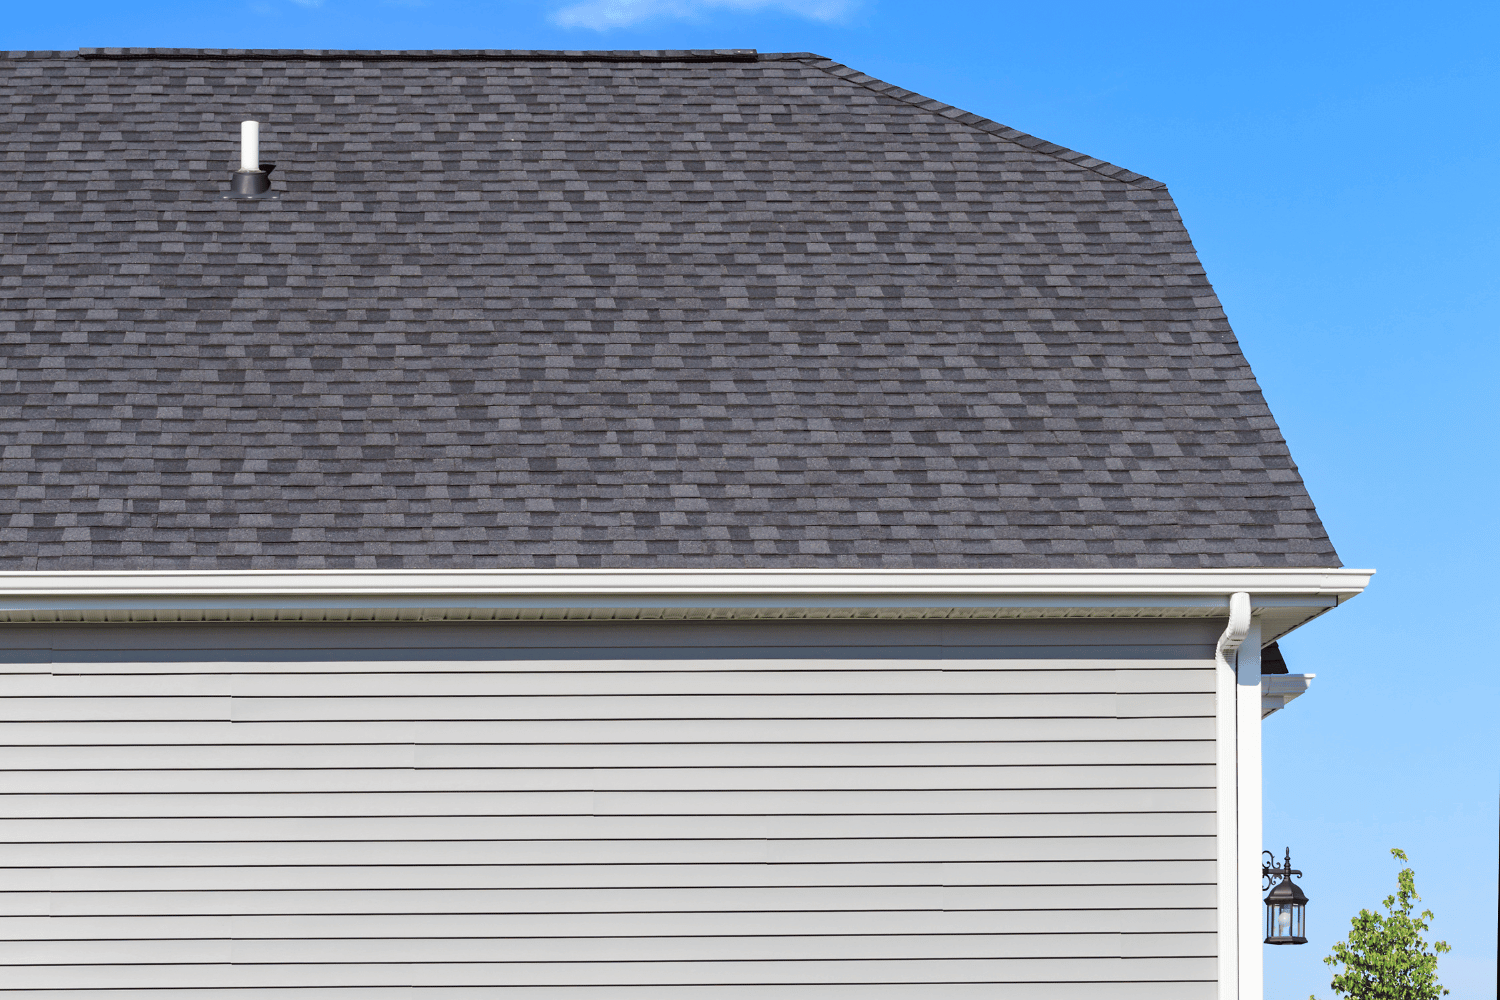
Step-by-step adhesive application on vinyl siding.
Clean both surfaces with mild soap and water. Rinse and let them dry completely — adhesive won’t bond to damp vinyl. If the surface is glossy or painted, scuff it lightly with 120-grit sandpaper so the adhesive has texture to grab.
Load your adhesive into a caulk gun and apply a steady, continuous bead. Avoid gaps in the bead — they become weak points. Work in a well-ventilated area, especially with solvent-based products.
Press the siding firmly into position. If the panel wants to pull away, use a clamp or a temporary fastener at the edge (not through the face) to hold it while the adhesive sets. Follow the manufacturer’s cure time — don’t remove supports early, and avoid buckling issues by keeping pressure even.
Adhesive works well for reattaching a loose panel or two. But if you’re seeing widespread delamination, warping, or panels pulling away across an entire wall section, the underlying problem probably isn’t adhesive — it could be moisture damage, improper installation, or storm damage that needs a full assessment.
If you’re in the Columbia area and noticing siding issues beyond a quick repair, CoMo Premium Exteriors can inspect the damage and tell you whether a spot fix will hold or if replacement makes more sense.
A little maintenance goes a long way toward preventing the loose-panel problems that send people looking for adhesive in the first place:
For most repairs, exterior-grade construction adhesive like Loctite PL Premium or Liquid Nails LN-609 is the best choice. These products bond vinyl to multiple surfaces, remain flexible after curing, and hold up to Missouri’s temperature extremes.
Yes, but only for vinyl-to-vinyl bonds on small, precise repairs. PVC cement creates a solvent weld that fuses the plastic, but it sets very quickly and doesn’t fill gaps. For larger repairs or bonding vinyl to a different material, use construction adhesive instead.
Cure times vary by product, but most exterior construction adhesives reach full strength in 24–72 hours. Initial grab happens within minutes, and you can usually remove temporary bracing after 4–8 hours if the temperature is above 60°F. Always check the manufacturer’s spec sheet for the exact product you’re using.
Most exterior adhesives require surface temperatures of at least 40–60°F to cure properly. In Missouri, that generally means avoiding adhesive repairs on exterior walls from late November through February unless you can warm the surface. Cold application leads to weak bonds that fail when temperatures warm up and the vinyl expands.
Adhesive is the better choice for repairs on existing siding, since driving new nails or screws through an installed panel can crack it and create new entry points for water. For new installation, nails remain the standard — siding needs to be able to expand and contract along the nail slot, which adhesive alone doesn’t allow.
Repeated loose panels usually point to an underlying issue: improper nailing (too tight or at the wrong angle), moisture damage behind the siding, UV degradation of the panel edges, or storm damage. If adhesive repairs don’t hold, the problem is likely structural rather than adhesive-related, and it’s worth getting a professional inspection to find the root cause.
Are you dealing with problems with flat roofs? Flat roofs are popular but come with unique challenges. Common issues include leaks, pooling water, and membrane separation. This article will explore these problems and offer solutions to help you maintain your flat roof effectively.
Flat roofs are prone to common problems like pooling water, blistering, and membrane separation, making regular maintenance crucial.
Effective drainage solutions and quality materials play a significant role in preventing leaks and extending the lifespan of flat roofs.
Hiring professional roofing services ensures comprehensive inspections, expert repairs, and efficient replacements, leading to long-term cost savings.
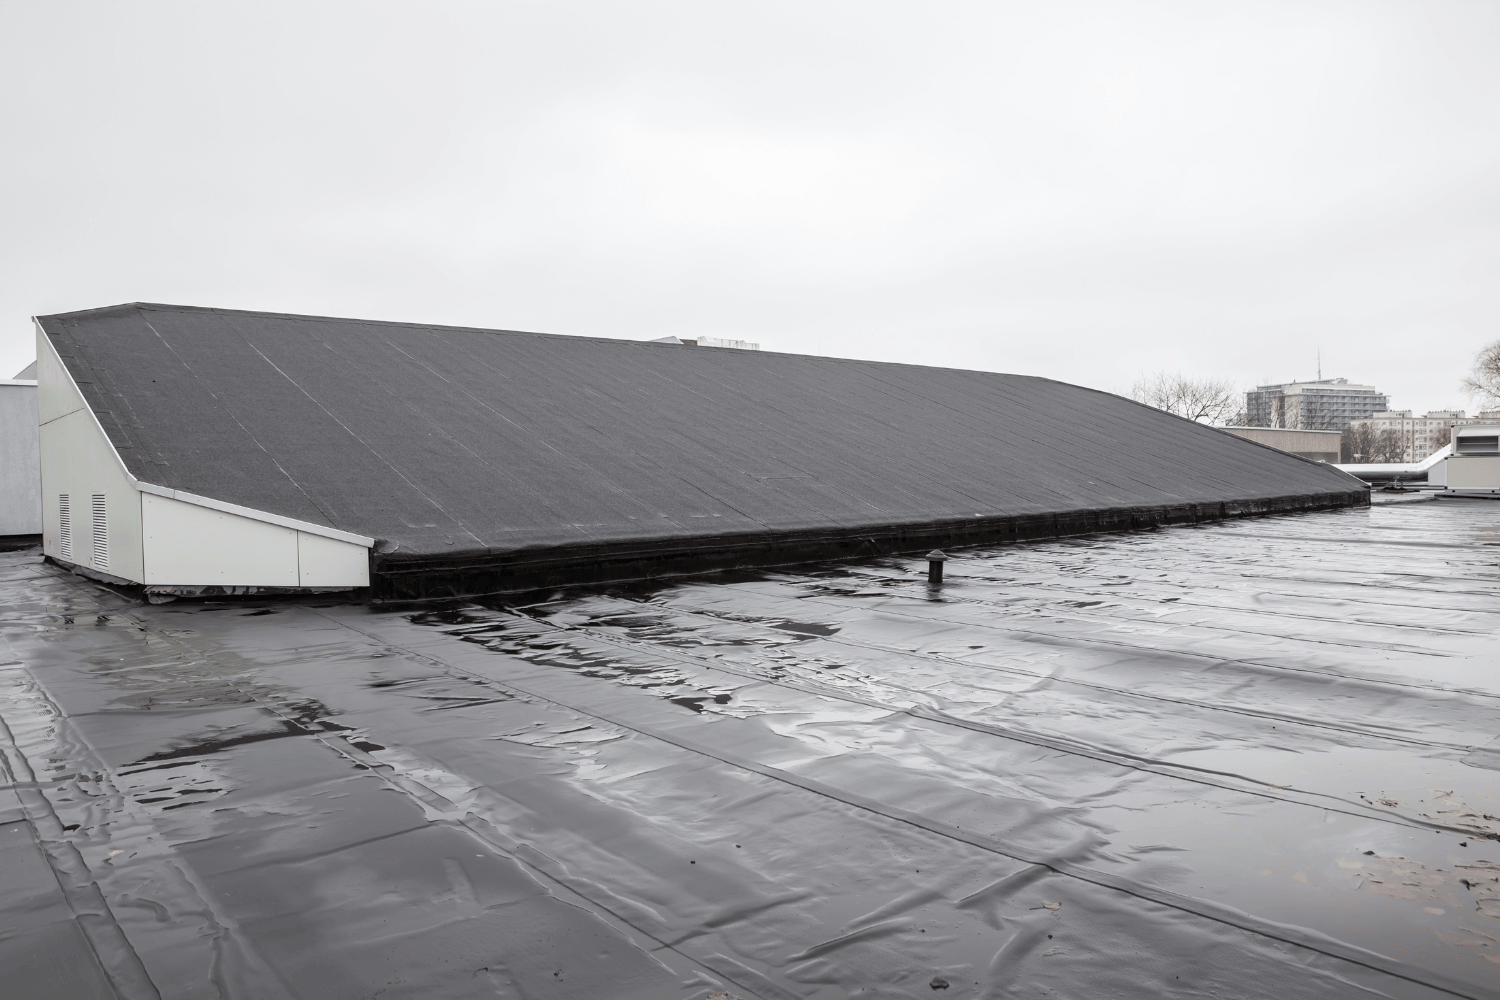
An overview of common issues with flat roofs, including signs of roof leaks and pooling water.
Flat roofs, with their sleek and modern aesthetic, are a popular choice among homeowners. However, they come with their own set of challenges. Due to their constant exposure to the sun, rain, and other environmental factors, flat roofs are particularly vulnerable to deterioration. Common flat roof problems include roof leaks, pooling water, blistering and cracking, membrane separation, low-quality flashing, and punctures and tears. Neglecting these issues can lead to severe complications and costly damage.
Regular maintenance helps prevent these issues and extends the lifespan of your flat roof. Proactive care avoids major repairs and keeps your roofing system in good condition.
Here are some of the most common problems you might encounter with your flat roof.
One of the most common flat roof problems is pooling water. This occurs when there is improper drainage due to a lack of slope. Flat roofs that are too flat can lead to standing water, which, if not managed properly, can cause the roof to sag and eventually lead to leaks. A sloped roof can help mitigate these issues.
Effective drainage prevents water accumulation and potential structural damage. Water that doesn’t drain within 72 hours is considered pooling and indicates that your roof needs attention.
Blistering and cracking are other common issues with flat roofs. These problems are primarily caused by heat-induced expansion and contraction. Blistering occurs when the membrane pulls away, creating pockets of air or moisture beneath the roof surface. Over time, these blisters can lead to cracks, allowing water to infiltrate and cause leaks.
Prolonged sunlight exposure can worsen these issues, so regular inspections and maintenance are crucial.
Membrane separation is another significant issue in flat roofing systems. It can occur due to poor installation or aging. When the membrane layer separates from the layer below it, the building becomes vulnerable to leaks and other forms of damage.
Aging can also trigger membrane separation, exposing the roofing layers to potential leaks. Proper installation and regular maintenance can mitigate this problem.
Low-quality flashing is a common culprit behind many flat roof problems. Flashing is designed to direct water away from critical areas of the roof, but if it is of low quality or improperly installed, it can fail to prevent water ingress. This can lead to water collecting in inappropriate areas, causing wide-ranging damage.
High-quality materials and proper installation help avoid such issues.
Punctures and tears in flat roofs are often caused by foot traffic or debris. These issues can compromise the integrity of the roof surface, leading to leaks and further damage.
Restoration systems that incorporate proper walk paths can help mitigate these problems by providing a clear path for foot traffic and reducing the risk of punctures.
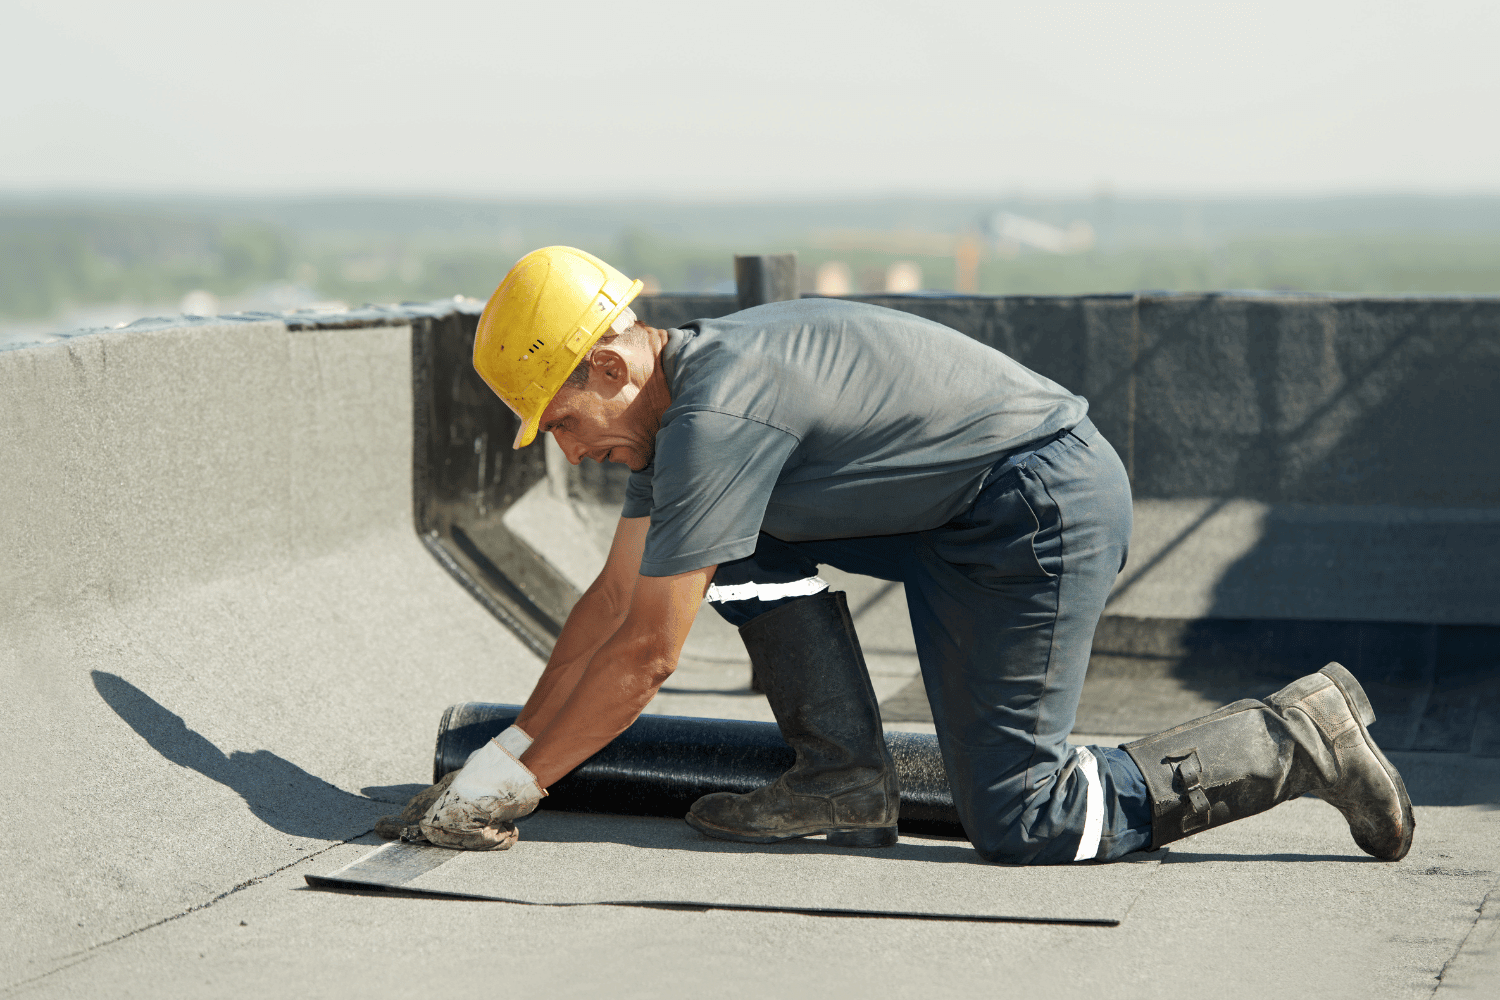
Factors contributing to flat roof problems, including weather exposure and debris accumulation.
Several factors can contribute to the degradation of flat roofs. Unlike sloped roofs, flat roofs are more exposed to environmental elements such as sun, wind, and freezing conditions. The unique desert climate and local conditions can significantly affect the lifetime of flat roofs. Neglecting routine maintenance and inadequate flashing can also lead to significant damage over time.
Common causes of cracks in flat roofs include:
Pooling water
Blistering
Thermal movement
Roof buckling
If these issues are not addressed promptly, they can lead to water infiltration and further damage. Having a routine maintenance plan and conducting regular inspections are crucial steps in preventing these problems.
Weather exposure is one of the primary causes of flat roof problems. Flat roofs are constantly exposed to the sun, wind, and freezing conditions, which can lead to various issues. Common exposure problems include over-exposure to the sun and lightning strikes. Additionally, freezing, hail, wind damage, wind-driven debris, oil damage, and pollutants or chemicals are also significant concerns.
These elements can cause the roof surface to degrade, leading to leaks and structural damage.
Structural movement is another factor that can affect the integrity of flat roofs. Natural expansion and contraction due to temperature changes can cause the membrane to warp and crack. Building settlement can also lead to membrane warping, further contributing to roof problems.
Commercial buildings are particularly susceptible to thermal movement, making regular inspections and maintenance essential for any energy efficient commercial building.
Debris accumulation on flat roofs can obstruct drainage systems, leading to serious water damage. Regular cleaning is essential to ensure that drainage systems remain unobstructed and effective in preventing water accumulation.
Proper drainage is crucial to avoid standing water and potential structural issues.
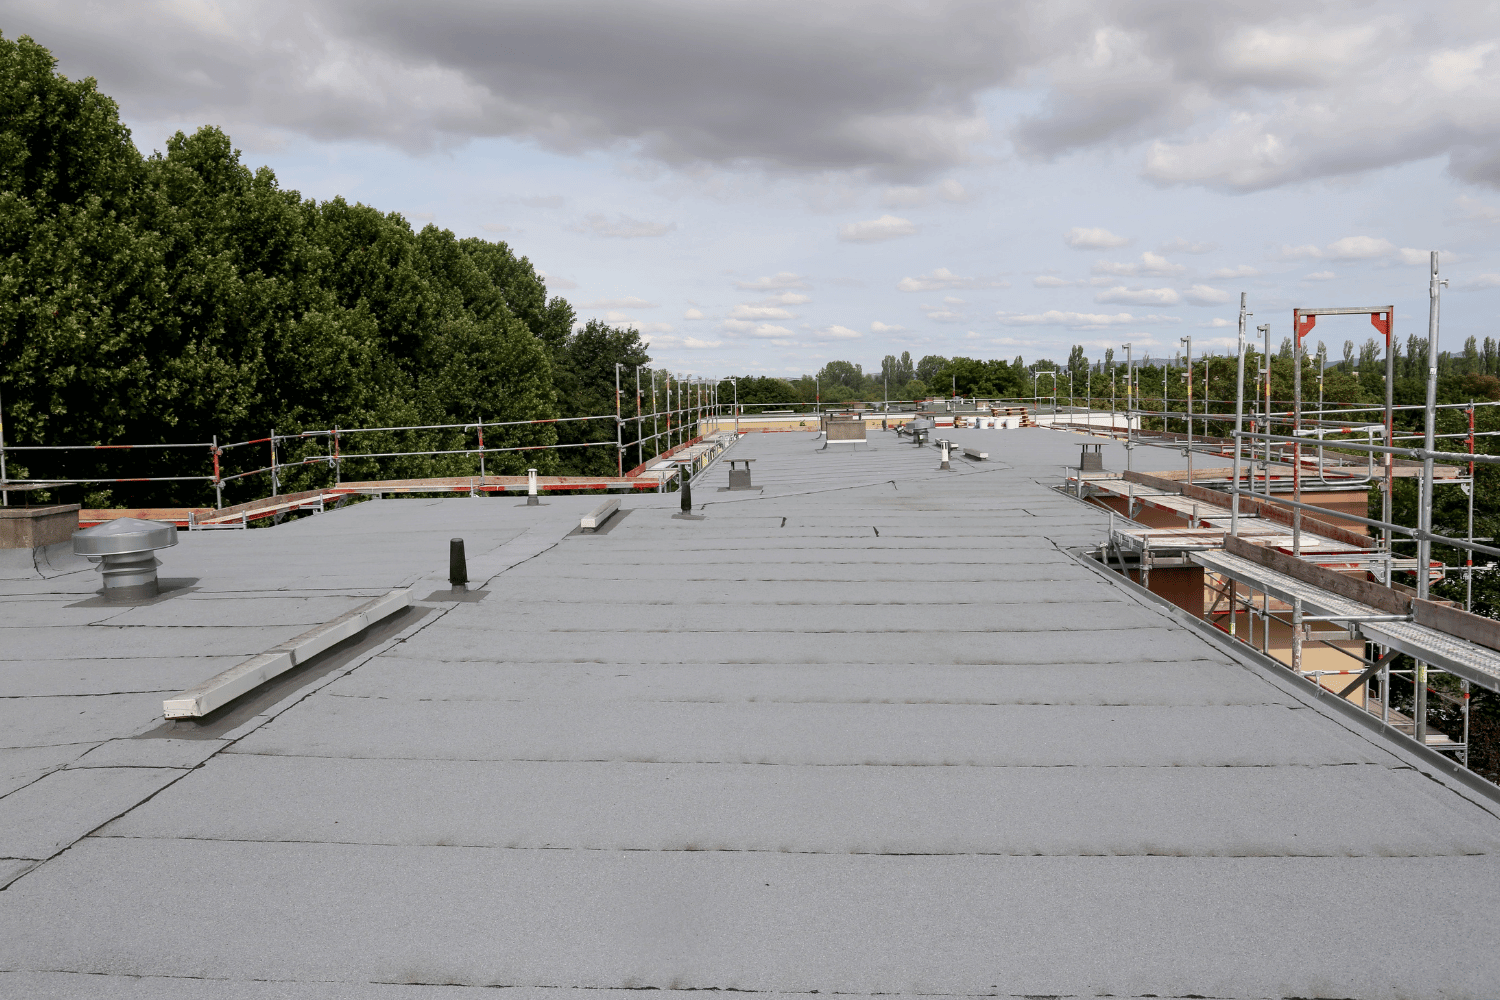
Preventative maintenance for flat roofs, emphasizing the importance of regular inspections.
Preventative maintenance is key to extending the lifespan of flat roofs and avoiding major problems. Regular inspections, proper drainage solutions, and using quality materials are essential steps in maintaining a flat roofing system. Proactive maintenance provides peace of mind and significantly reduces the risk of serious issues. Hiring professional roofing services can also enhance roof performance and longevity through expert installation techniques.
Timely expert repairs can prevent further issues from developing on flat roofs, helping to maintain their structural integrity. Specialized repair services use appropriate materials and techniques to prolong the lifespan of flat roofs. Routine maintenance significantly reduces long-term repair expenses and keeps your flat roof in good condition.
Routine professional inspections help identify and address roof issues early, especially after major weather events. Punctures on flat roofs often arise from foot traffic or debris and require inspections after harsh weather to prevent further damage.
Installing effective drainage systems is essential to avoid water accumulation and potential damage on flat roofs. Proper drainage solutions prevent water accumulation, avoiding leaks and structural issues.
Regular maintenance of drainage systems prevents costly repairs and extends the lifespan of a properly maintained flat roof.
High-quality roofing material and skilled installation ensure a flat roof’s durability, greatly enhancing its longevity.
High-quality roofing materials prevent costly future repairs and reduce long-term repair costs.
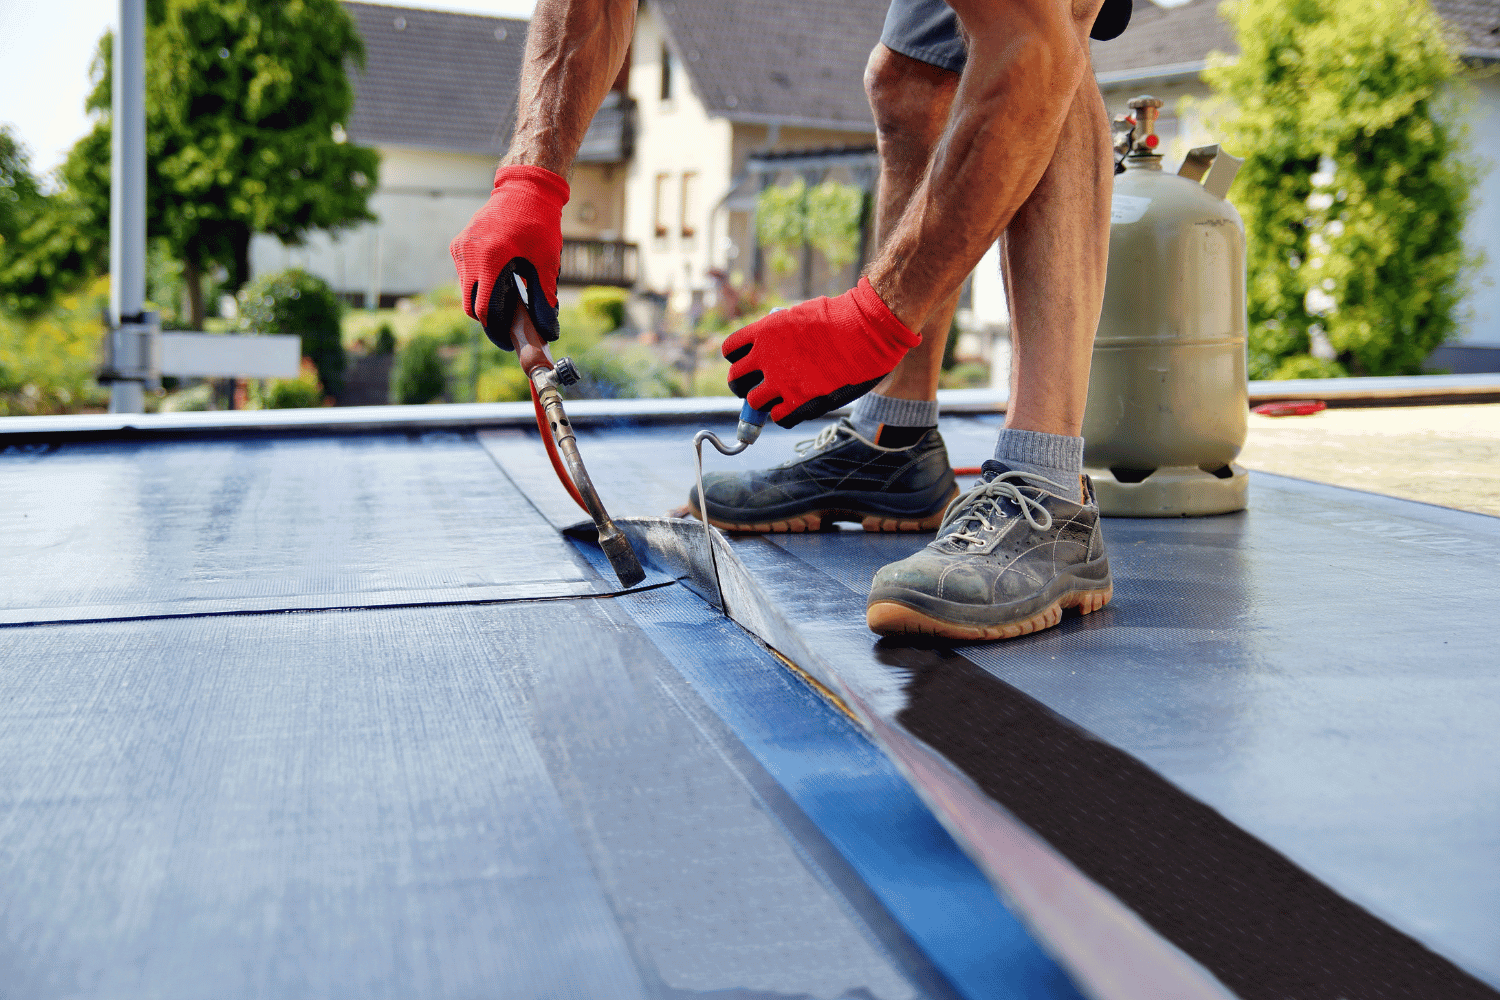
Benefits of Professional Roofing Services
Hiring professional roofing services offers numerous advantages for flat roof maintenance. Professionals conduct comprehensive inspections that accurately assess the condition of flat roofs and recommend appropriate actions. Expert repairs help maintain the integrity and extend the life of flat roofs, preventing leaks and deterioration. Professional services ensure efficient and reliable roof replacements, minimizing disruptions and maximizing quality.
By leveraging their expert knowledge and experience, professional roofers can provide long-term solutions that enhance the performance and longevity of your flat roofing system. Their services include everything from initial inspections to final installations, ensuring that your roofing needs are met with the highest standards of quality and reliability.
Qualified inspectors can accurately identify roof conditions and suggest the best maintenance strategies. A free roof inspection is crucial for determining the condition of your current roof and deciding whether to install a new roof or upgrade your roofing system.
Professional inspections are crucial for maintaining the longevity and performance of flat roofs.
Expert repairs play a crucial role in preserving the structural integrity of flat roofs, preventing leaks and deterioration. Prompt expert repairs significantly extend the lifespan of flat roofing materials.
Investing in expert repairs can lead to long-term savings, as they reduce the likelihood of major repairs and premature roof replacement.
Professional roofing services play a crucial role in ensuring efficient and reliable roof replacements, minimizing disruption for building users. Professional services emphasize quality and reliability, ensuring the replacement meets high standards.
Their expertise minimizes disruption, allowing for a smoother roof replacement process.
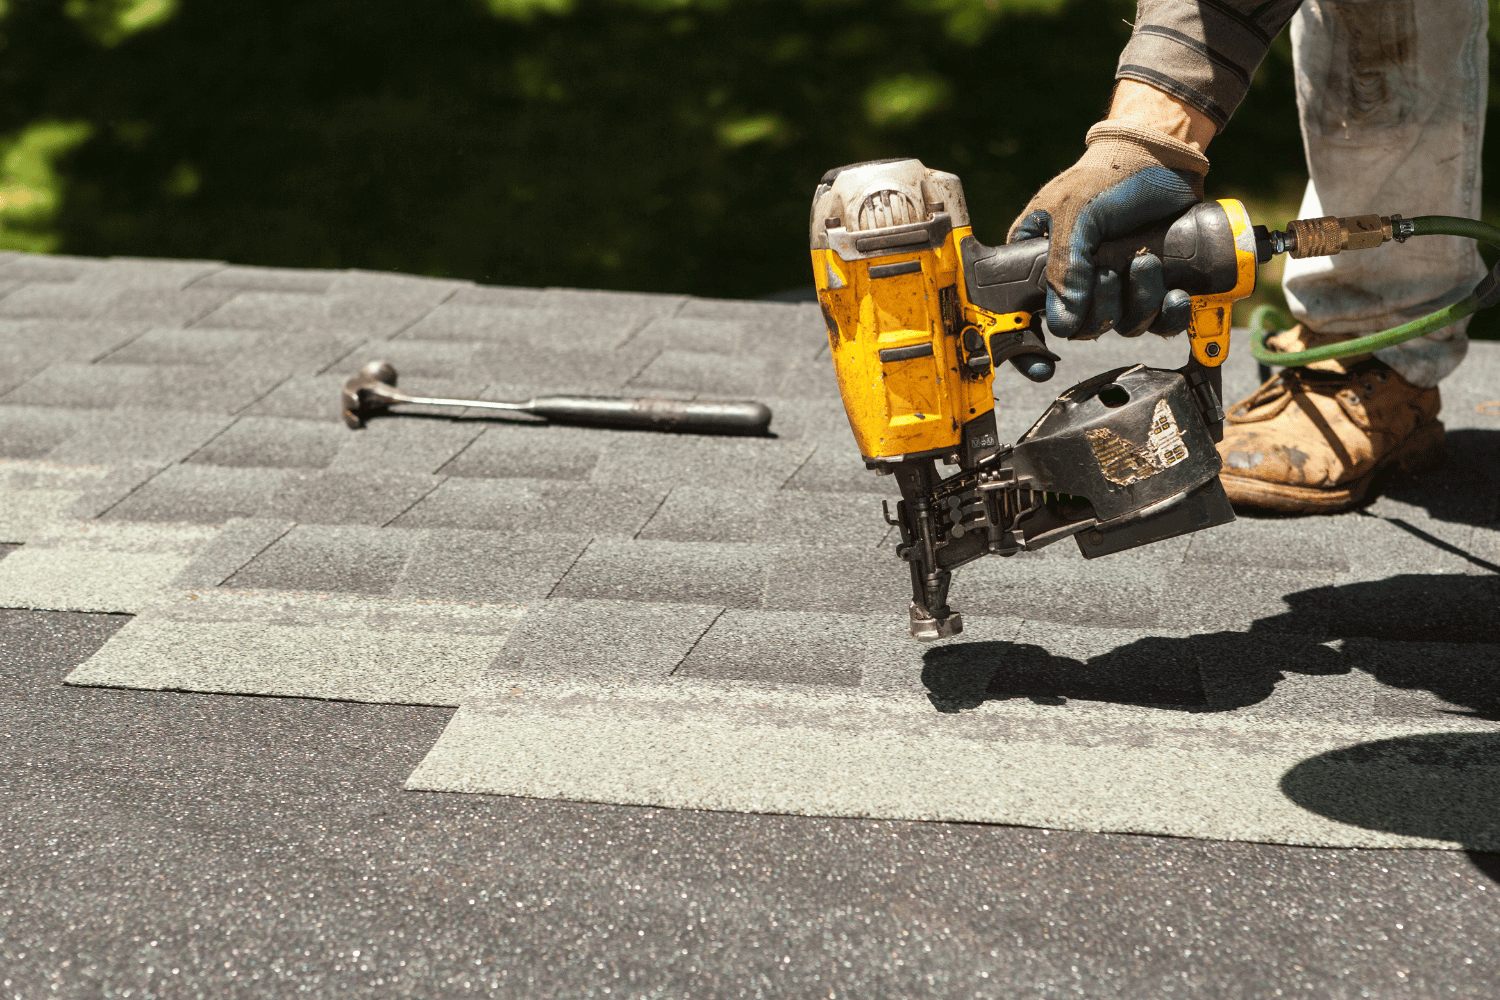
Cost considerations for flat roof maintenance, highlighting affordable materials and long-term savings.
Understanding cost considerations for flat roof maintenance helps homeowners make informed decisions. Replacing a flat roof typically costs between $7,000 and $12,000, especially if extensive repairs are needed. The average cost for repairing a flat roof ranges from $300 to $1,250, depending largely on the severity of the damage. Professional roof replacements minimize disruptions and often come with warranties that ensure quality.
Professional roofing services streamline the replacement process, minimizing inconvenience for homeowners. They provide comprehensive support from initial inspection to final installation, emphasizing quality and reliability throughout the project. Investing in professional services can lead to long-term savings by ensuring that the roof is installed correctly and maintained properly.
For homeowners on a budget, rolled roofing or bitumen roofing is the cheapest option for flat roofs. Another affordable choice for flat roofing is EPDM (ethylene propylene diene monomer) roofing, known for its durability and cost-effectiveness.
Minimizing installation complexity reduces costs, making rolled roofing and EPDM rubber roofing economical solutions for flat roofs.
Regular inspections identify problems early, preventing major damages and saving homeowners significant repair costs in the long run. High-quality materials during installation greatly enhance the durability of flat roofs, reducing the frequency and cost of repairs.
Affordable roofing materials, like EPDM rubber roofing, offer cost-effective and reliable performance without compromising quality. By investing in quality materials and regular maintenance, homeowners can ensure their flat roofs remain in good condition for many years, ultimately leading to long-term savings.
Maintaining a flat roof requires a proactive approach to address common issues such as pooling water, blistering, membrane separation, low-quality flashing, and punctures. Understanding the factors that contribute to these problems, including weather exposure, structural movement, and debris accumulation, is crucial. Preventative maintenance, including regular inspections, proper drainage solutions, and the use of high-quality materials, plays a vital role in extending the lifespan of your flat roofing system.
Engaging professional roofing services offers numerous benefits, from comprehensive inspections and expert repairs to efficient replacements. These services not only ensure the quality and reliability of the work but also provide long-term savings by preventing major repairs and premature roof replacements. By taking a proactive approach and investing in professional services, homeowners can enjoy the peace of mind that comes with a well-maintained and durable flat roof.
Flat roofs often face issues like pooling water, blistering, and cracking. Regular maintenance is key to preventing these problems.
To prevent water pooling on your flat roof, make sure it has a proper slope and install effective drainage solutions. This will help you avoid standing water and potential damage.
Regular maintenance for flat roofs is crucial as it allows you to catch issues early and prevent bigger problems down the line. By keeping up with inspections and repairs, you can greatly extend the life of your roofing system.
If you’re looking for affordable materials for flat roofing, rolled roofing or bitumen roofing is your best bet. EPDM roofing is another budget-friendly option that offers great durability.
Replacing a flat roof usually costs between $7,000 and $12,000, but if you’re just looking at repairs, it might set you back around $300 to $1,250. It’s good to know the range so you can plan your budget accordingly!
Your roof eaves do more than finish the look of your house. They channel water away from your walls, keep pests out of your attic, and help ventilate the space under your roof deck. When eaves are damaged or poorly built, the problems cascade — rot in the fascia and soffit, water staining on siding, ice dams in winter, and higher cooling costs in summer.
This guide covers what roof eaves do, the common types you’ll see on homes around Columbia, Jefferson City, and Lake of the Ozarks, and how to tell when yours need attention. We’ve worked on thousands of roof edges across Mid-Missouri, so these recommendations come from what we actually see in the field — not generic advice that applies everywhere and nowhere.
Roof eaves are the part of your roof that extends past the exterior wall. They protect your walls and foundation from water runoff, provide shade, and house ventilation for your attic. In Mid-Missouri, where we get heavy spring rain, summer humidity, and winter ice, eaves take a real beating. The most common problems we see are rotting fascia boards, clogged or damaged soffit vents, and gutters pulling loose from deteriorated eave edges. If your eaves are in good shape, your roof, siding, and foundation all last longer.
An eave has three main jobs on your house:
These three functions work together. If one fails — say, soffit vents get painted shut — the others suffer. Ventilation drops, moisture builds, fascia rots faster, and the whole eave system degrades.
Understanding the components helps you spot problems early:
Open eaves leave the rafter tails exposed — no soffit covering underneath. You see these on older homes, cabins around Lake of the Ozarks, and some Craftsman-style houses. They look great but offer no attic ventilation at the eave edge, and the exposed rafters are vulnerable to rot and insect damage. If you have open eaves, adding a soffit enclosure with vents is one of the best upgrades you can make for attic health.
The most common type in Columbia and Jefferson City neighborhoods. The soffit encloses the bottom of the overhang, creating a clean finished look and a place for intake vents. Vinyl and aluminum soffits dominate new construction because they’re cheap, low-maintenance, and won’t rot. Wood soffits show up on older homes and need regular paint to keep moisture out.
Homes with deep eave overhangs — 18 to 36 inches or more — get better wall shading and water protection. You see this on ranch-style homes and some custom builds around the Lake area. The trade-off is that wider eaves catch more wind uplift in storms, so the framing and fastening need to be robust. We’ve seen wide eaves peel back during straight-line wind events when the original builder used inadequate nailing.
A decorative variation where the rafter tails are cut to a decorative profile and left visible below the roof edge. Common on Tuscan, Craftsman, and custom lake homes. Looks distinctive, but each exposed tail needs regular sealing and paint. Any crack in the finish lets water into the end grain, which is the fastest path to rot in a structural member.
The number one eave problem, period. Wood fascia absorbs water through cracked paint, failed caulk joints, or water backing up behind clogged gutters. Once rot starts, it travels along the board and into the rafter tails. We find fascia rot on a large share of the homes we inspect, especially on houses built before 2000 where the original fascia was pine or spruce with no protective wrap.
Aluminum fascia wrap over wood sub-fascia has become the standard fix — it seals the wood inside a metal shell that can’t rot. For a deeper look at fascia materials and when to replace them, see our guide to fascia board materials for Mid-Missouri homes.
Soffit panels crack, warp, or get holes punched in them by storms and wildlife. More common than physical damage, though, is blocked ventilation. Homeowners (or painters) seal over soffit vents without realizing it. A fully blocked soffit eliminates attic intake airflow, which means your ridge vents or powered vents can’t do their job. Attic temperature rises, shingle lifespan drops, and condensation builds in winter.
If you can see your soffit vents from the ground, check that they’re not painted shut. If you can’t see them, a roof inspection will catch it.
Mid-Missouri doesn’t get Buffalo-style ice dams every winter, but we get enough freeze-thaw cycles — especially in Columbia and north toward Moberly — that ice dams form on homes with poor attic insulation and ventilation. Warm air escapes from the house into the attic, melts snow on the roof, and the meltwater refreezes at the cold eave edge. The ice backs up under the shingles, soaks the roof deck, and runs down into the fascia and wall.
Preventing ice dams means fixing the cause — attic air sealing, adding insulation, and making sure eave vents are pulling air properly. Heat cables are a band-aid, not a fix.
Spring storms in Missouri bring straight-line winds and tornadoes that can peel back soffit panels, rip fascia loose, and tear gutters off the eave. After any severe storm, check your eave edges from the ground. Look for sagging gutters, missing soffit panels, or exposed rafter tails. If you see damage, get an inspection before the next rain — open eave edges let water straight into your wall framing.
Gaps in soffit panels, holes in fascia, and missing sections of drip edge are open doors for squirrels, birds, raccoons, and wasps. We’ve pulled wasp nests, squirrel caches, and bird nests out of eave cavities during inspections. If you hear scratching or see animals entering your eaves, that gap needs to be closed and the damaged material replaced.
Most of these problems are visible from the ground with a pair of binoculars. If you spot any of them, a professional inspection will tell you whether you need a targeted repair or a full eave rebuild. We offer free roof inspections that include the eave edge.
Not every damaged eave needs a full rebuild. Here’s how we think about it:
The right call depends on what we find during an inspection. We don’t upsell full replacements when a spot repair solves the problem — that’s not how we work.
A little upkeep goes a long way:
Eaves are part of the roofing system, and that’s exactly what we do. We’re not a handyman service that also fixes fascia — we’re a roofing and exterior company that understands how fascia, soffit, gutters, and the roof deck work together. If the eave problem is connected to a roof issue (and it usually is), we catch both.
We hold GAF Master Elite, Owens Corning Platinum, and James Hardie Elite Preferred certifications — the only contractor in Mid-Missouri with all three. That means manufacturer-backed extended warranties on the work, not just our word.
Whether you need a few feet of fascia repair or a complete eave rebuild with new gutters and soffit, we’ll give you a straight assessment and a clear recommendation. Call us at (573) 424-9008 or request a free inspection at the Lake.
They’re related but not identical. The eave is the entire edge system — fascia, soffit, and the overhanging portion of the roof. The overhang is specifically the horizontal distance the roof extends past the exterior wall. Every eave has an overhang, but “eave” refers to the whole assembly.
Most residential eaves overhang 12 to 18 inches. That’s enough to direct water away from walls and provide some shading. Wider overhangs (24–36 inches) give better weather protection but need stronger framing to resist wind uplift. The right size depends on your home’s design, local wind exposure, and whether wall shading matters for your orientation.
Yes. When fascia rots or the drip edge pulls away, water can get under the bottom row of shingles and into the roof deck. Damaged soffits also let wind-driven rain into the attic space. Eave damage is one of the most common sources of roof-edge leaks we find during inspections.
Spot fascia repair runs a few hundred dollars. Section replacement (one side of the house) typically runs $1,500–$3,500 depending on material and height. Full eave replacement with new fascia, soffit, and gutters is a larger project — we provide free estimates so you know the exact number before committing.
They do. Eave overhangs shade windows and walls from high-angle summer sun, which reduces cooling costs. Soffit vents provide attic intake airflow, which lowers attic temperature and reduces heat transfer into living spaces. If your soffit vents are blocked or your overhangs are too short, you’re paying more to cool your house than you need to.
Yes — soffit vents should stay open year-round. Winter attic ventilation prevents condensation buildup that causes mold and wood rot. If you’re worried about cold air, the fix is to air-seal and insulate the attic floor, not to block the vents. Blocked soffit vents cause more problems than they solve.
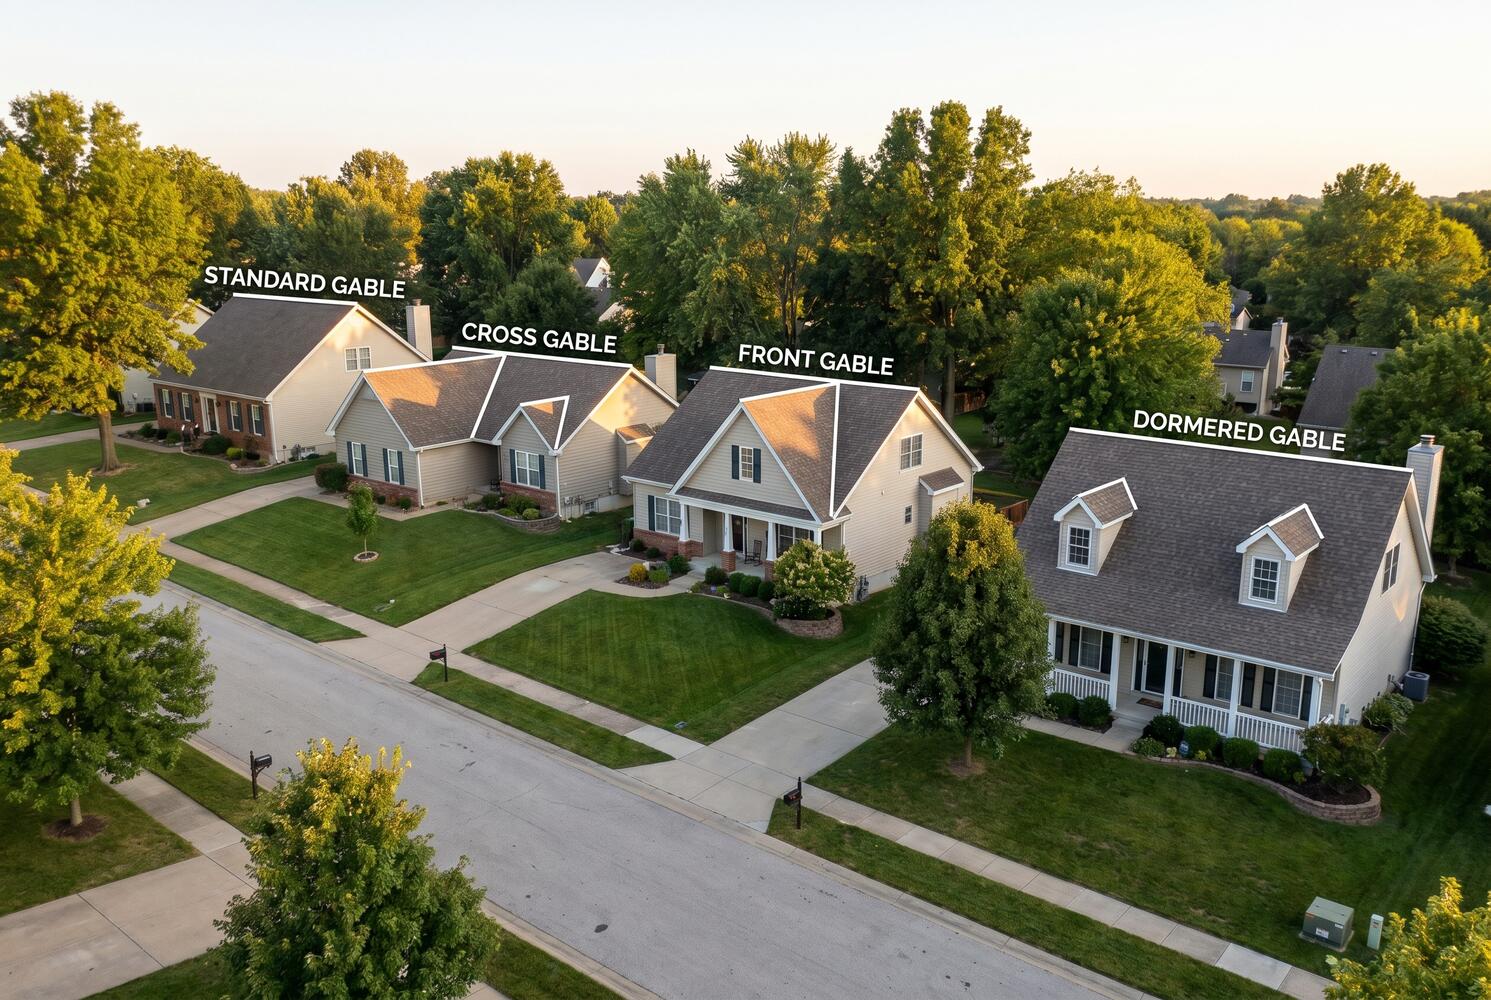
Choosing a roof style for your Jefferson City home involves more than curb appeal. The gable design you pick affects storm performance, attic ventilation, and your total project cost. These seven gable roof options all work well for homes across Mid-Missouri — and each has specific tradeoffs worth understanding before you commit.
The standard gable is the simplest design: two equal roof planes meeting at a central ridge. That classic triangular profile is what most people picture when they think of a house.
Standard gables work especially well on ranch-style homes, which dominate Jefferson City neighborhoods built from the 1950s through the 1980s. The pitch (slope angle) can be adjusted to balance looks and function. Steeper pitches shed snow faster during Missouri winters. Shallower pitches keep material and labor costs down.
A cross gable roof features two or more gable sections intersecting at right angles, forming an L-shape, T-shape, or more complex footprint. You will see this design on homes with attached garages, bump-outs, or separate wings.
Many two-story homes near the Jefferson City Capitol use cross gable designs. The intersections create valleys where roof planes meet — and these valleys need careful flashing and waterproofing to prevent leaks. Make sure your contractor uses quality valley flashing and ice and water shield in these transition areas.
A box gable extends the roof past the exterior wall and encloses the triangular gable end. The result is a more pronounced, finished look with added depth and shadow lines.
This style is common on Colonial and Victorian-era homes and pairs well with Mid-Missouri’s traditional architectural character. Some of the historic homes along Jefferson City’s Capitol Avenue and in Columbia’s East Campus neighborhood feature box gable elements. If your home has box gable ends, pay attention to the fascia and soffit condition during any roof replacement — enclosed areas can trap moisture if not properly ventilated.
A Dutch gable combines elements of both gable and hip roofs. The lower portion slopes on all four sides (like a hip roof), while the upper portion transitions to a triangular gable end. You get the wind resistance of a hip roof with the ventilation and attic space of a gable.
Dutch gable roofs appear on some Craftsman and custom-built homes in the Columbia and Jefferson City area. The design allows for a gable vent or window in the upper triangle, bringing natural light into attic space. The tradeoff is slightly higher construction complexity and cost compared to a standard gable.
A front gable orients the gable end toward the street rather than the side. This design is prominent in Colonial Revival, Greek Revival, and many early 20th-century homes. The front-facing gable creates a strong visual focal point and often frames the main entrance.
In Jefferson City, front gable designs appear frequently on homes in the historic East End neighborhood and along older residential streets near the Missouri State Penitentiary site. Combined with decorative trim, brackets, or a gable-end window, this orientation adds real curb appeal.
A gambrel roof uses two different slopes on each side — a steeper lower slope and shallower upper slope — creating a barn-like silhouette. The gambrel maximizes usable space under the roof, making it practical for bonus rooms, loft conversions, and storage.
In rural areas surrounding Jefferson City and across Central Missouri, gambrel roofs appear on both residential homes and agricultural buildings. The steeper lower slopes shed Missouri’s heavy spring rains effectively, but they require proper bracing to handle wind loads during severe thunderstorms.
Adding dormers to a gable roof creates vertical window openings that project from the sloping roof plane. Dormers bring natural light and ventilation into upper-floor rooms while adding architectural character to the exterior.
Cape Cod-style homes throughout Mid-Missouri commonly feature dormer windows on gable roofs. Dormer additions are a popular renovation for homeowners converting attic space into usable bedrooms or home offices. If you are considering adding dormers, a roof replacement is the ideal time — the structure is already exposed and accessible.
The material you choose affects appearance, durability, and maintenance requirements. Here are the most common options for Mid-Missouri homes.
Asphalt shingles are the most popular choice in Jefferson City and across Central Missouri. They are cost-effective, available in dozens of colors and profiles, and perform well in our climate. GAF’s Timberline HDZ line offers impact-resistant options that are valuable in our hail-prone region. Most asphalt shingle roofs last 20 to 30 years with proper ventilation and maintenance.
Standing seam metal roofing is growing in popularity for gable roofs throughout Mid-Missouri. Metal roofs last 40 to 70 years, reflect solar heat to lower cooling costs, and handle high winds better than most shingle products. The clean lines of standing seam panels complement the simple geometry of a gable roof. According to the U.S. Department of Energy, metal roofs can reduce cooling costs by 10 to 25 percent.
Cedar shakes provide a natural, rustic look that works well on Craftsman and cabin-style homes in the Mid-Missouri countryside. They offer natural insulation and resist decay and insects, but they require more maintenance than asphalt or metal and are not recommended for areas with high fire risk. Properly maintained cedar shake roofs can last 30 to 40 years.
Gable roofs can be more susceptible to wind uplift than hip roofs, particularly at the gable end walls. In Central Missouri, where severe thunderstorms and occasional tornadoes are a reality, proper bracing of the gable end is critical. Contractors familiar with local conditions know how to reinforce gable ends to meet wind load requirements.
Gable roofs naturally accommodate ventilation through gable-end vents, ridge vents, and soffit vents. Proper attic ventilation is essential in Mid-Missouri to prevent ice dams in winter and reduce heat buildup in summer. A balanced ventilation system extends the life of your roofing materials and improves your home’s energy efficiency.
Gable roofs are generally the most cost-effective roof style to build and maintain because of their simple geometry. A standard gable roof replacement in the Jefferson City area typically ranges from $8,000 to $18,000 depending on size, pitch, and material choice. More complex designs like cross gables or dormer additions increase both material and labor costs.
Whether you are replacing an aging gable roof or choosing a design for new construction, working with a contractor who understands Mid-Missouri’s climate and building practices makes a real difference. At CoMo Premium Exteriors, we have installed and replaced gable roofs across Jefferson City, Columbia, Fulton, and surrounding communities. We will walk you through your options, explain tradeoffs, and help you choose a design and materials that fit your home and budget.
Schedule a free roof inspection or call (573) 424-9008 for a consultation.
For most Jefferson City homes, a standard or cross gable roof offers the best balance of cost, performance, and aesthetics. Standard gable roofs are simple and affordable, while cross gable designs accommodate L-shaped or multi-wing floor plans common in the area. The right choice depends on your home’s footprint, existing architecture, and budget.
With quality materials and proper installation, an asphalt shingle gable roof in Mid-Missouri typically lasts 20 to 30 years. Metal gable roofs can last 40 to 70 years. Missouri weather — including hail, UV exposure, and freeze-thaw cycles — can shorten the lifespan compared to milder climates, making material quality and proper ventilation especially important.
Gable roofs handle Missouri’s rain and snow well thanks to their sloped design, which promotes efficient water drainage and snow shedding. The main concern is wind resistance at gable ends during severe thunderstorms. Proper bracing and construction techniques, including hurricane clips and adequate sheathing attachment, address this vulnerability effectively.
A gable roof has two sloping sides that meet at a ridge, while a hip roof slopes on all four sides. Gable roofs provide more attic space and better ventilation, while hip roofs offer superior wind resistance. Many Mid-Missouri homes use a combination of both styles, particularly on complex floor plans.
Yes. Dormers can be added to an existing gable roof, and a roof replacement is often the ideal time to do it since the structure is already exposed. Dormers add natural light, ventilation, and usable space to upper floors. The cost and feasibility depend on your existing roof framing and the dormer style you choose.
A standard gable roof replacement in the Jefferson City area typically ranges from $8,000 to $18,000 depending on the roof size, pitch, and material choice. Cross gable or dormer additions increase the cost. Getting a site-specific estimate is the best way to understand your project’s scope.
Asphalt shingles are the most common and cost-effective choice for gable roofs in the Jefferson City area. Metal roofing is gaining popularity for its longevity and energy efficiency. Cedar shakes offer a natural look but require more upkeep. The best choice depends on your budget, aesthetic goals, and how long you plan to stay in the home.