How Long Does Cedar Siding Last? Tips for Longevity and Maintenance
How Long Does Cedar Siding Last? Tips for Longevity and Maintenance
How long does cedar siding last? Typically, cedar siding can last anywhere from 20 to 40 years and even longer with proper care. Its lifespan depends on factors like wood type, climate, and installation quality. This article will guide you through the essentials for maximizing the longevity of cedar siding.
Key Takeaways
-
Cedar siding can last 20 to 40 years with proper maintenance, affected by factors such as wood type, climate, and installation quality.
-
Regular maintenance practices, including cleaning, staining, and prompt repairs, are essential for extending the lifespan and durability of cedar siding.
-
Choosing the right type of cedar siding based on aesthetic preferences, environmental conditions, and maintenance needs is crucial for optimal performance and longevity.
How Long Does Cedar Siding Last? Tips for Longevity and Maintenance
The longevity of cedar siding depends on several key factors, including the type of wood, climate conditions, and the quality of installation. Selecting the right type of cedar siding for your home involves considering its visual appeal, durability, and how well it will withstand local weather conditions. Regular maintenance is also crucial in preserving the siding and preventing long-term damage.
With proper care, cedar siding can last 20 to 40 years or even longer. Humidity, temperature changes, and exposure to elements can impact its longevity. Regular maintenance helps keep cedar siding in great shape for many years.
Introduction
Maintaining cedar siding is crucial for preserving your home’s beauty and integrity. Proper care and timely replacement decisions extend its life. Knowing the lifespan of cedar siding aids in planning maintenance and replacement, keeping your home’s exterior in top shape.
Cedar siding durability depends on the wood type, climate, and installation quality. Regular cleaning and cedar siding maintenance can greatly extend its life.
This blog post offers tips and information to maximize the lifespan of your cedar siding.
Understanding Cedar Siding Durability
Cedar siding durability hinges on the wood type, climate exposure, and installation quality. Regular maintenance prevents damage and prolongs its life.
Homeowners should consider the wood type, architectural compatibility, and maintenance level when selecting cedar siding.
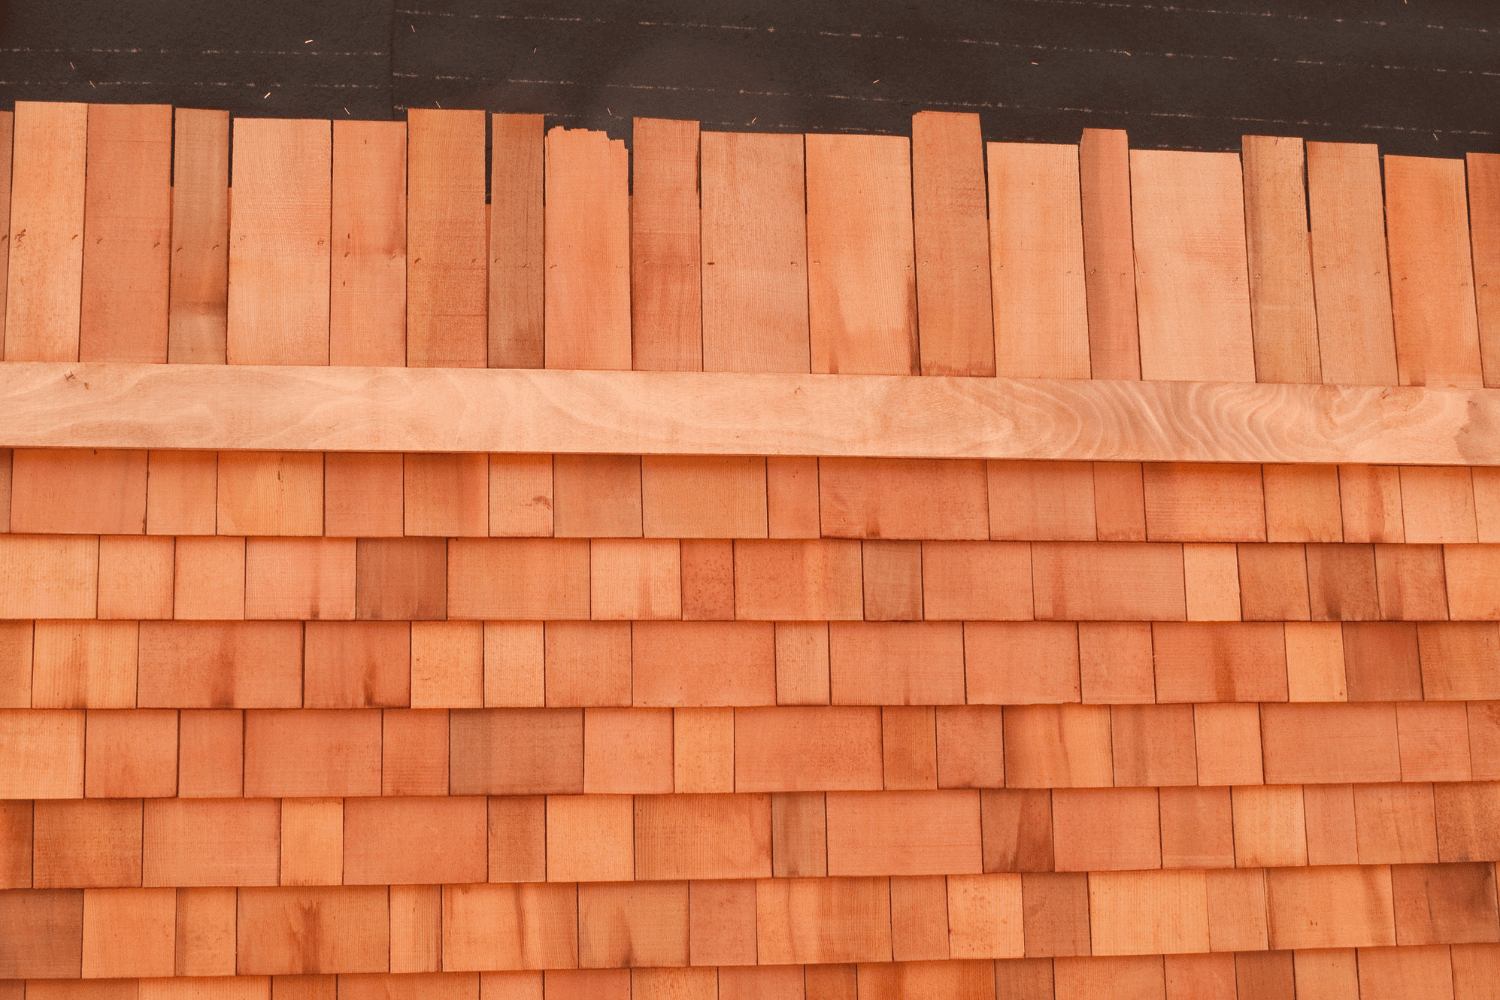
Types of Cedar Wood Siding
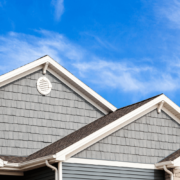
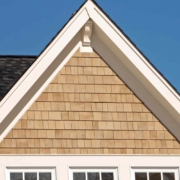
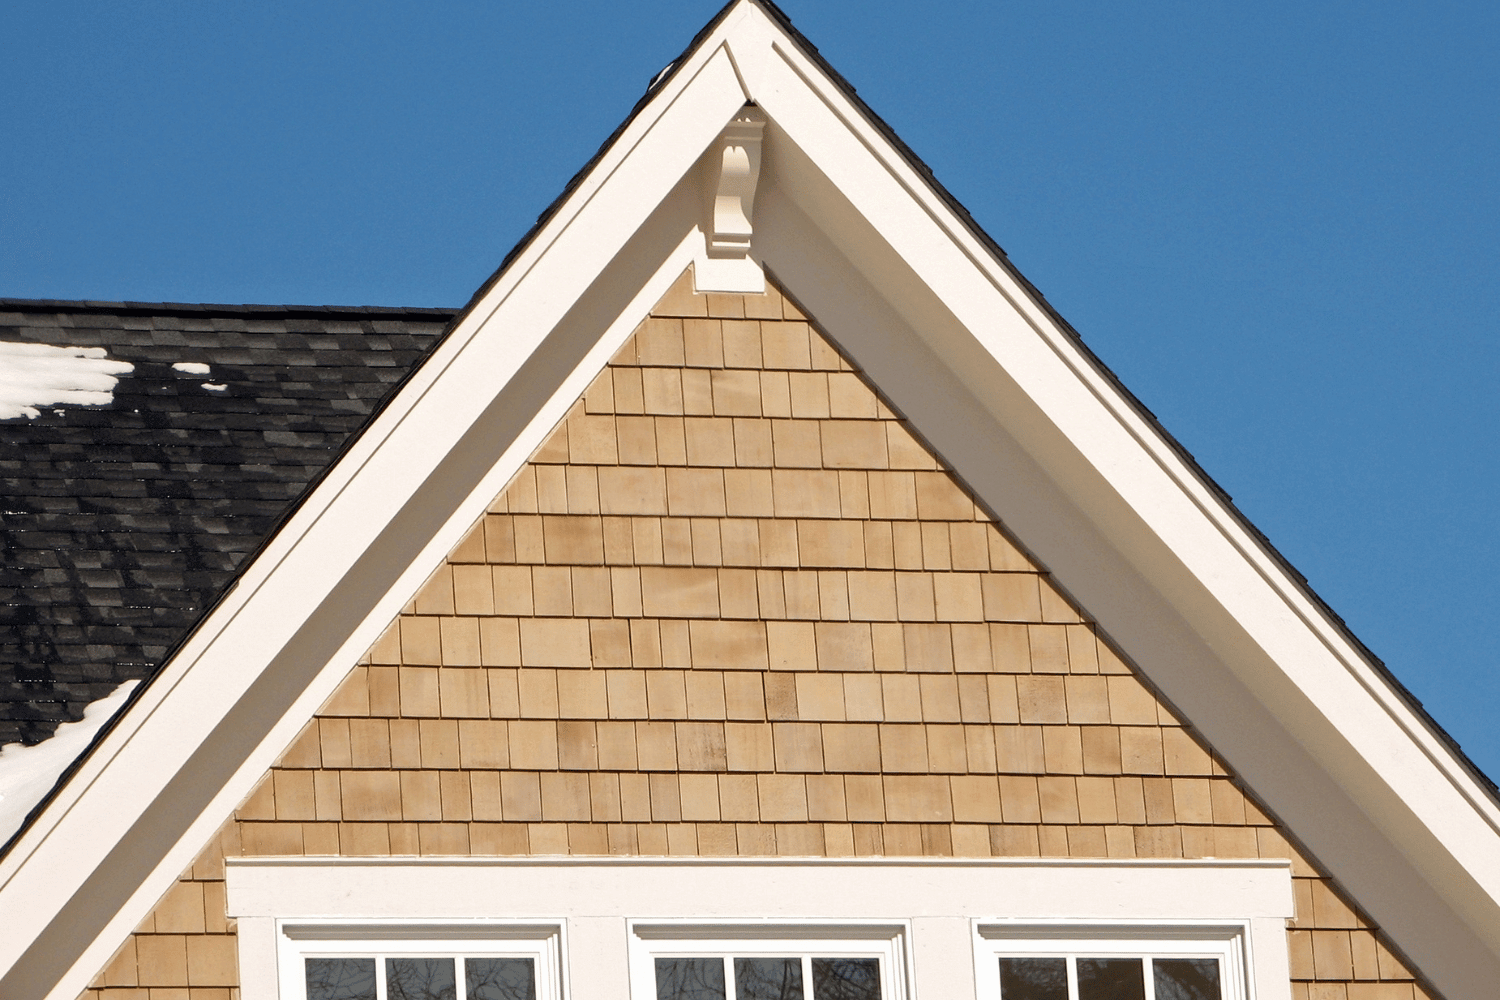
Cedar wood siding comes in various types, each offering unique aesthetics and durability characteristics. For instance, cedar shake siding and cedar shingles provide distinct looks and benefits.
Proper stains, particularly those with UV protection, can greatly enhance the lifespan of cedar shake siding.
Impact of Climate on Cedar Siding
Climate significantly impacts cedar siding longevity. High humidity accelerates wood deterioration, causing mold and aging. Prolonged rain exposure can lead to water damage if not properly sealed.
Additionally, extreme temperature fluctuations can cause the wood to expand and contract, potentially leading to cracks and warping.
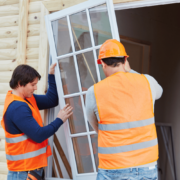
Importance of Proper Installation
Proper installation extends cedar siding’s lifespan and prevents issues. Correct installation can make it last at least 30 years, while poor installation speeds up degradation. Effective techniques, including proper flashing, ensure longevity.
Perfect installation and regular maintenance keep cedar siding in top condition. Professionals who understand these practices should handle the installation to maximize lifespan.
Average Lifespan of Cedar Siding

Cedar siding typically lasts 20 to 40 years, sometimes reaching 60 to 70 years under ideal conditions. Cedar shake siding can exceed 30 years. Proper installation and maintenance are essential for this longevity.
Environmental factors such as humidity and temperature changes also play a significant role in determining the lifespan of cedar siding.
Well-Maintained Cedar Siding
Well-maintained cedar siding lasts 15 to 40 years. Painting or staining every 2-3 years helps maintain its durability.
Re-stain cedar shake siding every three years to protect it from the elements.
Untreated Cedar Siding
Untreated cedar siding often lasts less than five years due to moisture damage and rot. Over time, untreated cedar shakes turn gray and weather, requiring regular maintenance or quick replacement.
Painted Cedar Siding
Painted cedar siding typically lasts up to 15 years. Solid stains can extend its lifespan to 8-10 years. Proper maintenance can further extend it up to 25 years.
Dark-painted cedar shake siding usually needs repainting every 8-12 years.
Essential Maintenance Practices for Cedar Siding
Regular maintenance extends cedar siding’s lifespan. Annual cleaning removes mold and mildew, enhancing longevity. Inspections every six months help identify and address damage.
Staining or painting significantly enhances cedar siding’s durability.
Regular Cleaning
Using a mild detergent and a soft brush for cleaning prevents dirt and mildew buildup. Regular cleaning maintains cedar siding’s appearance and longevity. Neglecting cleaning can lead to dirt and mildew buildup, damaging the wood over time.
Establishing a regular cleaning schedule keeps cedar siding regularly in optimal condition.
Staining and Sealing
Applying high-quality, UV-resistant stains every few years protects cedar siding from sun damage. Without UV protection, the surface may fade and deteriorate. Proper moisture management also prevents deterioration over time.
UV-resistant finishes significantly extend cedar siding’s life by protecting it from sun exposure.
Repairing Damage Promptly
Promptly addressing small issues prevents major problems and prolongs siding life. Ongoing maintenance, including timely repairs and regular checks, prevents moisture-related problems and maintains visual appeal.
Common Issues with Cedar Siding and Solutions
Common problems with cedar siding include moisture penetration, insect infestation, and UV damage. Proper ventilation prevents moisture buildup, which is crucial for longevity. Regular inspections for damage like cracks and splits can prevent extensive repairs later.
Proper wall construction and moisture control prevent damage to cedar siding.
Moisture and Rot
Managing moisture exposure prolongs cedar siding’s life. Installing a rainscreen provides drainage or evaporation paths, protecting the siding.
Moisture damage, like rot in untreated cedar siding, can reduce its lifespan to less than five years. Ongoing moisture issues often lead to mold growth and decay, requiring replacement.
Insect Infestations
Termites, carpenter ants, and wood-boring beetles commonly threaten cedar siding. Signs of infestation include visible insect activity, small holes from boring insects, and wood dust accumulation.
Prevent pest infestations by ensuring proper ventilation, performing regular inspections, and maintaining a barrier between mulch and siding. If an infestation is detected, consult a pest control professional immediately.
UV Damage
UV rays can significantly damage cedar siding, causing fading and deterioration. UV-resistant finishes like stains and sealers protect from sun exposure and extend lifespan.
Reapplying UV-resistant finishes every three to five years is crucial for combating UV damage and ensuring cedar siding’s longevity.
Comparing Cedar Siding to Other Siding Materials
Cedar siding has a charm and natural beauty that many homeowners appreciate. Comparing it with other siding materials helps understand its pros and cons.
Cedar siding high maintenance generally requires more maintenance than fiber cement, vinyl, and metal siding but offers a unique aesthetic appeal.
Fiber Cement Siding
Fiber cement siding is durable and low-maintenance, lasting 25-50 years with minimal upkeep. Unlike cedar, it does not require regular painting or sealing, offering maintenance savings.
Fiber cement siding can closely mimic cedar wood, offering a similar look without high maintenance demands.
Vinyl Siding
Vinyl siding typically lasts 20-40 years, making it durable. Its longevity depends on environmental factors like climate and installation quality. Minimal maintenance includes occasional cleaning with a garden hose or pressure washer.
Available in various colors and styles, vinyl siding enhances aesthetic appeal and matches home architecture. It offers longevity, low maintenance, and customizable looks for different home designs.
Metal Siding
Metal siding is known for its impressive durability, lasting over 40 years with proper maintenance. Unlike cedar, it resists rot, decay, and weather-related deterioration, handling extreme conditions like heavy rain, wind, and hail.
Cedar siding requires regular maintenance to prevent rot and weather damage, while metal siding offers a low-maintenance alternative.
Signs It’s Time to Replace Your Cedar Siding
Recognizing when to replace cedar siding is crucial for maintaining your home’s structural integrity and aesthetic appeal. Here are some signs that indicate it’s time for a replacement:
-
Visible rot or decay undermines siding integrity and necessitates replacement.
-
Widespread rot.
-
Persistent moisture issues.
-
Visible warping or cracking.
A significantly deteriorated protective finish indicates cedar siding is absorbing moisture. Prompt replacement prevents further structural damage.
Extensive Rot or Decay
Rot or decay beneath the siding generally requires complete replacement. Cedar siding, though durable, is susceptible to rot and decay, especially with prolonged moisture exposure. Severe rot or decay indicators include visible surface damage and compromised structural integrity.
Prompt replacement maintains building integrity and prevents further structural damage.
Persistent Moisture Problems
Persistent moisture issues despite repairs signal the need for siding replacement. Neglecting these problems can cause severe damage and health risks from mold growth.
If moisture issues cannot be mitigated, siding replacement is the most effective solution.
Aesthetic Deterioration
Regular inspections are crucial to identify aesthetic deterioration, signaling a need for replacement. Fading indicates exposure and loss of protection. Warping or cracking suggests material stress and potential failure, often necessitating replacement.
Ignoring aesthetic deterioration can cause further damage, reducing property value and appeal.
Choosing the Right Cedar Siding for Your Home
Choosing the right cedar siding involves considering aesthetic preferences, cedar types, and maintenance willingness. Types like Western Red Cedar and Alaskan Yellow Cedar offer different appearances and characteristics to complement various home styles.
Climate factors like humidity and temperature affect cedar siding’s longevity and performance, making some types more suitable for specific environments. Maintenance willingness is crucial; choose a type that matches your maintenance preferences.
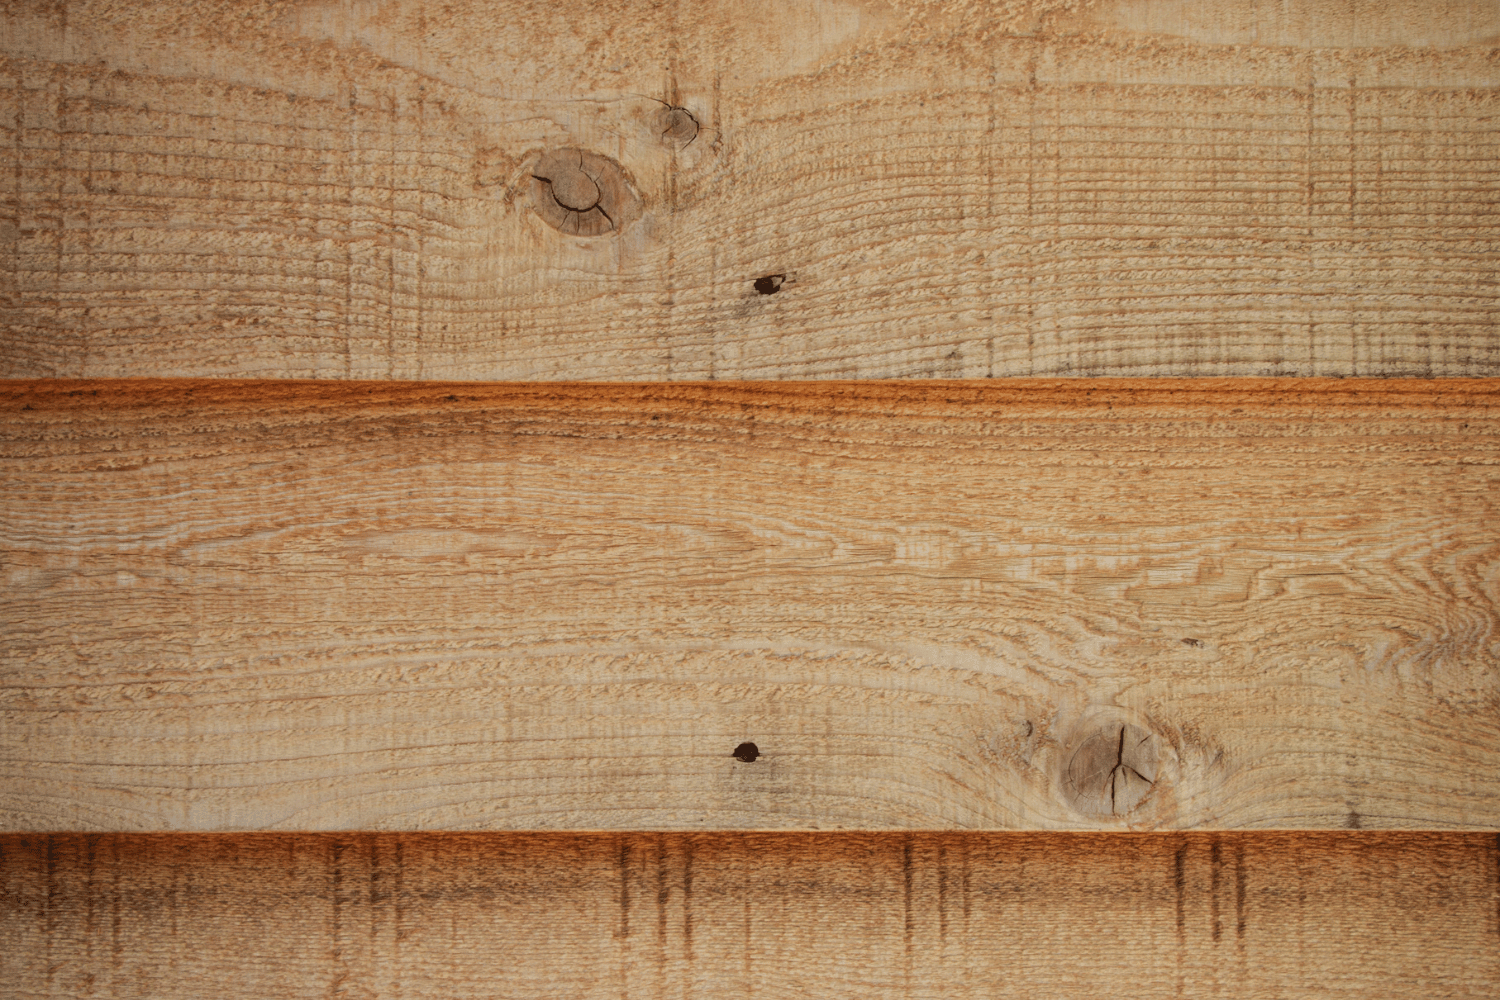
Evaluating Different Cedar Grades
Clear cedar grades are prized for their minimal natural imperfections, making them ideal for high-quality applications. Clear grades of cedar siding have fewer imperfections, making them more aesthetically appealing compared to knotty grades.
Knotty cedar offers a more rustic look and is commonly offered in unseasoned forms, contributing to its unique appearance. Choosing between clear and knotty cedar grades depends on the desired aesthetic and budget considerations.
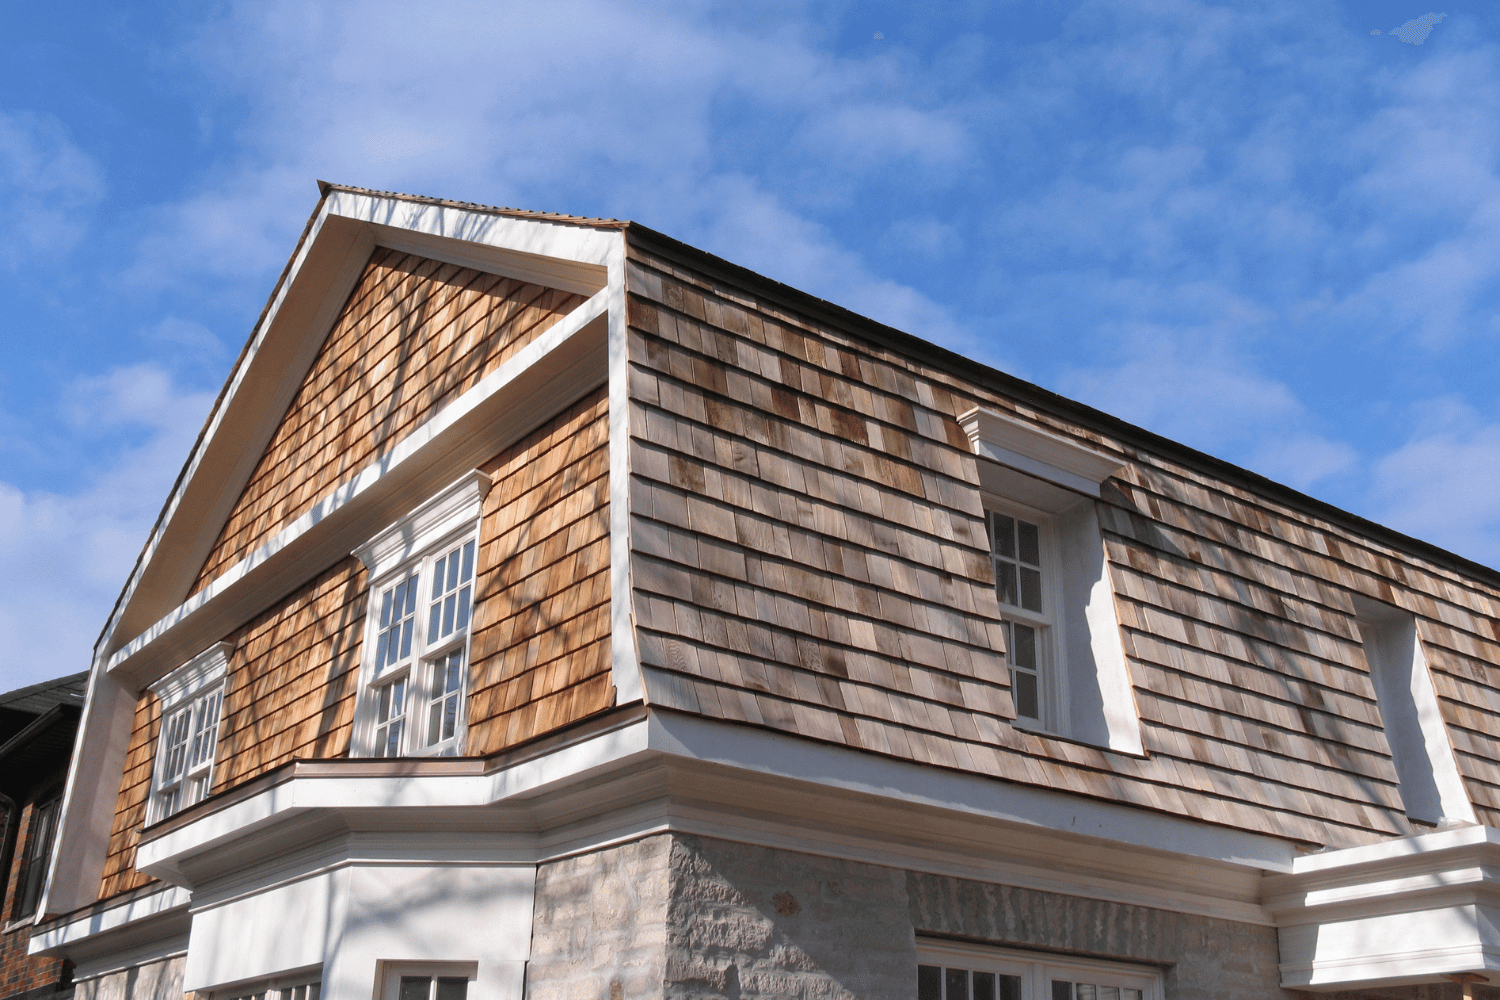
Matching Cedar Siding with Home Style
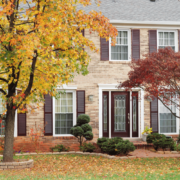
Cedar siding complements various architectural styles, from traditional to modern, providing a versatile option that enhances a home’s overall aesthetic. Cedar siding can enhance the visual appeal of a home by complementing its design, whether it is traditional, rustic, or modern.
Considering Environmental Impact
Sourcing cedar products from sustainably managed forests ensures that the wood is harvested without harming the environment. Look for certifications such as the Forest Stewardship Council (FSC) label when choosing cedar siding to confirm responsible sourcing.
Natural wood siding, like cedar, contributes to better air quality as it absorbs CO2 and produces oxygen.
Professional Cedar Siding Services by CoMo Premium Exteriors
CoMo Premium Exteriors specializes in cedar siding installation and is known for its professional services. CoMo Premium Exteriors is committed to providing quality workmanship in cedar siding services.
Choosing professional cedar siding services from CoMo Premium Exteriors ensures quality installation and long-lasting results..
Comprehensive Maintenance Plans
CoMo Premium Exteriors provides tailored maintenance plans aimed at prolonging the lifespan of cedar siding. These detailed maintenance plans are designed to enhance the lifespan of cedar siding. Comprehensive maintenance plans are essential for ensuring the longevity of cedar siding.
Selecting a professional service like CoMo Premium Exteriors ensures effective maintenance of cedar siding.
Summary
Cedar siding offers a beautiful, durable option for home exteriors, but its longevity depends on several factors, including the type of cedar, climate, and quality of installation. Regular maintenance is crucial to preserving its appearance and extending its life. Comparing cedar siding with other materials like fiber cement, vinyl, and metal can help homeowners make informed decisions. For those considering cedar siding, CoMo Premium Exteriors provides expert installation and comprehensive maintenance services to ensure lasting results. By understanding these aspects, homeowners can enjoy the natural beauty of cedar siding for many years to come.
Frequently Asked Questions
How long does cedar siding last with proper maintenance?
Cedar siding can last between 20 to 40 years or even longer with proper maintenance. Ensuring regular care and upkeep is essential for maximizing its lifespan.
What are the main factors affecting the longevity of cedar siding?
The longevity of cedar siding is primarily influenced by the type of cedar wood used, prevailing climate conditions, and the quality of the installation. Ensuring these factors are addressed can significantly enhance the lifespan of the siding.
How often should cedar siding be stained or painted?
Cedar siding should be stained or painted every 2-3 years to ensure its durability and aesthetic appeal. Regular maintenance will help protect the wood from weather damage and prolong its lifespan.
What are common issues faced by cedar siding?
Cedar siding commonly faces issues such as moisture penetration, insect infestations, and UV damage. Regular maintenance and proper installation are essential to mitigate these concerns effectively.
Why should I choose CoMo Premium Exteriors for cedar siding services?
Choosing CoMo Premium Exteriors for cedar siding services ensures you receive expert installation and maintenance, combined with exceptional customer service and tailored care for your home. Their specialization guarantees high-quality workmanship that stands the test of time.