Changing a window might seem daunting, but it can be manageable with the right steps and preparation. In this guide, we’ll walk you through the entire process, from measuring your existing windows to installing the new ones. You’ll learn the necessary tools, how to ensure safety, and the detailed steps for a successful window replacement.
Key Takeaways
-
Accurate measurement and thorough preparation are crucial for a successful window replacement, including gathering the necessary tools and prioritizing safety.
-
Proper removal of the old window involves several essential steps such as scoring paint, removing sash weights, and cleaning the opening before proceeding to installation.
-
Post-installation, regular cleaning and inspection of seals and hardware are essential for maintaining window performance and energy efficiency, along with weighing the benefits of DIY versus professional installation.
Preparing for Window Replacement
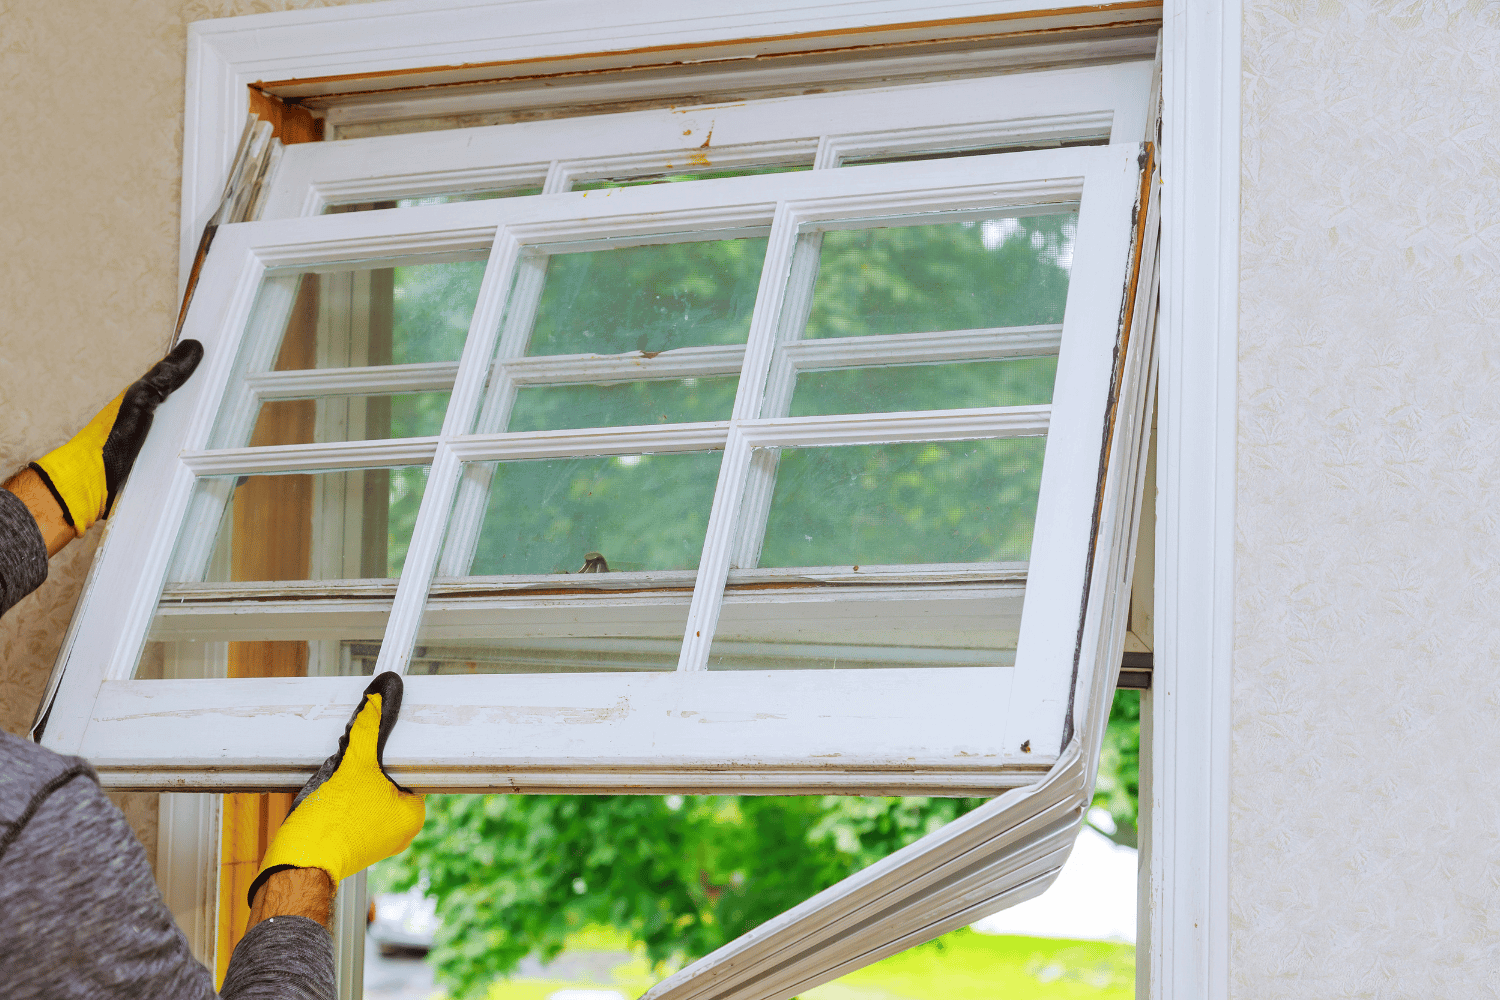
A person preparing for window replacement with tools and materials laid out.
Proper preparation ensures a smoother installation process and a more satisfying final result. Accurately measuring your existing windows is the first step to ensure a perfect fit for the new ones. Gathering all the necessary tools beforehand will save you time and frustration. Additionally, prioritizing safety is crucial.
Choosing the type of windows and the replacement method is essential. Whether you opt for vinyl replacement windows, insert windows, or new construction windows, each choice has its own set of requirements. After making these decisions, proceed to the specifics of how to install replacement windows, measuring, gathering tools, and maintaining safety.
Measuring Existing Windows
Accurate measurements are essential for a successful window replacement. Begin by measuring the existing window frame’s width, taking multiple measurements between the left and right jambs for accuracy.
Next, measure the height from the sill to the head jamb at the left, center, and right, using the smallest measurement. A measurement guide can assist in tracking dimensions and understanding window parts.
Cleaning the window opening ensures a proper fit for the new window. With these accurate measurements, you can purchase a new window that fits snugly, ensuring a seamless installation and optimal performance.
Gathering Necessary Tools
The right tools are essential for a smooth installation. Key tools for window installation include a tape measure, gloves, safety glasses, hammer, screwdriver, pry bar, utility knife, putty knife, plywood, caulk, shims, and screws.
A putty knife and chisel are needed for cleaning and repairing the window opening. Always wear safety glasses and other protective gear to prevent injuries while working.
Ensuring Safety
Prioritize safety during any home improvement project. Use safety gear like eye protection and gloves to avoid injuries during window removal. Handle broken glass carefully to prevent injuries and exercise caution with utility blades and sharp tools during window replacement projects.
Vacuum debris from the window opening before filling holes to keep the work area safe.
Removing the Old Window
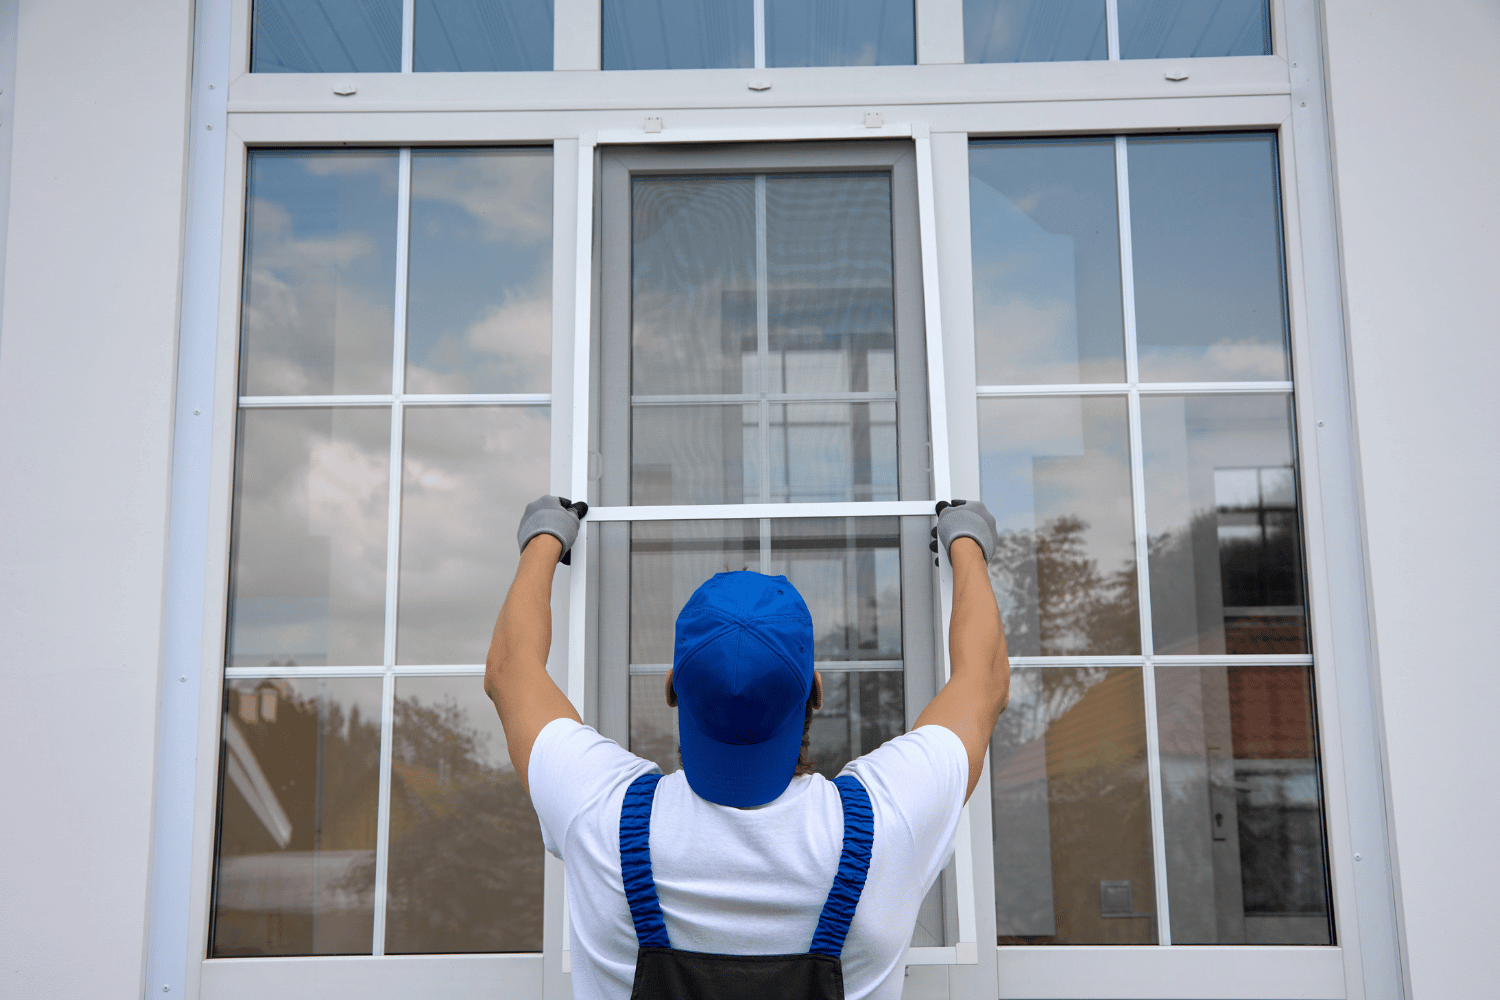
A person removing an old window frame from a house.
The next step is removing the old window, which involves clearing space, removing storm windows, scoring and cutting paint, removing sash weights and stops, and cleaning the window opening. Proper preparation ensures a smooth installation of the new window.
Clear about 5 feet of space around the windows, trim shrubs, and remove outdoor decor to facilitate access. A safety plan for children and pets can also reduce disruptions.
Now, let’s dive into the specifics of each step in the removal process.
Remove Storm Windows
First, remove the storm windows, which are usually attached to the main frame with screws. Use a screwdriver to unscrew them.
This straightforward step is essential for accessing the existing window.
Score and Cut Paint
Break the paint seal around the frame using a utility knife to score the edges. This makes it easier to remove the old window without damaging the surrounding wall or trim.
Handle the knife carefully to avoid accidents.
Remove Sash Weights and Stops
Next, remove the sash weights and stops, which are materials (wood or metal) that hold the window securely. Use a thin pry bar or stiff putty knife to remove the vertical stops after scoring the paint, allowing access to the sash weights or springs.
Use a flathead screwdriver to pry out the sash weights or springs. Although tricky, this step is essential for freeing the window from its frame. Once removed, the window should come out easily.
Fill Holes and Clean Opening
Clean the window opening and fill any holes after removing the old window. Remove broken mortar joints and debris, and fill holes with wood putty to ensure a smooth, level surface.
This ensures the new window fits snugly and securely.
Installing the New Window
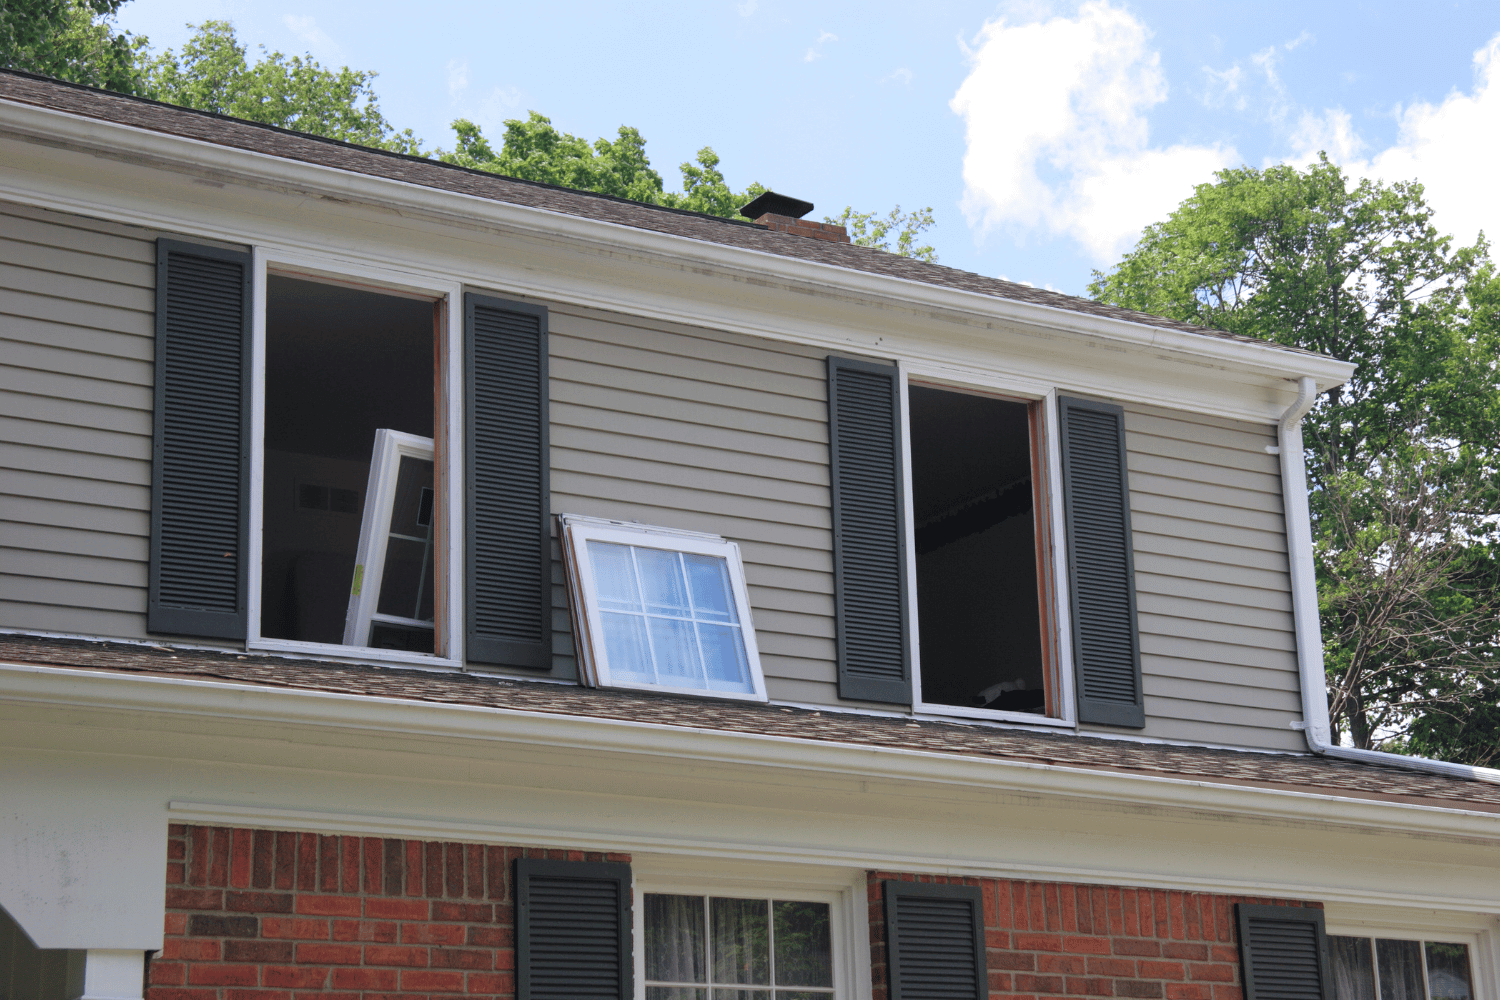
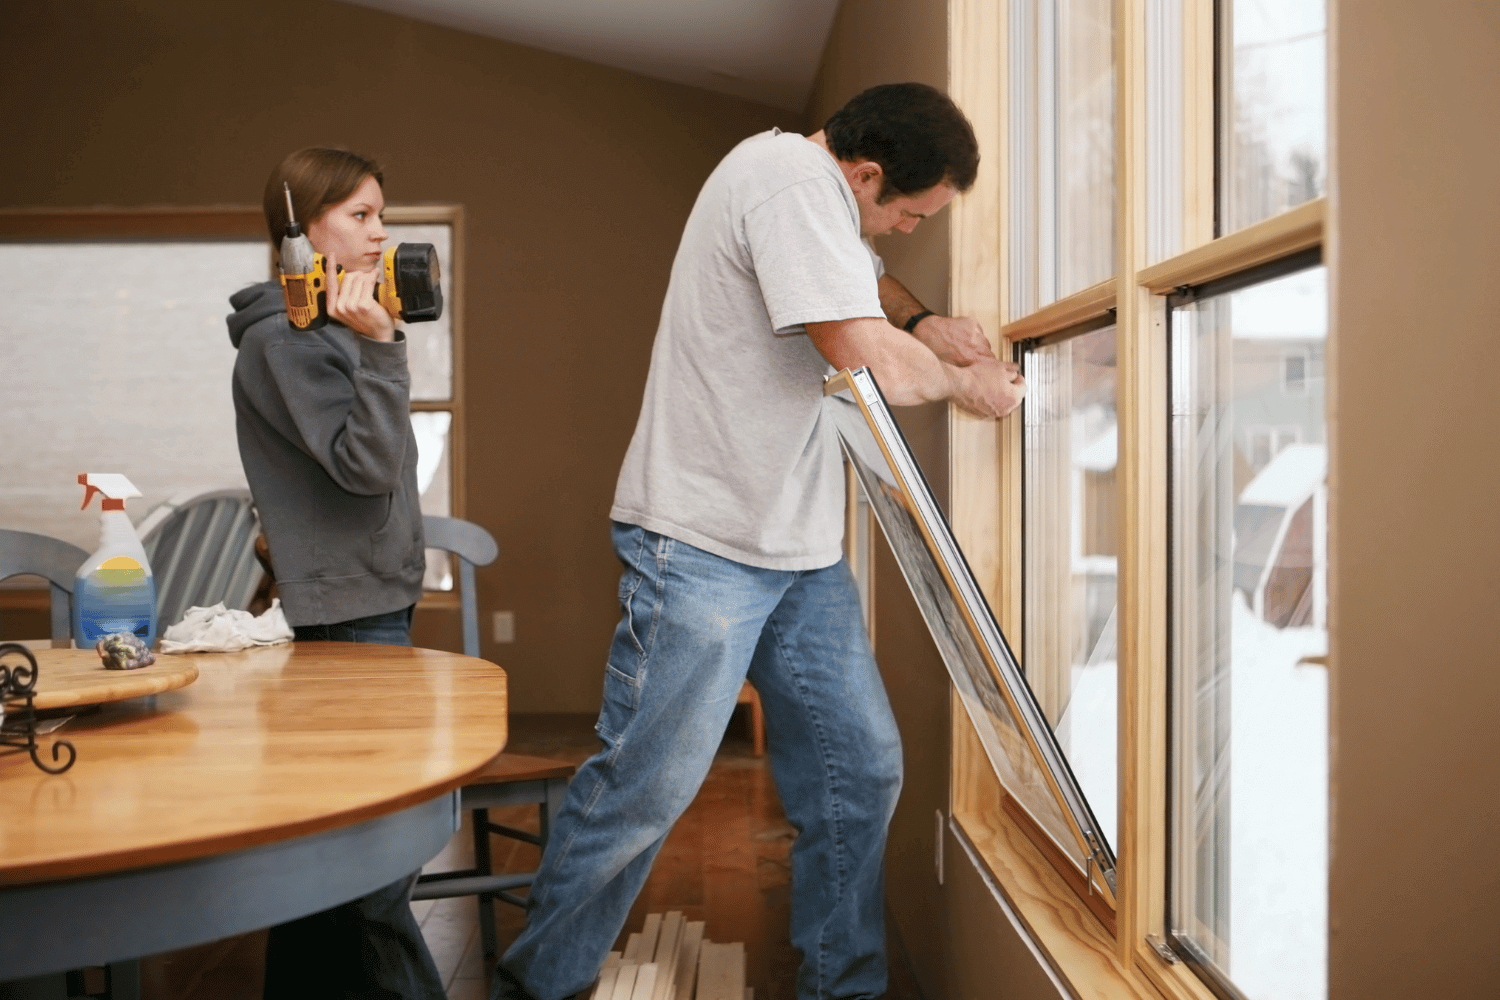
A new window being installed into a window opening.
With the old window removed and the opening prepared, it’s time to install the new window. This involves dry fitting, applying caulk, inserting the window, and insulating and sealing gaps, ensuring proper installation and optimal performance.
Ensure the replacement window is slightly smaller than the existing opening for a proper fit. New-construction windows often have a nailing flange to aid installation. Follow installation guidelines carefully to avoid voiding the warranty.
Dry Fit the New Window
Dry fit the new window to ensure it is level and plumb before securing it. Insert the replacement window and check for a snug fit, ensuring it is level and plumb.
This step ensures a proper fit and optimal performance.
Apply Caulk and Insert Window
After confirming the fit, apply caulk to the exterior stops, forming a generous bead around the perimeter, and insert the window into the opening.
Insert the new window into the opening and secure it with mounting screws.
Insulate and Seal Gaps
Insulate and seal any gaps around the frame after the new window is in place. Apply spray foam insulation evenly to close all gaps.
Apply a 3/8-inch bead of silicone caulk at critical points to prevent drafts and improve energy efficiency.
Finishing Touches
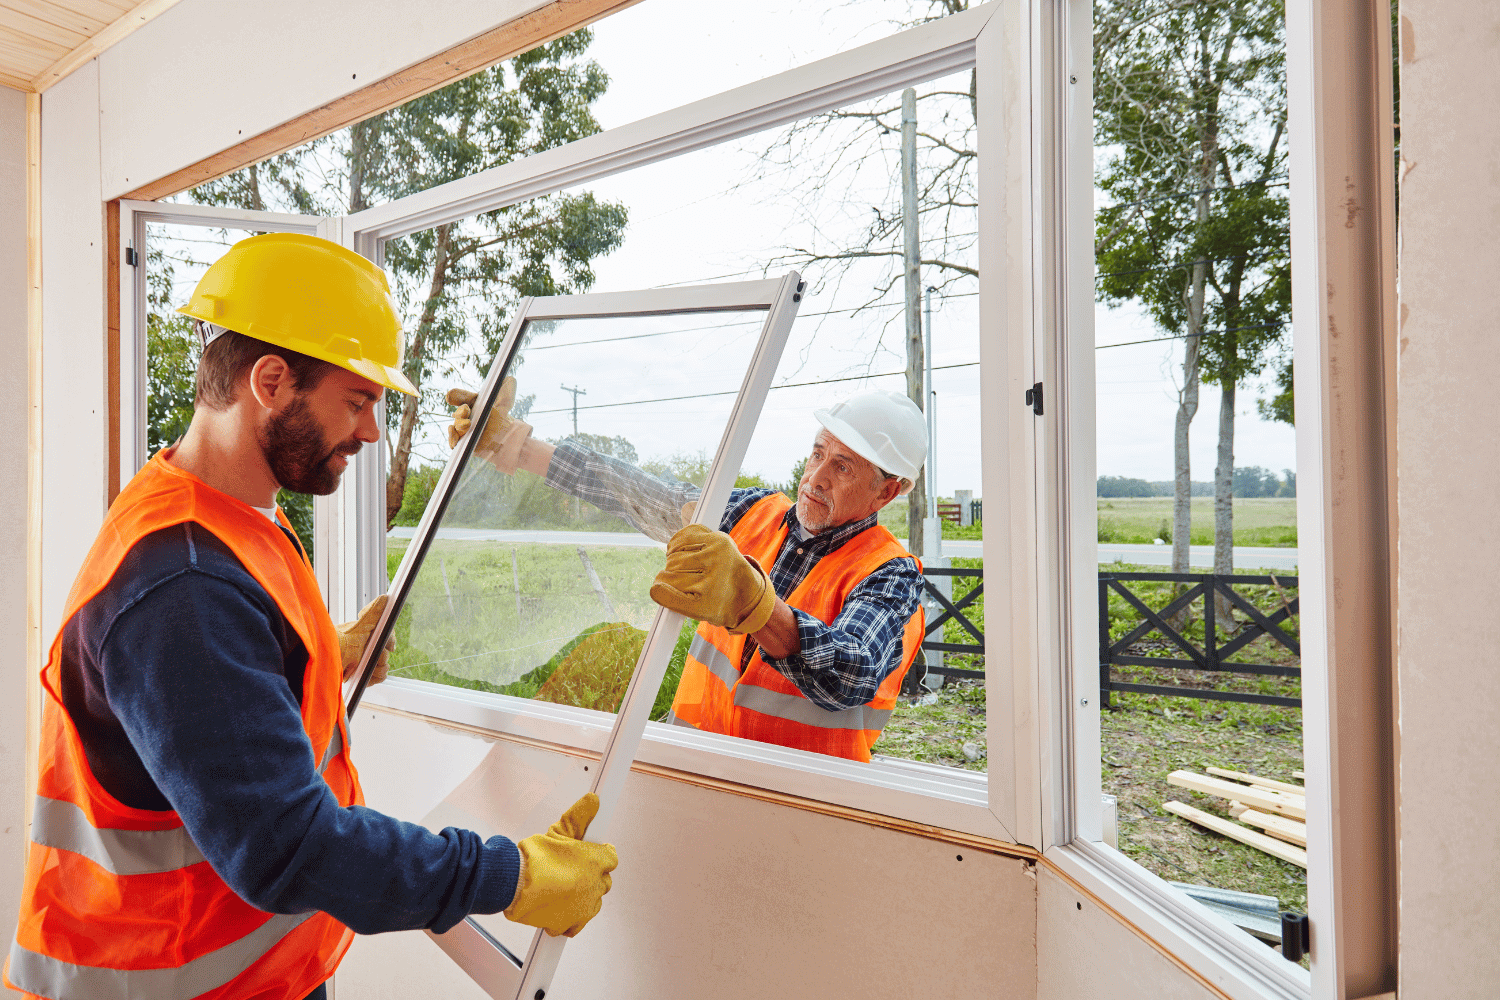
A freshly painted window frame after installation.
Finishing touches make the window installation aesthetically pleasing and operationally sound. This involves installing stop molding, trimming shims, finishing edges, and painting or touching up the window frame.
Cover furniture with drop cloths or old sheets to manage dust. Post-installation cleanup includes vacuuming and dusting to remove any remaining debris.
Let’s dive into the specifics of each step.
Install Stop Molding
Installing stop molding creates a watertight seal and secures the window. Apply a bead of caulk along the outside trim to ensure a tight seal.
Installing new window trim finishes the job and secures the window frame.
Trim Shims and Finish Edges
Trim excess shims to ensure a flush surface against the wall, and use sandpaper or a file to smooth the edges.
A neat finish enhances the window installation’s appearance and maintains functionality.
Paint and Touch Up
Match paint or stain with existing trim to enhance the installation’s appearance. Touch up areas by repainting or restaining for a seamless match.
This final step ensures your new window looks great and blends in perfectly with your home.
Post-Installation Tips
Maintaining your new windows keeps them in excellent condition. Regular cleaning, inspecting seals and hardware, and implementing energy efficiency tips help keep your windows looking and functioning their best.
Regular maintenance keeps your windows in excellent working condition over time. Let’s explore some specific post-installation tips to keep your windows in top shape.
Regular Cleaning
Clean windows once or twice annually, especially during spring and fall. Cleaning on overcast days prevents streaking from the sun’s heat. Use warm water and mild dish soap for an effective homemade cleaner.
Regular window cleaning maintains their appearance and function.
Inspect Seals and Hardware
Periodically check seals and hardware for proper functioning. Inspect for wear, such as cracking or gaps, and replace any damaged or worn seals or hardware to maintain window integrity and efficiency.
Energy Efficiency Tips
Weather stripping improves energy efficiency by sealing gaps and reducing drafts. Keeping windows locked ensures a tight seal against air leaks, enhancing efficiency.
Regular moisture checks around windows can prevent significant damage.
DIY vs. Professional Installation
A comparison between DIY and professional window installation.
Weigh the pros and cons of DIY versus professional installation. DIY offers cost savings and personal satisfaction but requires specific skills, tools, and consideration of potential safety risks.
Hiring professionals is advisable for complex installations, where experience and skills are crucial. Ultimately, choose based on expertise, risk, and desired outcome.
Let’s explore the benefits of DIY and when to hire professionals in more detail.
Benefits of DIY
DIY window installation can save significantly on labor costs, especially if you already have the necessary tools. Many homeowners find personal satisfaction and a sense of accomplishment in completing the installation themselves.
When to Hire Professionals
Hiring professionals is advisable for complex installations requiring significant experience and skill. Professionals ensure reliable installations that operate securely and efficiently. Warranties and guarantees from professional companies provide peace of mind regarding work quality.
Hiring professionals can ensure a worry-free installation process, especially for those lacking experience.
Summary
Replacing a window may seem like a daunting task, but with the right preparation, tools, and guidance, it becomes a manageable and rewarding project. Accurate measurements, proper tools, and safety precautions set the stage for success. Removing the old window and properly installing the new one ensures a snug fit and optimal performance. Finishing touches and regular maintenance keep your windows looking and functioning their best. Whether you choose to tackle the project yourself or hire professionals, the result is a beautiful, energy-efficient upgrade to your home. Ready to transform your space? Let’s get started!
Frequently Asked Questions
Why is accurate measurement important for window replacement?
Accurate measurement is crucial for window replacement as it guarantees a proper fit, which prevents drafts and enhances overall performance. This precision not only improves energy efficiency but also contributes to the longevity of the installation.
What tools do I need for a window replacement project?
For a successful window replacement project, you will need a tape measure, gloves, safety glasses, a hammer, screwdriver, pry bar, utility knife, putty knife, plywood, caulk, shims, and screws. Having these essential tools on hand will ensure the process is efficient and safe.
How do I ensure safety during window removal?
To ensure safety during window removal, it is essential to wear appropriate safety gear, including eye protection and gloves, and to handle broken glass and sharp tools with extreme caution. Always prioritize your safety by taking these precautions.
What are the benefits of hiring professionals for window installation?
Hiring professionals for window installation ensures reliable workmanship, comprehensive warranties, and the assurance of high quality, especially for intricate projects. This results in greater peace of mind for homeowners.
How can I improve the energy efficiency of my new windows?
Improving the energy efficiency of your new windows can be achieved by applying weather stripping, ensuring they remain locked, and regularly checking for moisture. These measures will help maintain a better seal and reduce energy loss.

