How Do I Prepare For a Window Replacement Project?
Are you planning a window replacement project and wondering, “how do I prepare for a window replacement project?” Proper preparation can make all the difference in ensuring a smooth and successful outcome. CoMo Premium Exteriors, a top-rated window replacement company in Mid Missouri, is here to guide you through the process with expert advice and quality service.
Key Takeaways
- Choose the right time for window replacement and prepare interior & exterior spaces.
- Manage children/pets, disable security systems, create staging area & communicate with crew.
- Consider energy efficiency options when selecting CoMo Premium Exteriors for your project.
Choosing the Right Time for Window Replacement
Choosing the ideal timing for your window replacement project is significant. Consider factors such as weather, personal schedule, and project timeline when scheduling with CoMo Premium Exteriors. Opting for a time when weather conditions are favorable ensures a smoother installation process and prevents potential delays. Also, synchronizing the project with your personal schedule provides the opportunity to be involved during the installation and handle any queries or issues that may come up.
Reach out to CoMo Premium Exteriors, your trusted window replacement contractor, to arrange your window replacement project. They will provide you with a timeline and guide you on the necessary preparations for a successful installation day. Keep in mind, early preparation of your home can promote a more streamlined work process for fitting new windows, ending on the installation day itself.
Preparing the Interior Space
Ready to transform your home with a window replacement project? Let’s dive into how you can prepare your interior space for this exciting makeover! This involves a few simple steps like clearing your furniture and wall decorations, removing window treatments, protecting your floors, and creating a safe space for your pets and little ones. When you take the time to prepare your interior space, you’re setting the stage for a smooth and efficient installation process and you’re also taking steps to prevent any potential damage to your precious belongings. Let’s get started!
Clearing Furniture and Wall Decorations
Start by moving furniture away from windows to provide ample space for the installation crew and their equipment. Doing so not only eases the workflow but also shields your furniture from possible harm during the replacement process. Additionally, remove any wall decorations or family heirlooms around the windows. The walls will vibrate during the window replacement process, which could potentially knock these items off the wall.
When relocating heavy furniture, follow these tips to prevent damage:
- Use blankets, bubble wrap, or shrink wrap to protect walls or doorways.
- Disassemble the furniture as much as possible.
- Use dollies to slide the furniture instead of carrying it.
- If staff need to stand in a bathtub to replace a window, place cardboard at the bathtub’s base for protection.
Removing Window Treatments
Next, take down curtains, blinds, and other window treatments to prevent damage during the window installation process. Removing these items ensures the installation crew has unobstructed access to the windows and reduces the risk of damage to your window coverings.
When removing window treatments, follow the general steps provided in the knowledge base for various types, such as:
- Horizontal blinds
- Vertical blinds
- Shades
- Curtains
- Drapes
Before you remove window treatments, store them in a separate area to avoid interference during the window replacement process.
Protecting Floors
Safeguarding floors during window replacement is necessary to prevent dust and debris from damaging the flooring. Here are some steps to follow:
- Cover your floors with canvas, cotton, or plastic drop cloths.
- Make sure the drop cloths provide a robust layer of protection.
- Use drop cloths that can absorb spills.
By following these steps, you can effectively protect your floors during the window replacement process.
Follow the steps provided in the knowledge base for covering floors with drop cloths or plastic sheets during window replacement. Be mindful of common mistakes, such as:
- inadequately protecting floors
- using insufficient covering materials
- improperly securing coverings
- not cleaning the floors prior to covering.
Preparing the Exterior Space

Preparing the exterior space for window replacement
Ready the exterior space for window replacement is equally significant as prepping the interior. Trim plants, remove outdoor decorations, and clear walkways to provide easy access for the installation crew and their equipment.
Take additional measures to minimize potential risks by removing any leaves, sticks, and other debris in the vicinity of your residence. Protect delicate greenery by covering them with drop cloths, plastic sheets, or a wood frame tent during the window replacement process.
Creating a Staging Area

Staging area for window replacement project
Allocate a zone for the installation crew to keep their tools and materials, guaranteeing effortless access throughout the project. A dedicated staging area offers numerous benefits, such as:
- Organization
- Efficiency
- Safety
- Protection
- Quality control
When selecting a staging area for window replacement projects, consider aspects such as:
- Accessibility
- Protection
- Space
- Security
- Proximity
Window installers typically require a minimum of two feet of space in front of each window to carry out their work effectively, and it’s imperative to designate an area with accessible electrical outlets for the installers to utilize.
Disabling Security Systems
Briefly turning off your home security systems is a necessary measure to avoid false alarms during window replacement. While your windows are being replaced, any alarms attached to them should be deactivated, and the alarm system should be turned off completely during the installation process.
Remember to reactivate your security systems once the installation is complete, ensuring the safety of your home. It’s also a good idea to inform your security company about the window replacement project, so they’re aware of any potential disruptions to the alarm system.
Managing Children and Pets
Keeping children and pets distant from the installation area is vital for their safety and to avoid distractions for the installation crew. There are potential hazards for children and pets during window replacement, such as:
- Window cords
- Heavy windows
- Adhesives
- Cleaning materials
- Nails
- Screws
- Access to windows
- Screens
To ensure their safety, here are some tips:
- Designate a safe play area in another room.
- Maintain a consistent routine.
- Take pets for vigorous walks in the morning to de-stress them.
- Consider creating a securely fenced dog run or catio away from the construction area for added protection.
Communication with the Installation Crew
Keeping a clear line of communication with the installation crew is key to address any concerns or questions during the window replacement process. Here are some tips to ensure a smooth and successful window installation project:
- Clearly communicate instructions, plans, and expectations to the crew.
- Establish a positive rapport with the crew.
- Emphasize honesty and openness throughout the process.
Regular communication with the installation crew helps ensure effective coordination and a smooth project. Promptly address any issues or concerns that may arise during the installation process and make timely adjustments or modifications if required. Regular communication also helps to build a strong working relationship with the crew, which encourages trust and collaboration throughout the project.
Post-Installation Cleanup

Post-installation cleanup after window replacement
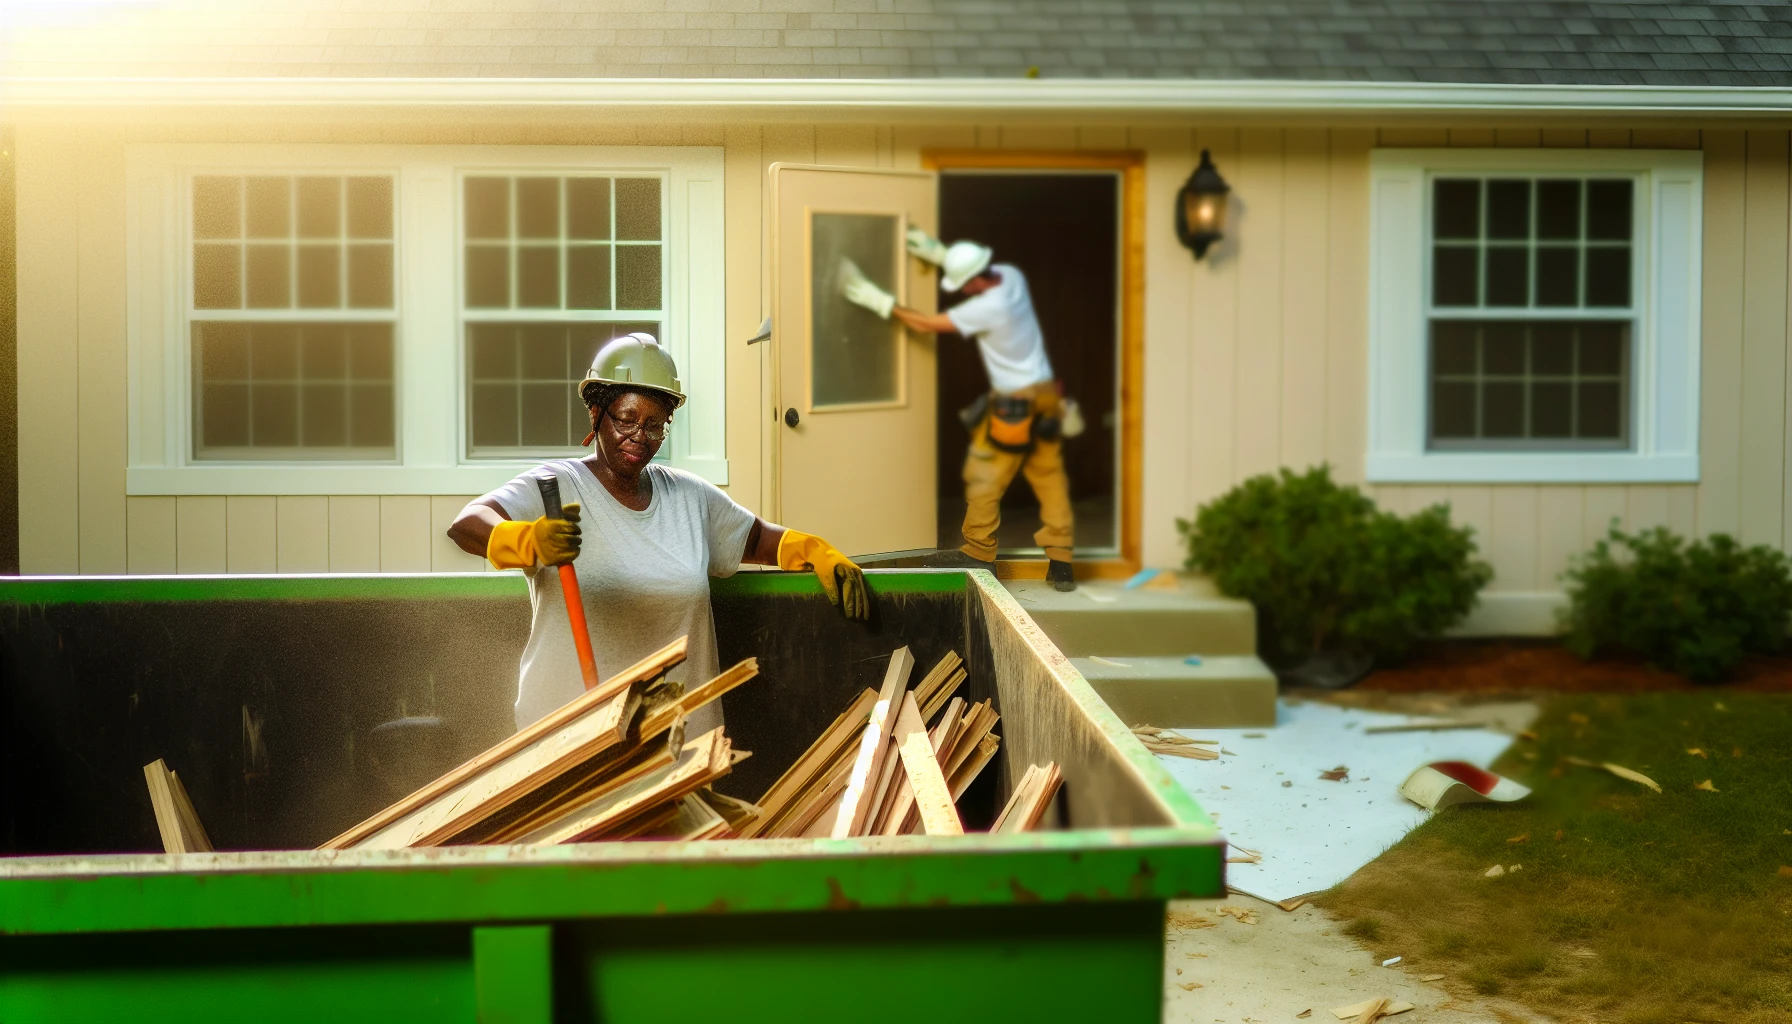
Correct disposal of old windows and debris is a necessary part of the window replacement process, including replacing windows. Plan for post-installation cleanup to restore your home to its original state. Work with your installation crew to ensure they install replacement windows, remove old windows and debris, and clean the installation area after the project is complete.
Following the completion of your window replacement project, perform a final walk-through with the crew lead. This allows you to ask questions and raise any concerns about the installation or cleanup. Once you’re satisfied with the work, don’t forget to complete the certificate of completion to acknowledge the successful completion of the project.
Energy Efficiency Considerations
Energy-efficient windows provide multiple benefits, including:
- Enhanced energy efficiency
- Amplified comfort
- Decreased sound transmission
- Bolstered insulation
Discuss energy-efficient window options with CoMo Premium Exteriors to maximize the benefits of your window replacement project.
Various energy-efficient windows are available, such as energy efficient replacement windows, which include:
- Windows with low-E glass coating
- Double or triple-paned glass windows
- Windows with krypton or argon gas fillings
- Energy-efficient wood, fiberglass, or vinyl windows
Energy-efficient windows can provide an average annual savings of 12%, resulting in a range of $100 to $600 in energy costs.
Selecting CoMo Premium Exteriors for Your Project
Opt for CoMo Premium Exteriors, a highly rated window replacement company in Mid Missouri, for a proficient and expedient window replacement experience. CoMo Premium Exteriors provides the following benefits for window replacement:
- Expertise
- Quality products
- Energy efficiency
- Professional installation
- Enhanced aesthetics
- Unrivaled customer satisfaction
Customers in Mid Missouri have commended CoMo Premium Exteriors for their professionalism, expedient service, and superior workmanship. Trust CoMo Premium Exteriors to handle your window replacement project and help you enjoy a beautiful, energy-efficient, and secure home.
Summary
In conclusion, proper preparation is key to ensuring a successful window replacement project. By following the steps outlined in this guide and working with the experts at CoMo Premium Exteriors, you can enjoy a smooth and efficient window replacement experience, enhancing the comfort, energy efficiency, and aesthetics of your home.
Frequently Asked Questions
How do I prepare for replacing windows?
To properly prepare for window installation, contact your contractor in advance, remove all blinds and curtains, clear the space around the windows, cover any furniture, create a plan for kids and pets, and clear the area outside of the windows.
What to expect when you get windows replaced?
Expect a greeting and walkthrough on the day of your window installation, preparation of the area and opening, insulation and sealing of the frame, cleanup, and verification of the work.
How do you prepare for windows installation?
Prior to window installation day, contact your contractor, remove curtains and blinds, clear any space around windows, cover furnishings, create a plan for kids and pets, and clear the outdoor space around windows.
What are the benefits of energy-efficient windows?
Energy-efficient windows provide improved energy efficiency, increased comfort, reduced sound transmission, and better insulation, making them a great choice for energy savings.
Why should I choose CoMo Premium Exteriors for my window replacement project?
Choose CoMo Premium Exteriors for your window replacement project to benefit from their top-rated expertise, quality products, energy efficiency, professional installation, enhanced aesthetics, and customer satisfaction.

