Essential Roofing How-To: Shingle Installation Simplified
A well-installed shingle roof can protect your home for decades, but it all starts with choosing the right shingles and following proper installation methods. In this comprehensive guide on roofing how to shingle, we’ll explore the different types of shingles, the step-by-step installation process, and essential safety tips to ensure your roofing project is a success.
Key Takeaways
- Selecting the right shingles for your roof requires careful consideration of type, climate, and local building codes.
- Professional installation involves inspection, preparation/cleaning of the surface area, and having proper tools & materials.
- Hiring a professional or doing it yourself should be weighed based on experience level safety concerns & budget.
Selecting the Right Shingles for Your Roof

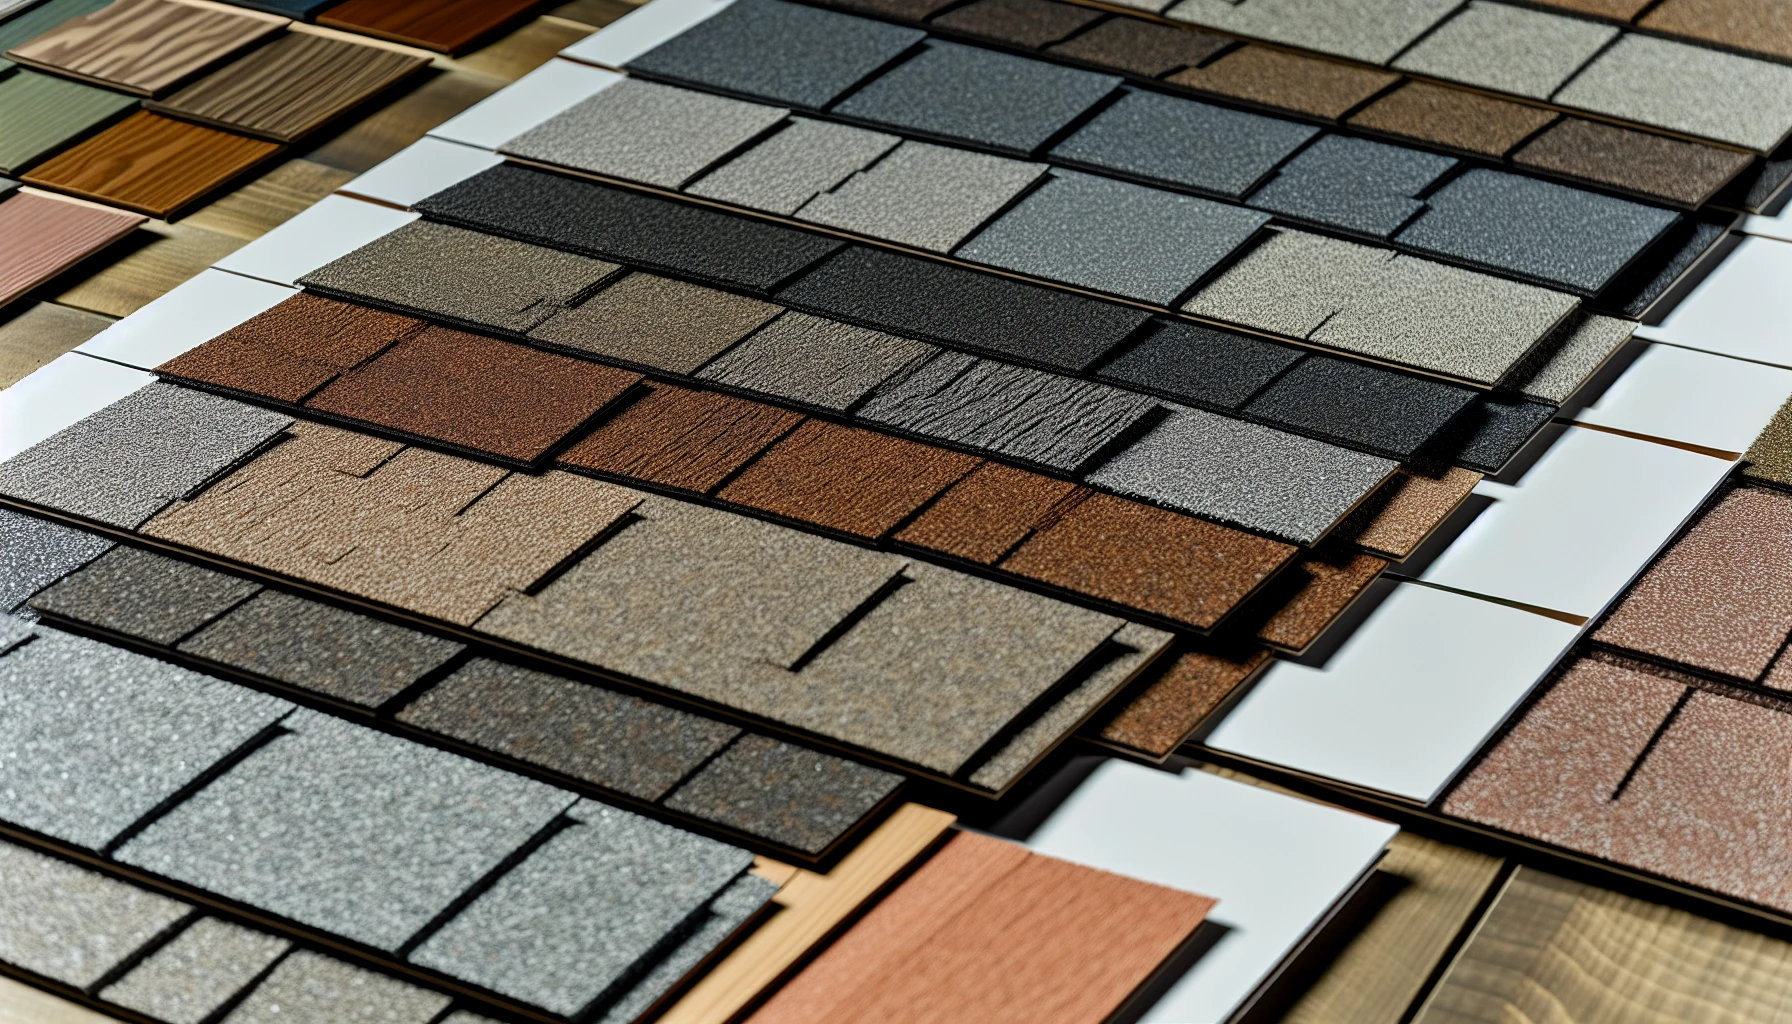
Variety of roof shingle samples
The longevity and functionality of your roof highly depend on your choice of shingles. Factors to consider include the type of roof, climate, and local building codes.
Understanding the three main types of shingles – asphalt (including starter shingles), wooden, and metal, can help you make a better decision.
Asphalt Shingles
Asphalt shingles are the most popular roofing material for an asphalt shingle roof due to their affordability and versatility. They come in various styles and colors, allowing you to customize your roof’s appearance. Asphalt shingles are available in three main types:
- Architectural shingles: These are heavier and more durable.
- Composite shingles: These can imitate the look of wood and slate.
- Traditional shingles: These are the standard asphalt shingles.
Proper installation ensures that there are no exposed nails, providing a clean and secure finish.
The process of installing shingles, specifically install asphalt shingles, involves the following steps:
- Lay the underlayment
- Install the drip edge
- Nail the shingles
- Trim and fit the shingles
- Install the ridge cap shingles
Before installation, it is necessary to mark the roof to guarantee the correct amount of overlap and exposure. With the right tools and materials, such as roofing nails and underlayment, asphalt shingle installation can be a straightforward and efficient process.
Wooden Shingles
Wooden shingles offer a unique and natural aesthetic that many homeowners find appealing. They are often crafted from cedar, redwood, or other wood materials and provide natural insulation and energy efficiency. Wooden shingles are also lightweight and relatively easy to install.
The lifespan of wooden shingles typically ranges from 30 to 50 years with proper maintenance. Moreover, wooden shingles are considered environmentally friendly, especially when sourced from sustainable forest-management programs. Keep in mind that wooden shingles may require more maintenance than other options, but their unique appearance may be worth the extra effort.
Metal Shingles
Metal shingles are a durable and long-lasting option for homeowners seeking a low-maintenance roofing solution. Here are some key benefits of metal shingles:
- Made from materials such as aluminum, steel, or copper
- Impressive longevity, with some types lasting up to 75 years
- Minimal upkeep required, making them a practical choice for busy homeowners
Installing metal shingles involves the following steps:
- Affix a membrane to one side of the roof and unroll it horizontally until it reaches the other side.
- Secure the shingles with 1-¼-inch galvanized roofing nails, placing them approximately 16 inches apart.
- Remove any existing shingles prior to installing metal shingles to ensure a proper and secure fit.
Preparing for Shingle Installation

Roof inspection checklist
Proper preparation of the roof surface is required before starting shingle installation. This includes inspecting the roof deck for any necessary repairs, removing old shingles and nails, and cleaning the roof surface.
We will examine each of these steps in detail.
Roof Inspection
Identifying any potential issues before installing new shingles requires a thorough roof inspection. Look for signs of:
- Rust
- Damage or detachment of roofing materials
- Leaks or water damage
- Missing or damaged shingles
- Excessive condensation
- Poorly or improperly installed shingles
- Issues with flashing
- Deterioration of roofing materials
- Drainage problems
- Unauthorized leak repairs
A variety of tools, such as a laser pointer, laser measuring tool, and moisture meter, are essential for a comprehensive inspection.
If any damage is found during the inspection, it’s important to address it promptly to prevent further issues. Consult a professional roofing contractor if you’re uncertain about the extent of the damage or if more thorough inspection is required.
Removing Old Shingles
Once the roof inspection is complete, the next step is to remove the old shingles. Here are the tools you will need:
- Adjustable roof jack
- Broom magnet
- Cat’s paw
- Chalk line
- Extension ladder
- Roofing shovel
Carefully remove the old shingles and nails using these tools. Be sure to protect your landscaping with tarps to catch the removed shingles and debris.
When removing nails, utilize a claw hammer or catspaw to pull them out or flatten them. Remember that a clean and smooth surface is vital for the proper installation of new shingles, so take the time to ensure all nails and debris are removed.
Cleaning the Roof Surface
After removing the old shingles, it’s time to clean the roof surface. Here are the steps to follow:
- Sweep away any remaining debris.
- Ensure the roof is dry and free of dirt.
- Utilize tools such as scoop shovels, roofing shovels, and roof brushes to clean the surface effectively.
- If necessary, use eco-safe cleaning solutions to remove algae growth and other stains.
Allow the roof to dry completely before shingle installation to ensure proper adhesion and prevent moisture-related issues. Waiting at least 24 hours for any moisture to evaporate is recommended.
Essential Tools and Materials
A successful shingle installation project requires the collection of the necessary tools and materials. Roofing nails, underlayment, and shingles are essential for the job. Various types of underlayment, such as asphalt-saturated felt, synthetic underlayment, and rubberized asphalt, are available for different roofing needs. Be sure to choose the appropriate roofing nails, such as aluminum, stainless steel, galvanized steel, copper, or ring-shank nails.
Additional tools required for shingle installation include:
- Roofing nail gun
- Hammer tacker stapler
- Roofing hammer or hatchet
- Air compressor
- Roofing blade or utility knife
- Roofing shovel or shingle tear-off
- Shingle cutters
- Tin snips or utility knife for trimming around pipes or vents
Having the right tools and materials on hand will make the installation process smoother and more efficient.
Step-by-Step Shingle Installation Guide

Laying underlayment process
Having covered the preparation steps and collected the necessary tools and materials, we will now proceed with the step-by-step shingle installation guide. We’ll cover the following:
- Laying underlayment
- Installing drip edge
- Nailing shingles
- Trimming and fitting shingles for a seamless finish.
Laying Underlayment
The first step in shingle installation is laying the underlayment. This serves as a barrier between the shingles and the roof deck, protecting against water infiltration. Types of underlayment include asphalt-saturated felt, synthetic underlayment, and rubberized asphalt. Lay underlayment in horizontal courses. Overlap the ice and water protector by 4 inches and valley membrane flashing by 6 inches..
If your home is located in an area where an ice and water protector isn’t required, begin the installation of the underlayment at the eave. Ensure the underlayment overlaps the drip edge by about a half inch to 3/4 inches. Be sure to overlap the strips by approximately half their width for optimal protection.
Installing Drip Edge
Next, install the drip edge to prevent water damage and ensure proper water runoff. The steps to install the drip edge are as follows:
- Hold the drip edge firmly against the fascia.
- Secure the drip edge through the top into the decking with roofing nails, spaced every two feet.
- Install the drip edge over the underlayment at the rakes to provide a clean roof edge and increased resistance against wind uplift.
Drip edge installation is essential for a watertight seal and professional appearance. Using 1-1/4-inch roofing nails, secure the drip edge to the roof, making sure it is aligned properly and without any gaps or inconsistencies.
Nailing Shingles
Once the underlayment and drip edge are in place, it’s time to secure the shingles to the roof using roofing nails and proper nailing techniques. The number of nails per shingle should depend on the steepness of your roof and winds in the region. Generally, four to six nails are needed. Place nails evenly across the width of the shingle, keeping them about 1 inch in from the sides.
Strike nails at a 90-degree angle from the roof to ensure the nail’s head does not break the shingle’s surface. Using the appropriate nails, such as ring shank nails, will help achieve a secure and long-lasting installation.
Trimming and Fitting Shingles
The final step in the shingle installation process is to install roof shingles by trimming and fitting them around roof structures and edges. Using a utility knife and safety gloves, align the aluminum drip edge and carefully cut the shingles along a straight line. Fit shingles around roof structures, such as vents, chimneys, and skylights, with care and precision.
Ensure a seamless and professional finish by cutting and fitting shingles properly. Taking the time to trim and fit shingles can greatly improve the overall appearance and functionality of your roof.
Proper Ventilation and Flashing

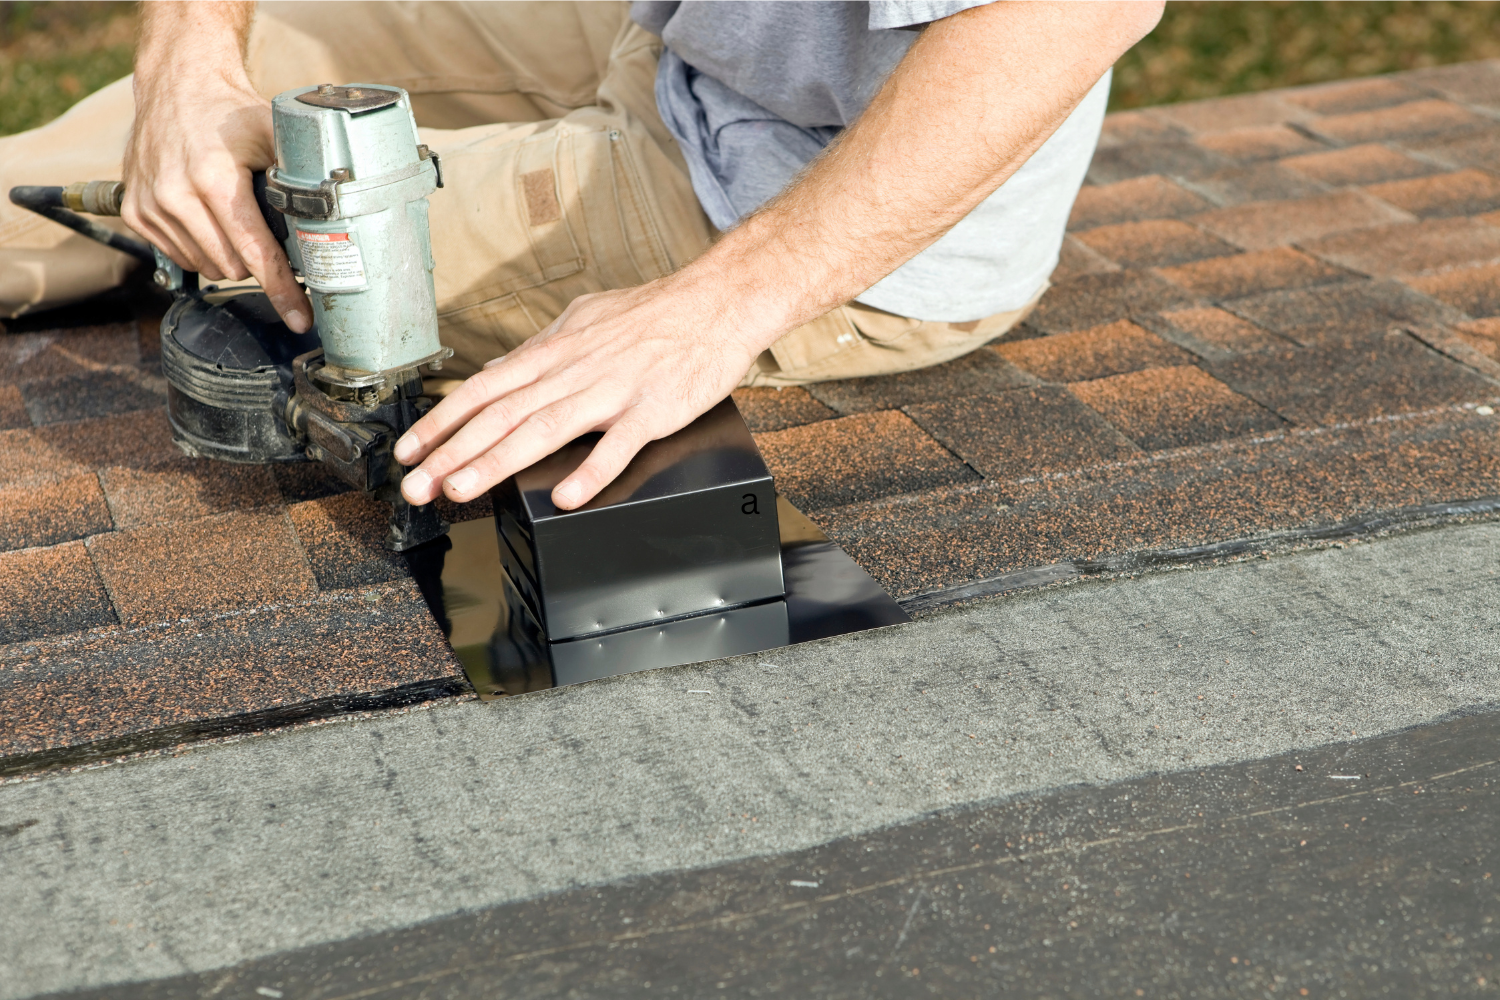
Flashing installation on roof
A well-installed shingle roof also requires proper ventilation and flashing. Adequate ventilation prevents moisture buildup, while flashing provides an additional layer of protection against leaks. Ensure that your roof has the necessary ventilation systems in place to maintain the integrity of your shingles and the overall roof structure.
Install flashing at joints and valleys where the shingle layer is penetrated, interrupted, or meets a wall. Use materials such as 28-gauge galvanized metal or equivalent corrosion-resistant, non-staining material for valley flashing.
Step and dormer flashing should also be installed to ensure a watertight seal around the junctions of the roof and exterior walls.
Roofing Safety Tips
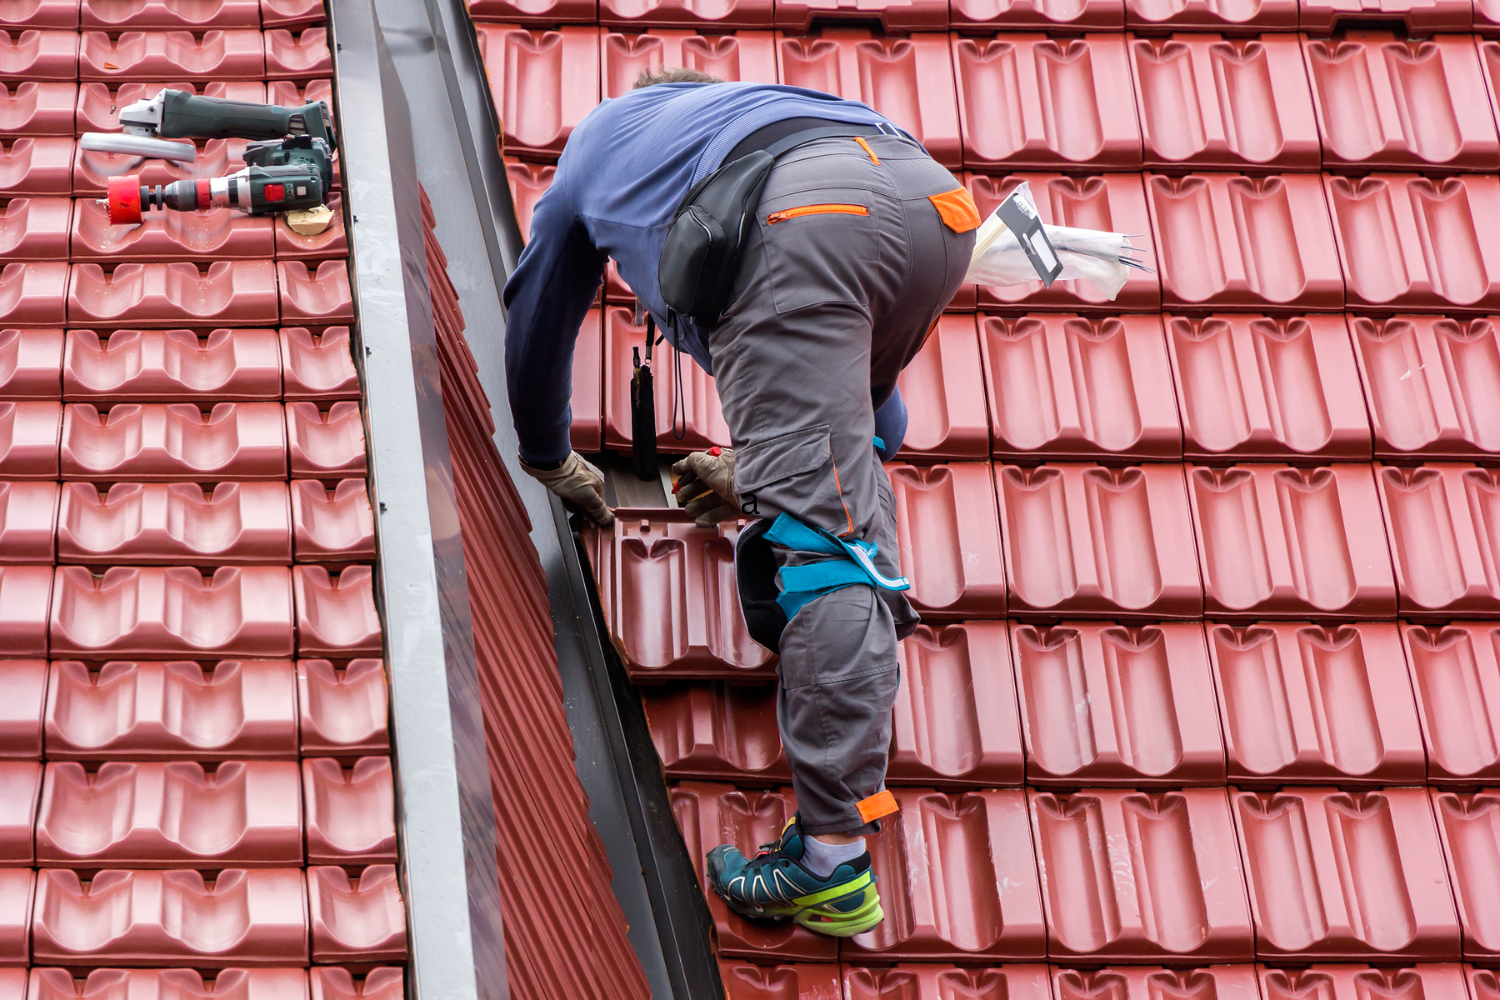
Safety should always be a priority when working on a roof. Follow safety precautions such as using a harness, wearing appropriate footwear, and utilizing proper equipment to minimize risks. Essential safety equipment includes a roof work safety harness, a roofing safety lanyard, a work positioning lanyard, a rope protector, and a roofing anchor system.
Familiarize yourself with the proper use of a roofing safety harness and other safety equipment, and always follow the manufacturer’s guidelines. Taking the necessary safety precautions can help prevent accidents and ensure a successful roofing project.
Maintaining Your Shingle Roof
To extend the lifespan of your roof shingles and prevent damage, regular inspection and maintenance are required. Inspect your roof at least twice a year, in the fall and spring, looking for signs of damage such as attic leaks, blistering or peeling paint, ceiling and wall stains, dark streaks on roofing, sagging or drooping appearance, dents on gutters and other property, and rotting boards or trapped moisture.
Clean your roof regularly to remove debris, algae, and other stains. Use eco-friendly cleaning solutions and the appropriate tools to maintain a clean and functional roof. Proper maintenance can help prevent costly repairs and prolong the life of your shingles.
Hiring a Professional Roofer vs. DIY

Professional roofer vs. DIY decision
When it comes to shingle installation, you may be wondering whether to hire a professional roofer or tackle the project yourself. Both options have their pros and cons. Hiring a professional roofer ensures specialized training and adherence to licenses, installation methods, and industry standards. However, this option may be more expensive than DIY.
On the other hand, DIY can save money and provide a sense of accomplishment. However, it may lack the expertise and safety precautions offered by a professional. Consider factors such as your experience, safety, and budget when deciding between hiring a professional roofer or going the DIY route.
Summary
In conclusion, proper shingle installation is essential for a durable and long-lasting roof. From selecting the right shingles and preparing the roof surface to following a step-by-step installation guide and practicing safety measures, this comprehensive guide has provided you with the knowledge and tools to achieve a successful roofing project. Whether you choose to hire a professional or take on the challenge yourself, remember that a well-installed shingle roof can protect your home for decades to come.
Frequently Asked Questions
What are the steps to shingle a roof?
Installing a shingle roof requires several steps, such as removing existing shingles, clearing the roof of debris, inspecting the roof deck, installing eave drip edge flashing and a leak barrier, installing underlayment and rake drip edge flashing, installing starter shingles and beginning the installation of shingles.
Can I shingle a roof by myself?
Yes, you can replace a roof yourself with the right guidance and tools. Residential roof replacements typically take two days, with additional time needed based on roof size.
Do you overlap shingles side by side?
Shingles are typically butted together side by side rather than overlapping each other. This allows water to enter and run within the joint and be shed away by the preceding shingle course.
How do roofers keep shingles straight?
Roofers keep shingles straight by utilizing disposable tape and striking a chalkline, and snapping horizontal chalklines for each course or every other course. This helps ensure the courses are aligned both horizontally and vertically and eliminates waviness and short exposures.
What factors should I consider when choosing shingles for my roof?
When selecting shingles for your roof, take into account the type of roof, climate conditions, and local building regulations.

