Flat Roof Maintenance: Solving Common Problems with Flat Roofs
Are you dealing with problems with flat roofs? Flat roofs are popular but come with unique challenges. Common issues include leaks, pooling water, and membrane separation. This article will explore these problems and offer solutions to help you maintain your flat roof effectively.
Key Takeaways
-
Flat roofs are prone to common problems like pooling water, blistering, and membrane separation, making regular maintenance crucial.
-
Effective drainage solutions and quality materials play a significant role in preventing leaks and extending the lifespan of flat roofs.
-
Hiring professional roofing services ensures comprehensive inspections, expert repairs, and efficient replacements, leading to long-term cost savings.
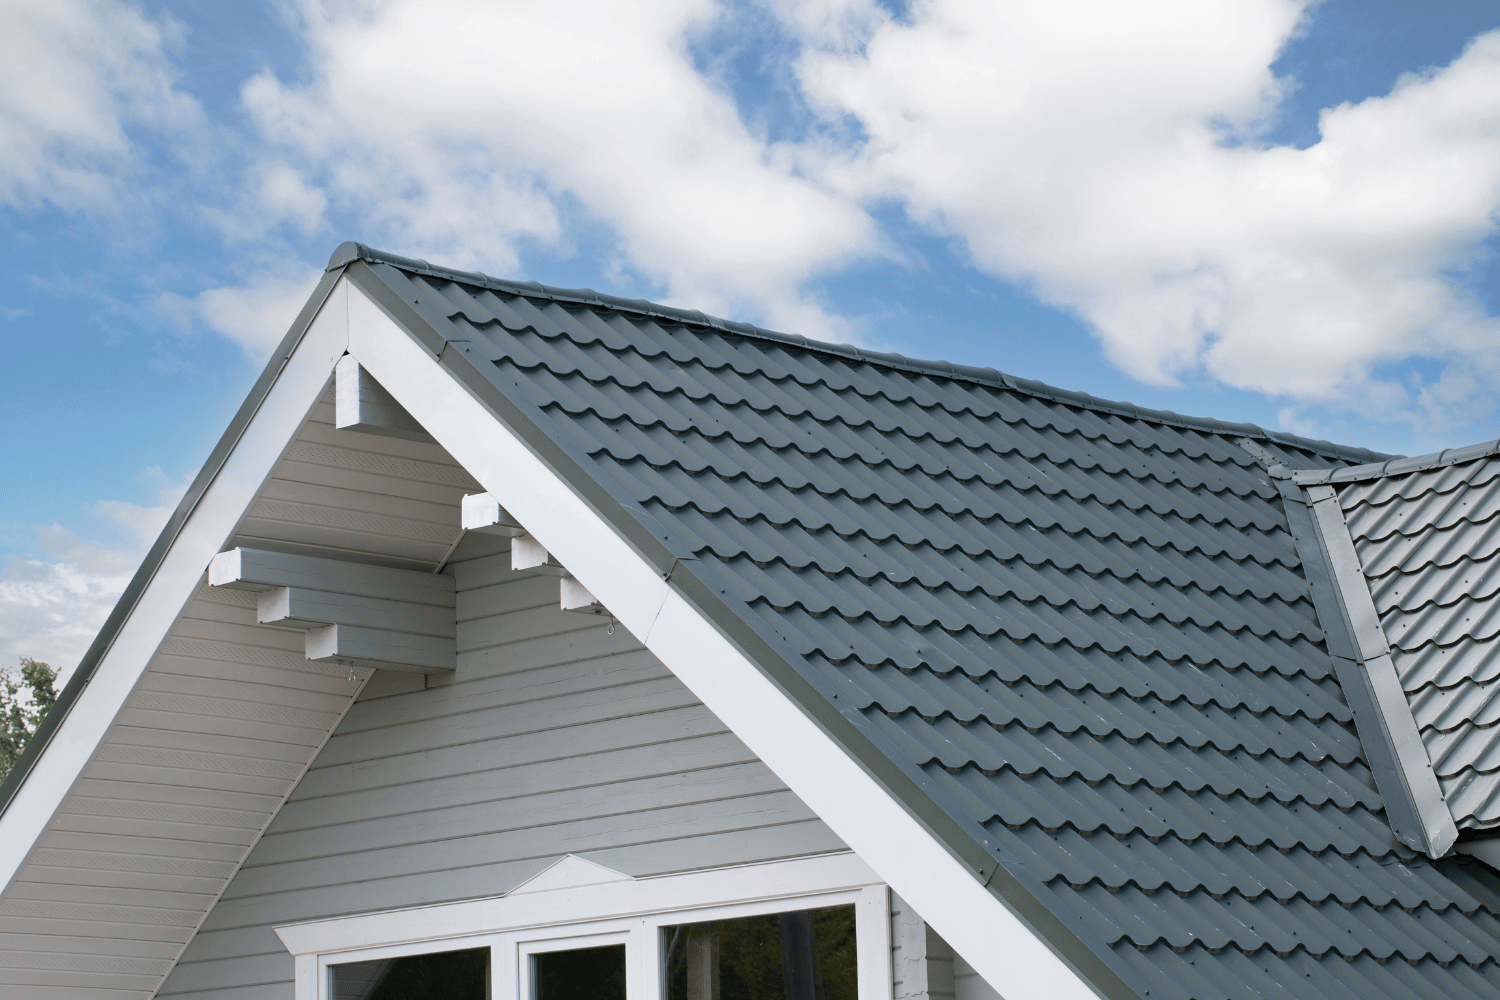
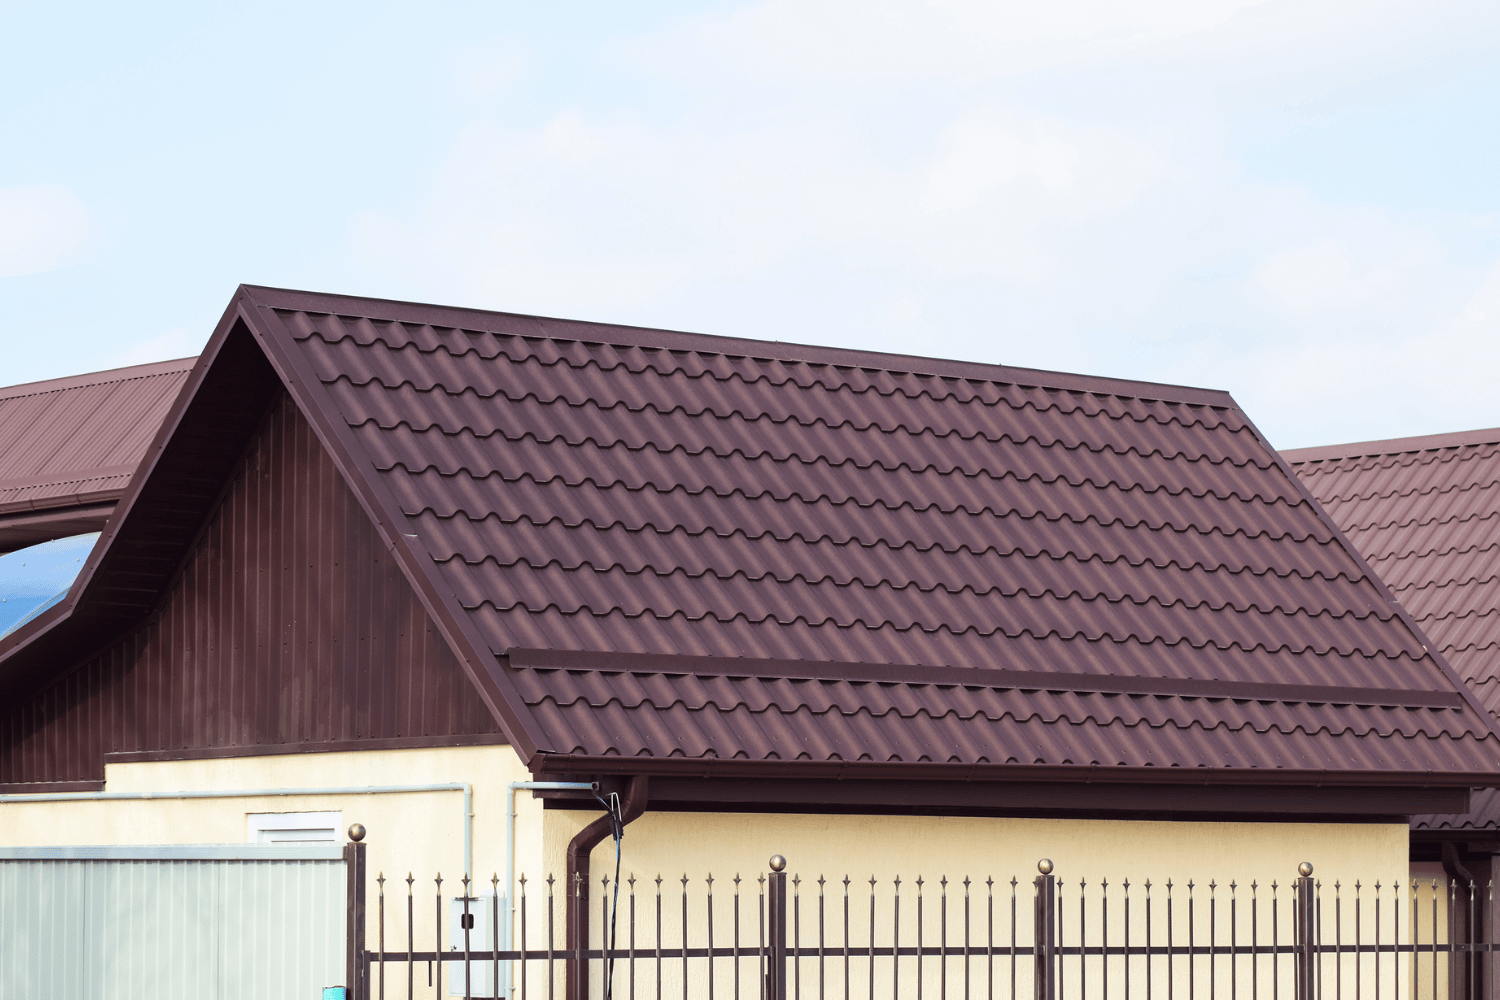
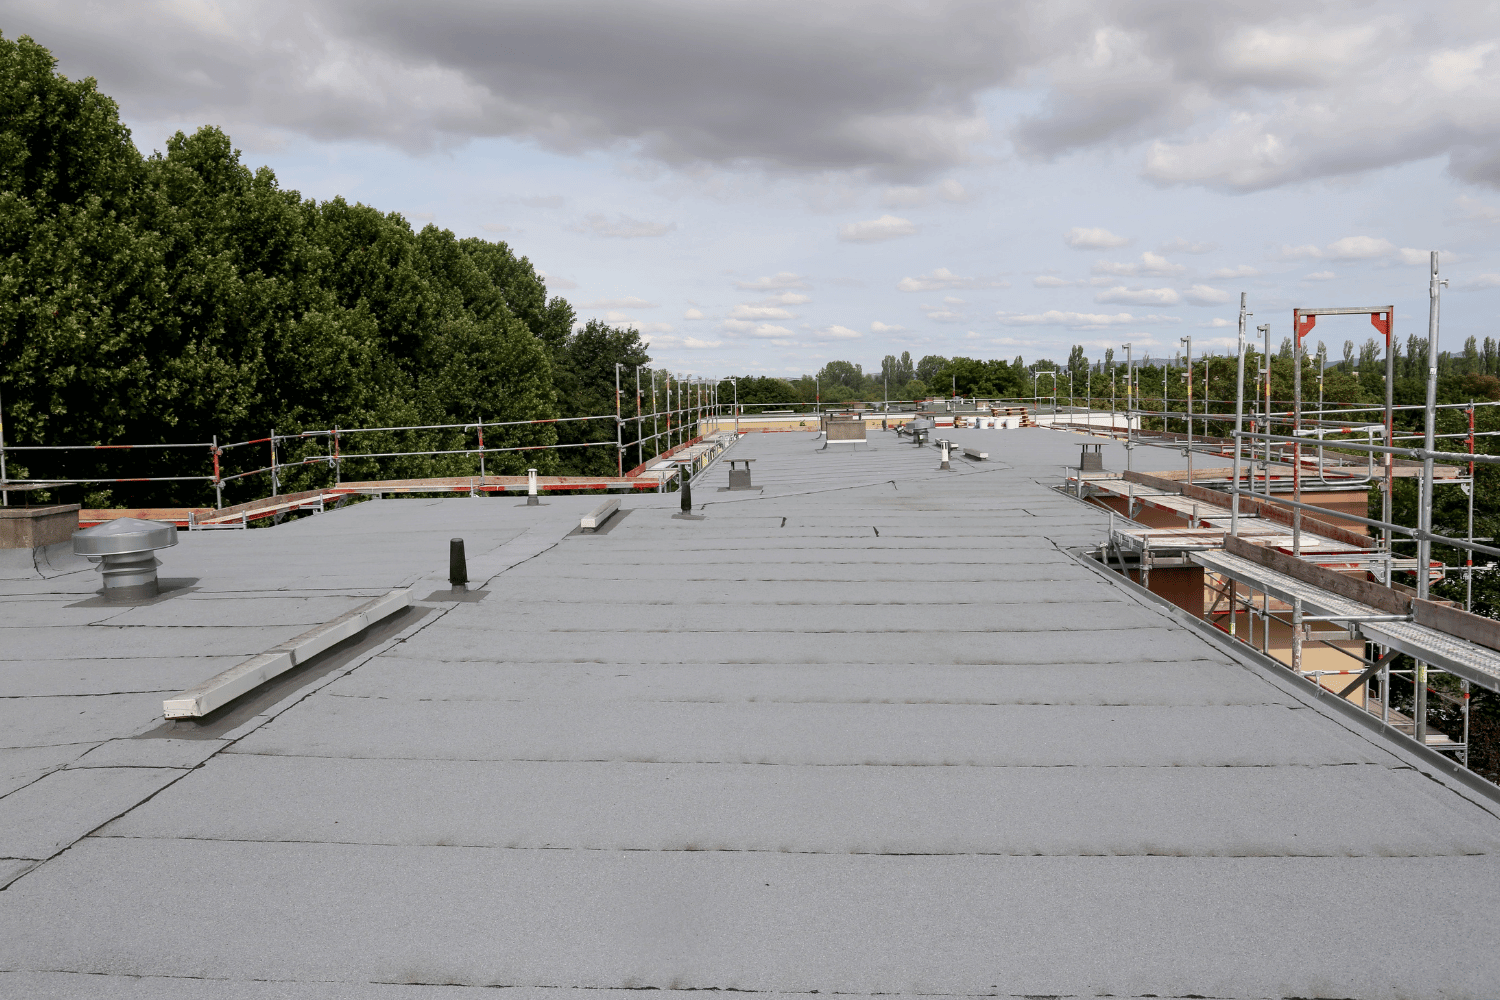
Common Issues with Flat Roofs

Flat roofs, with their sleek and modern aesthetic, are a popular choice among homeowners. However, they come with their own set of challenges. Due to their constant exposure to the sun, rain, and other environmental factors, flat roofs are particularly vulnerable to deterioration. Common flat roof problems include roof leaks, pooling water, blistering and cracking, membrane separation, low-quality flashing, and punctures and tears. Neglecting these issues can lead to severe complications and costly damage.
Regular maintenance helps prevent these issues and extends the lifespan of your flat roof. Proactive care avoids major repairs and keeps your roofing system in good condition.
Here are some of the most common problems you might encounter with your flat roof.
Pooling Water on Flat Roofs
One of the most common flat roof problems is pooling water. This occurs when there is improper drainage due to a lack of slope. Flat roofs that are too flat can lead to standing water, which, if not managed properly, can cause the roof to sag and eventually lead to leaks. A sloped roof can help mitigate these issues.
Effective drainage prevents water accumulation and potential structural damage. Water that doesn’t drain within 72 hours is considered pooling and indicates that your roof needs attention.
Blistering and Cracking
Blistering and cracking are other common issues with flat roofs. These problems are primarily caused by heat-induced expansion and contraction. Blistering occurs when the membrane pulls away, creating pockets of air or moisture beneath the roof surface. Over time, these blisters can lead to cracks, allowing water to infiltrate and cause leaks.
Prolonged sunlight exposure can worsen these issues, so regular inspections and maintenance are crucial.
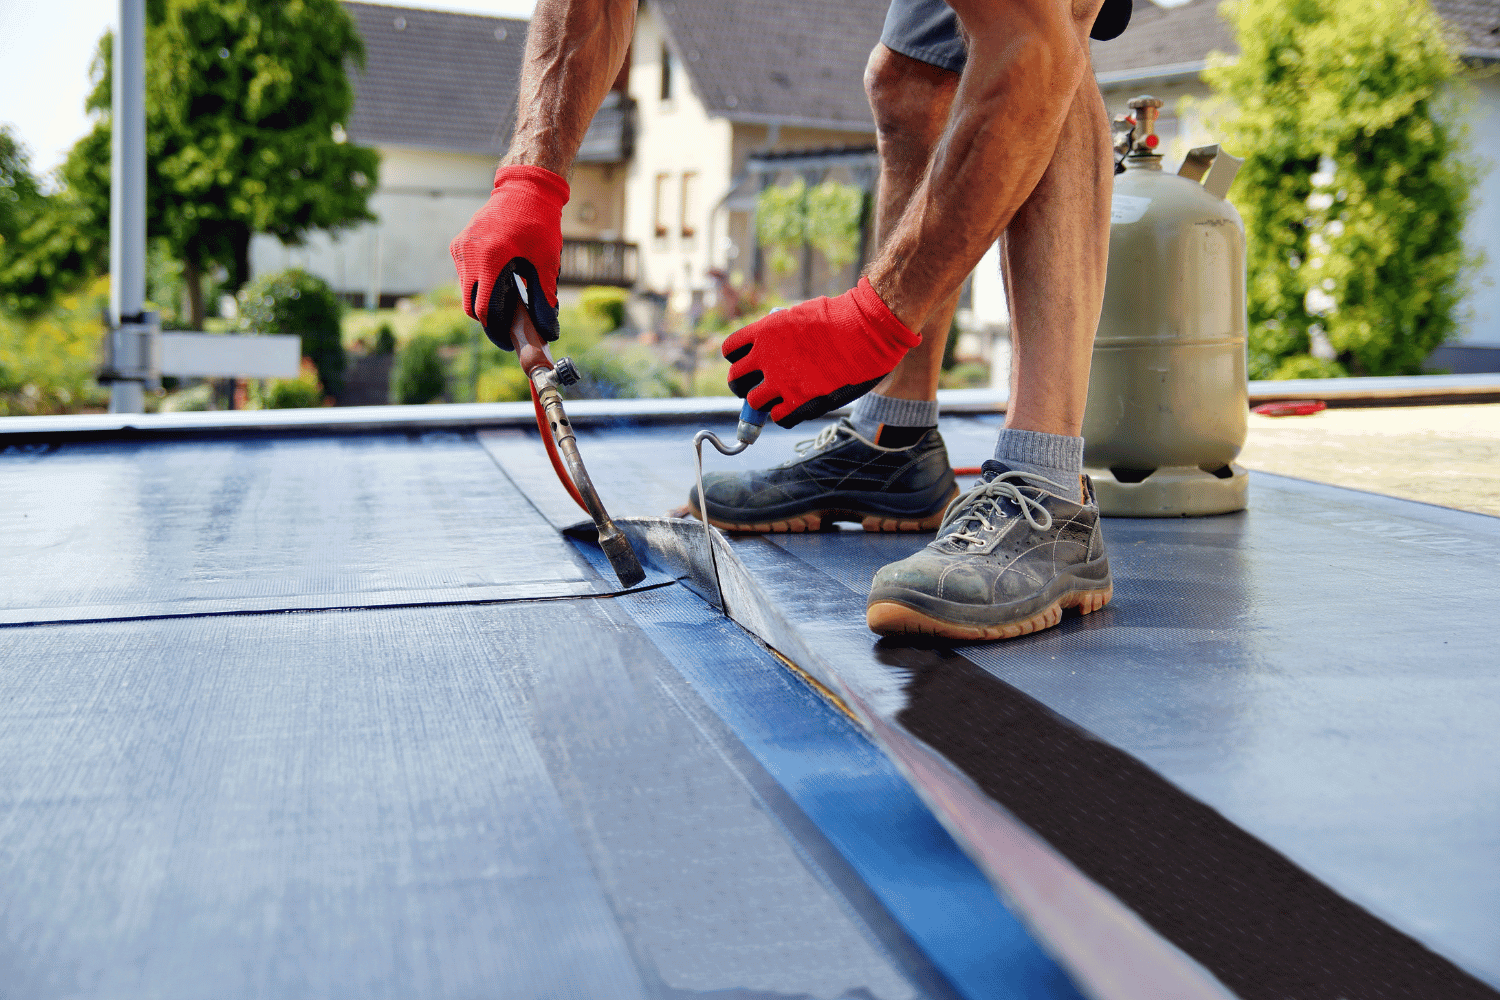
Membrane Separation
Membrane separation is another significant issue in flat roofing systems. It can occur due to poor installation or aging. When the membrane layer separates from the layer below it, the building becomes vulnerable to leaks and other forms of damage.
Aging can also trigger membrane separation, exposing the roofing layers to potential leaks. Proper installation and regular maintenance can mitigate this problem.
Low-Quality Flashing
Low-quality flashing is a common culprit behind many flat roof problems. Flashing is designed to direct water away from critical areas of the roof, but if it is of low quality or improperly installed, it can fail to prevent water ingress. This can lead to water collecting in inappropriate areas, causing wide-ranging damage.
High-quality materials and proper installation help avoid such issues.
Punctures and Tears
Punctures and tears in flat roofs are often caused by foot traffic or debris. These issues can compromise the integrity of the roof surface, leading to leaks and further damage.
Restoration systems that incorporate proper walk paths can help mitigate these problems by providing a clear path for foot traffic and reducing the risk of punctures.
Factors Contributing to Flat Roof Problems

Several factors can contribute to the degradation of flat roofs. Unlike sloped roofs, flat roofs are more exposed to environmental elements such as sun, wind, and freezing conditions. The unique desert climate and local conditions can significantly affect the lifetime of flat roofs. Neglecting routine maintenance and inadequate flashing can also lead to significant damage over time.
Common causes of cracks in flat roofs include:
-
Pooling water
-
Blistering
-
Thermal movement
-
Roof buckling
If these issues are not addressed promptly, they can lead to water infiltration and further damage. Having a routine maintenance plan and conducting regular inspections are crucial steps in preventing these problems.
Weather Exposure
Weather exposure is one of the primary causes of flat roof problems. Flat roofs are constantly exposed to the sun, wind, and freezing conditions, which can lead to various issues. Common exposure problems include over-exposure to the sun and lightning strikes. Additionally, freezing, hail, wind damage, wind-driven debris, oil damage, and pollutants or chemicals are also significant concerns.
These elements can cause the roof surface to degrade, leading to leaks and structural damage.
Structural Movement
Structural movement is another factor that can affect the integrity of flat roofs. Natural expansion and contraction due to temperature changes can cause the membrane to warp and crack. Building settlement can also lead to membrane warping, further contributing to roof problems.
Commercial buildings are particularly susceptible to thermal movement, making regular inspections and maintenance essential for any energy efficient commercial building.
Debris Accumulation
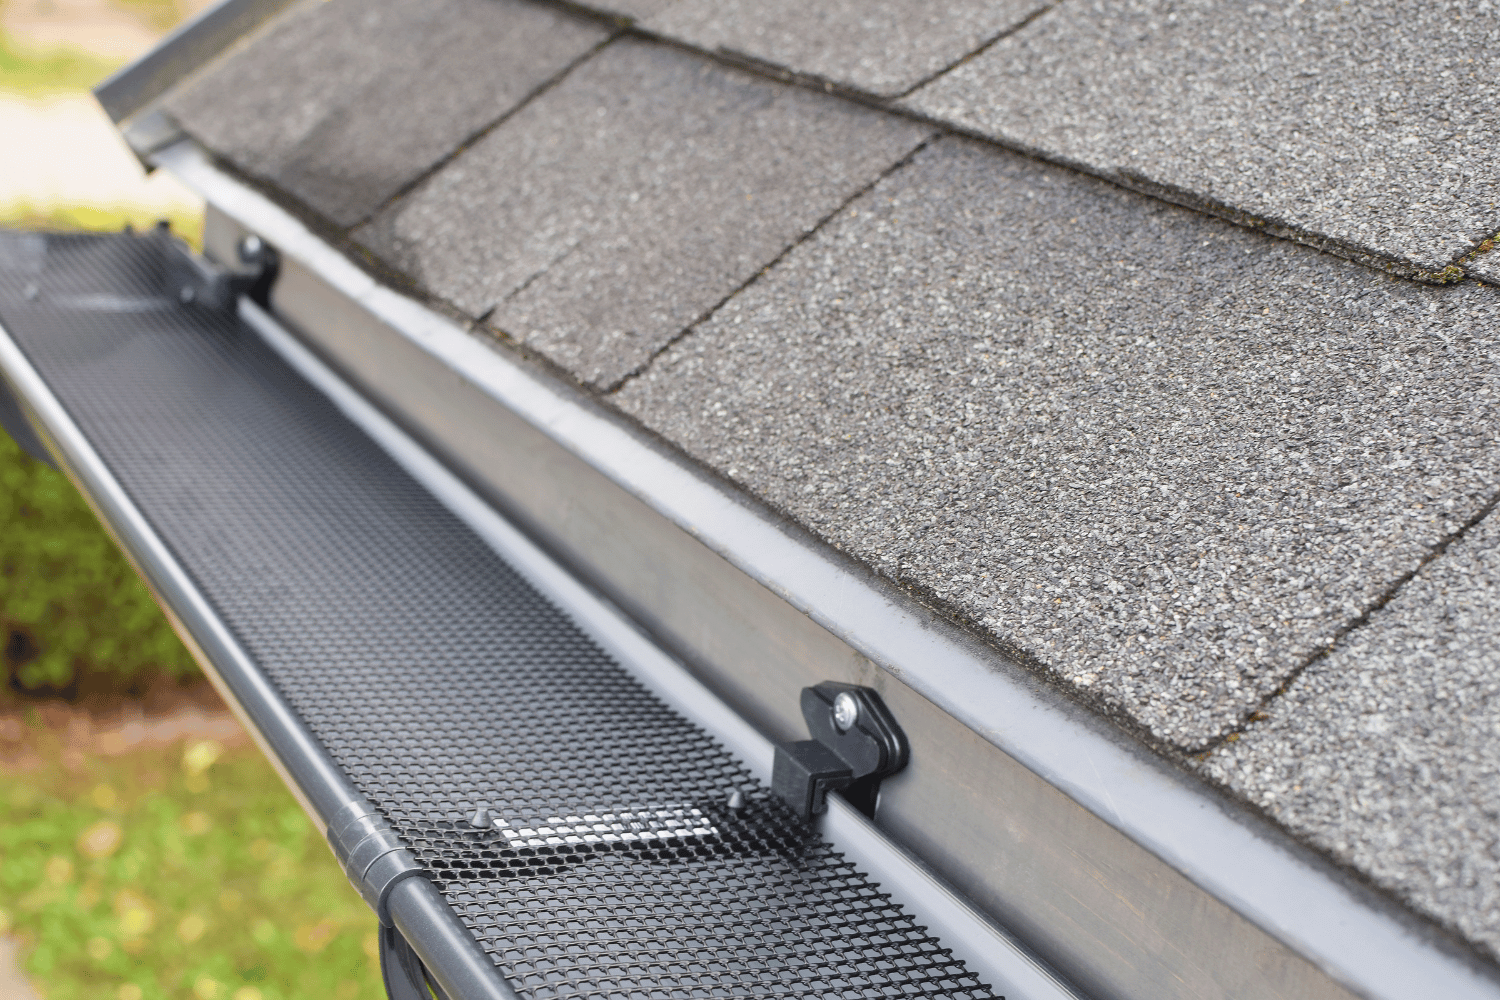
Debris accumulation on flat roofs can obstruct drainage systems, leading to serious water damage. Regular cleaning is essential to ensure that drainage systems remain unobstructed and effective in preventing water accumulation.
Proper drainage is crucial to avoid standing water and potential structural issues.
Preventative Maintenance for Flat Roofs
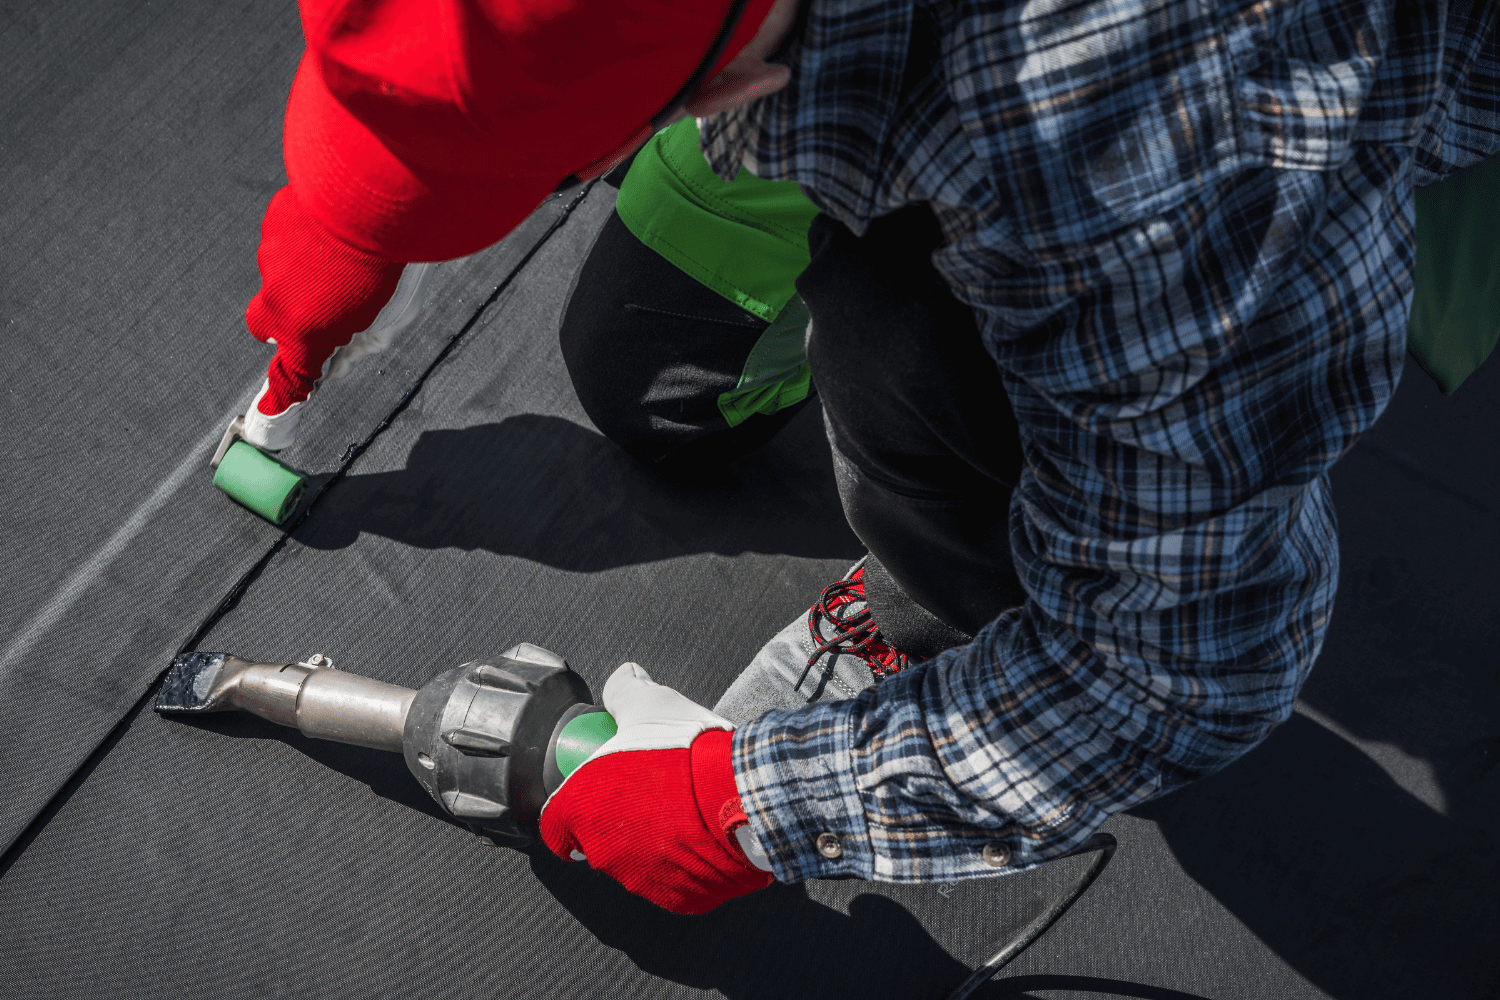
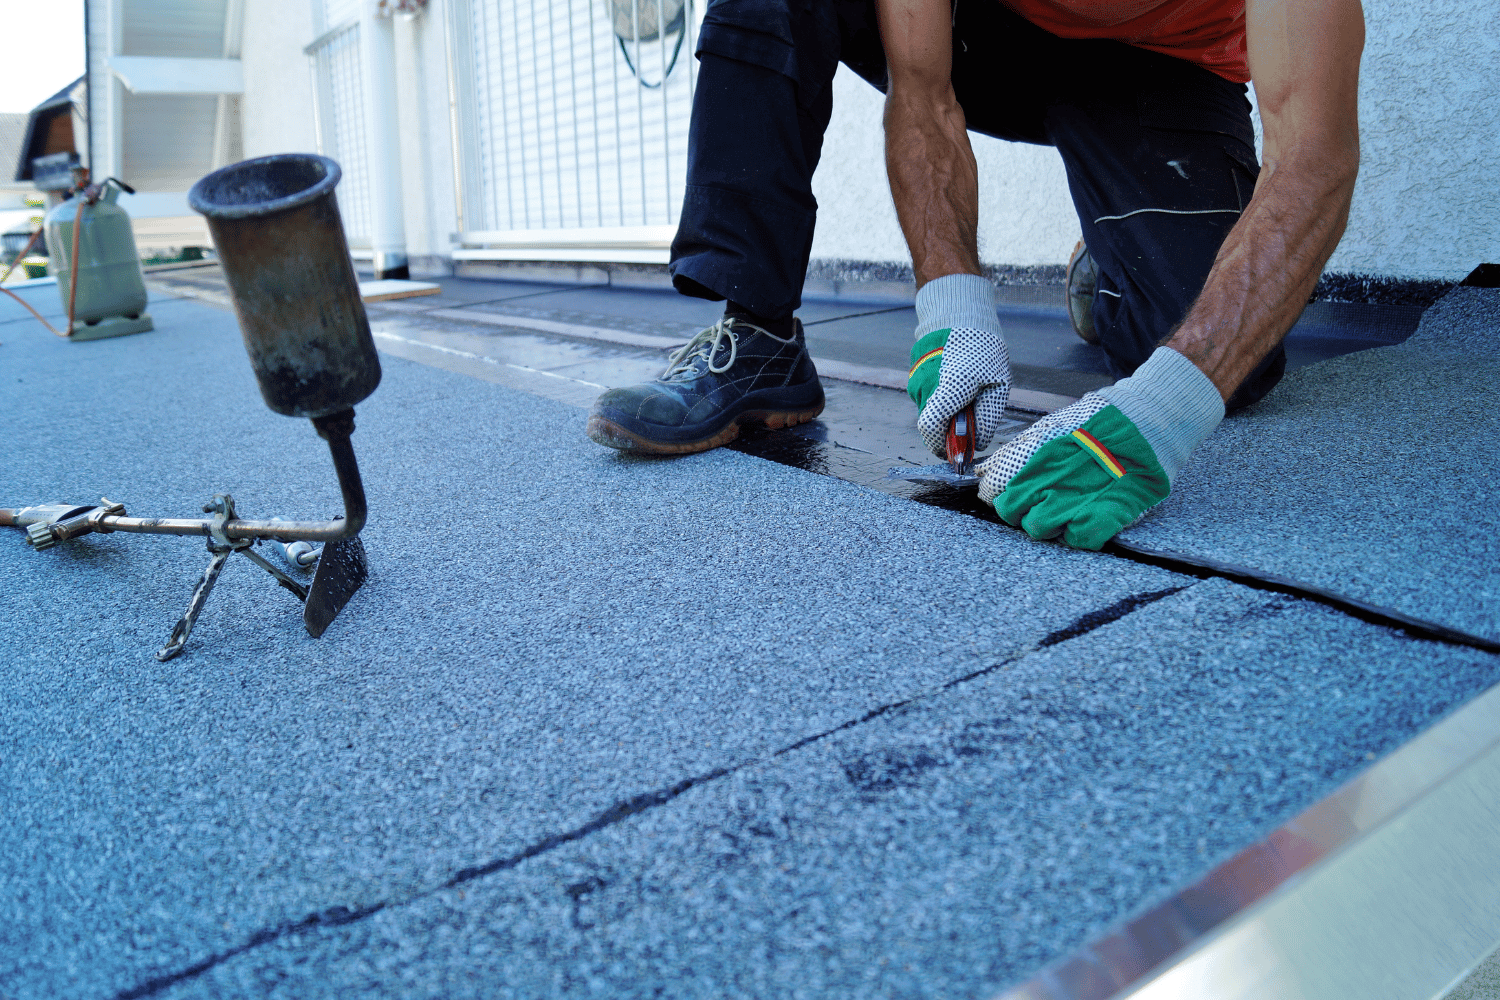
Preventative maintenance is key to extending the lifespan of flat roofs and avoiding major problems. Regular inspections, proper drainage solutions, and using quality materials are essential steps in maintaining a flat roofing system. Proactive maintenance provides peace of mind and significantly reduces the risk of serious issues. Hiring professional roofing services can also enhance roof performance and longevity through expert installation techniques.
Timely expert repairs can prevent further issues from developing on flat roofs, helping to maintain their structural integrity. Specialized repair services use appropriate materials and techniques to prolong the lifespan of flat roofs. Routine maintenance significantly reduces long-term repair expenses and keeps your flat roof in good condition.
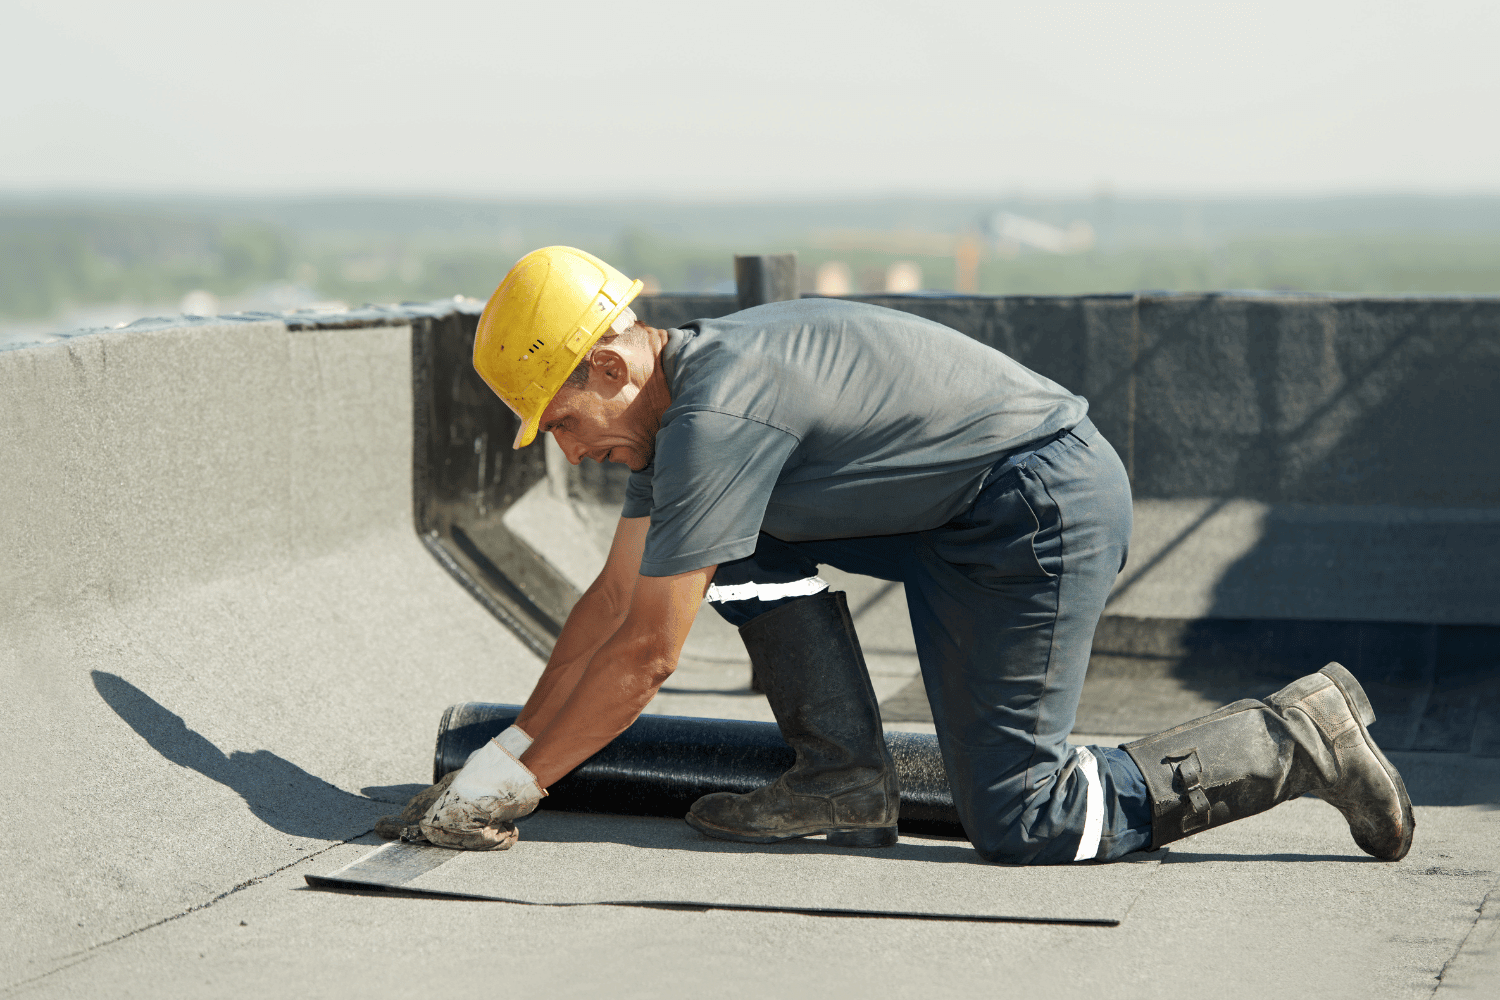
Regular Inspections
Routine professional inspections help identify and address roof issues early, especially after major weather events. Punctures on flat roofs often arise from foot traffic or debris and require inspections after harsh weather to prevent further damage.
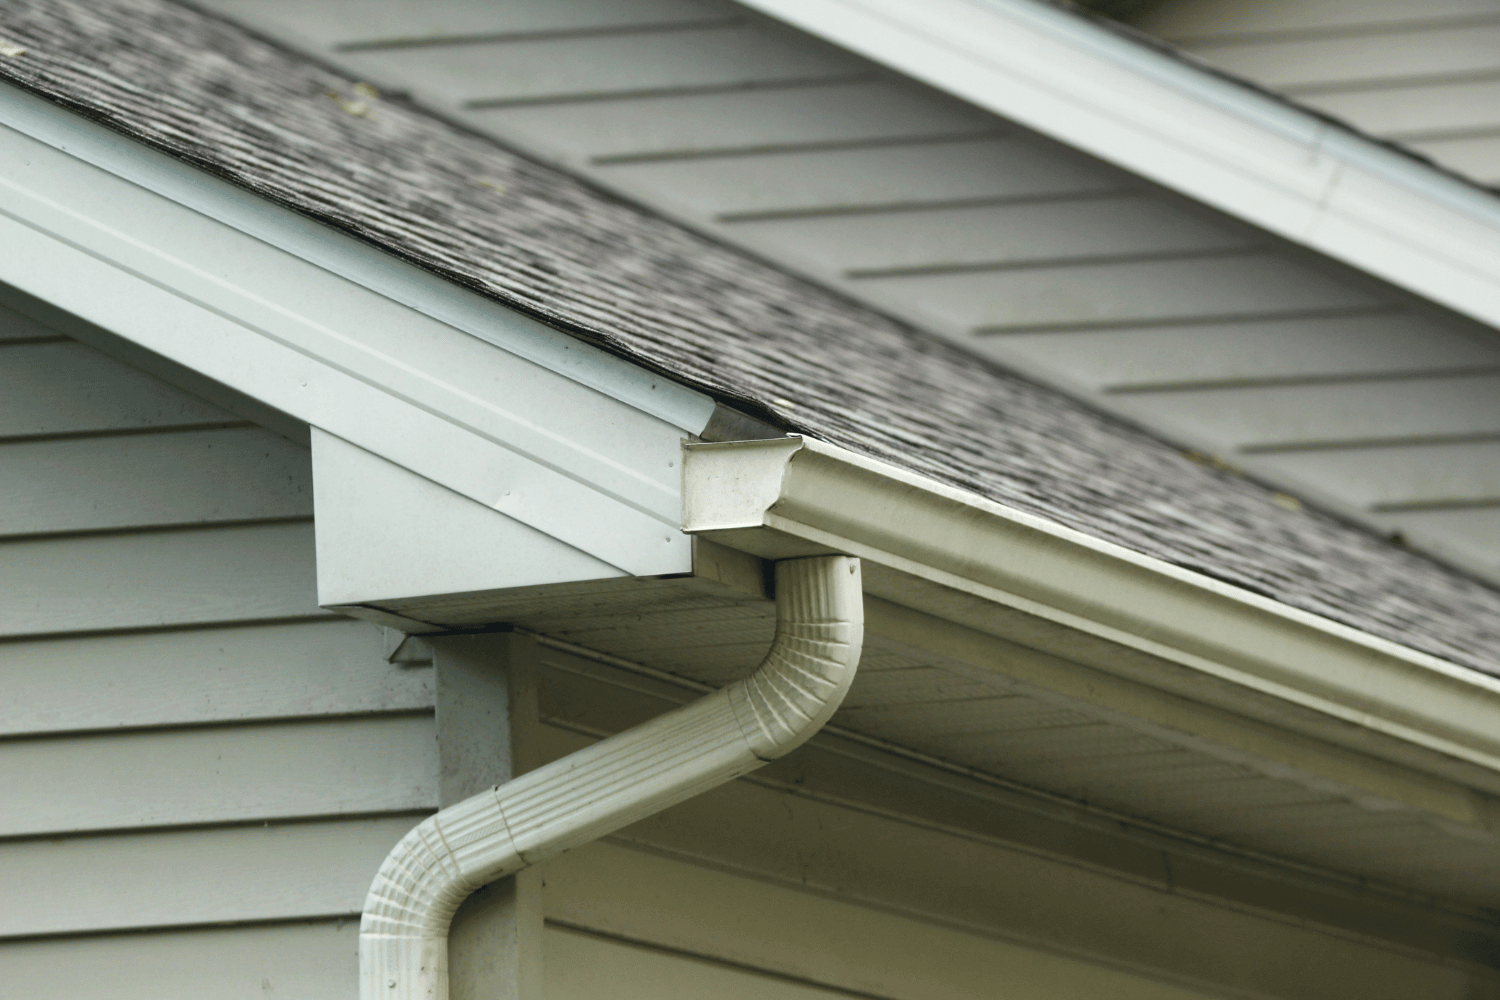
Proper Drainage Solutions
Installing effective drainage systems is essential to avoid water accumulation and potential damage on flat roofs. Proper drainage solutions prevent water accumulation, avoiding leaks and structural issues.
Regular maintenance of drainage systems prevents costly repairs and extends the lifespan of a properly maintained flat roof.
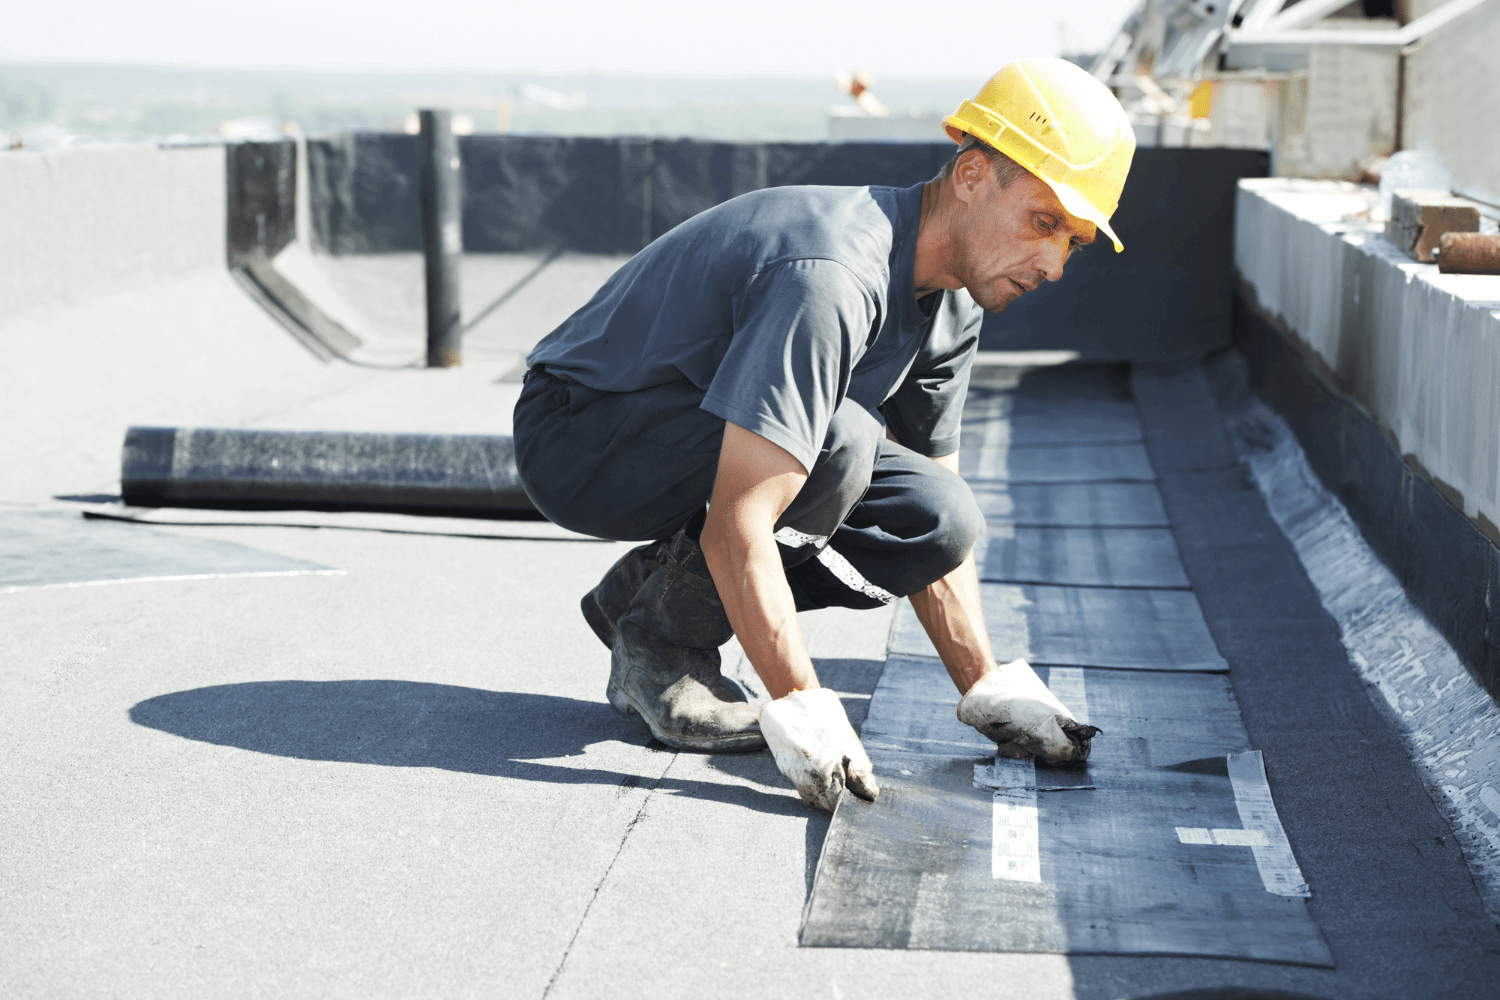
Quality Materials and Installation
High-quality roofing material and skilled installation ensure a flat roof’s durability, greatly enhancing its longevity.
High-quality roofing materials prevent costly future repairs and reduce long-term repair costs.
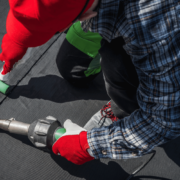
Benefits of Professional Roofing Services
Hiring professional roofing services offers numerous advantages for flat roof maintenance. Professionals conduct comprehensive inspections that accurately assess the condition of flat roofs and recommend appropriate actions. Expert repairs help maintain the integrity and extend the life of flat roofs, preventing leaks and deterioration. Professional services ensure efficient and reliable roof replacements, minimizing disruptions and maximizing quality.
By leveraging their expert knowledge and experience, professional roofers can provide long-term solutions that enhance the performance and longevity of your flat roofing system. Their services include everything from initial inspections to final installations, ensuring that your roofing needs are met with the highest standards of quality and reliability.
Comprehensive Inspections
Qualified inspectors can accurately identify roof conditions and suggest the best maintenance strategies. A free roof inspection is crucial for determining the condition of your current roof and deciding whether to install a new roof or upgrade your roofing system.
Professional inspections are crucial for maintaining the longevity and performance of flat roofs.
Expert Repairs
Expert repairs play a crucial role in preserving the structural integrity of flat roofs, preventing leaks and deterioration. Prompt expert repairs significantly extend the lifespan of flat roofing materials.
Investing in expert repairs can lead to long-term savings, as they reduce the likelihood of major repairs and premature roof replacement.
Efficient Replacement
Professional roofing services play a crucial role in ensuring efficient and reliable roof replacements, minimizing disruption for building users. Professional services emphasize quality and reliability, ensuring the replacement meets high standards.
Their expertise minimizes disruption, allowing for a smoother roof replacement process.
Cost Considerations for Flat Roof Maintenance
Understanding cost considerations for flat roof maintenance helps homeowners make informed decisions. Replacing a flat roof typically costs between $7,000 and $12,000, especially if extensive repairs are needed. The average cost for repairing a flat roof ranges from $300 to $1,250, depending largely on the severity of the damage. Professional roof replacements minimize disruptions and often come with warranties that ensure quality.
Professional roofing services streamline the replacement process, minimizing inconvenience for homeowners. They provide comprehensive support from initial inspection to final installation, emphasizing quality and reliability throughout the project. Investing in professional services can lead to long-term savings by ensuring that the roof is installed correctly and maintained properly.
Affordable Materials
For homeowners on a budget, rolled roofing or bitumen roofing is the cheapest option for flat roofs. Another affordable choice for flat roofing is EPDM (ethylene propylene diene monomer) roofing, known for its durability and cost-effectiveness.
Minimizing installation complexity reduces costs, making rolled roofing and EPDM rubber roofing economical solutions for flat roofs.
Long-Term Savings
Regular inspections identify problems early, preventing major damages and saving homeowners significant repair costs in the long run. High-quality materials during installation greatly enhance the durability of flat roofs, reducing the frequency and cost of repairs.
Affordable roofing materials, like EPDM rubber roofing, offer cost-effective and reliable performance without compromising quality. By investing in quality materials and regular maintenance, homeowners can ensure their flat roofs remain in good condition for many years, ultimately leading to long-term savings.
Summary
Maintaining a flat roof requires a proactive approach to address common issues such as pooling water, blistering, membrane separation, low-quality flashing, and punctures. Understanding the factors that contribute to these problems, including weather exposure, structural movement, and debris accumulation, is crucial. Preventative maintenance, including regular inspections, proper drainage solutions, and the use of high-quality materials, plays a vital role in extending the lifespan of your flat roofing system.
Engaging professional roofing services offers numerous benefits, from comprehensive inspections and expert repairs to efficient replacements. These services not only ensure the quality and reliability of the work but also provide long-term savings by preventing major repairs and premature roof replacements. By taking a proactive approach and investing in professional services, homeowners can enjoy the peace of mind that comes with a well-maintained and durable flat roof.
Frequently Asked Questions
What are the most common problems with flat roofs?
Flat roofs often face issues like pooling water, blistering, and cracking. Regular maintenance is key to preventing these problems.
How can I prevent water pooling on my flat roof?
To prevent water pooling on your flat roof, make sure it has a proper slope and install effective drainage solutions. This will help you avoid standing water and potential damage.
Why is regular maintenance important for flat roofs?
Regular maintenance for flat roofs is crucial as it allows you to catch issues early and prevent bigger problems down the line. By keeping up with inspections and repairs, you can greatly extend the life of your roofing system.
What are some affordable materials for flat roofing?
If you’re looking for affordable materials for flat roofing, rolled roofing or bitumen roofing is your best bet. EPDM roofing is another budget-friendly option that offers great durability.
How much does it cost to replace a flat roof?
Replacing a flat roof usually costs between $7,000 and $12,000, but if you’re just looking at repairs, it might set you back around $300 to $1,250. It’s good to know the range so you can plan your budget accordingly!