The Benefits and Features of Architectural Shingles for Roof
The Benefits and Features of Architectural Shingles for Roof
Architectural shingles for roof offer a blend of durability, aesthetic appeal, and weather resistance. In this article, you’ll learn what architectural shingles are, their benefits, cost considerations, and maintenance tips. Find out why they might be the ideal choice for your home.
Key Takeaways
-
Architectural shingles provide enhanced durability and aesthetic appeal, often lasting over 30 years with proper maintenance.
-
These shingles are designed to withstand extreme weather conditions, offering robust protection against high winds, heavy rainfall, and hail.
-
While more expensive than three-tab shingles, architectural shingles offer long-term value through their longevity and minimal maintenance needs.
What Are Architectural Shingles?

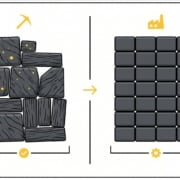
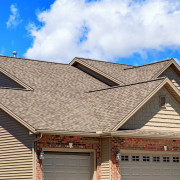
Illustration of architectural shingles for roof.
Architectural shingles, a popular shingle type of architectural asphalt shingles, are known for their stylish appearance, affordability, and excellent protection against the elements. Also referred to as dimensional shingles, these roofing materials boast a layered design that adds depth and dimension to roofs, creating a more attractive and robust finish.
The journey of asphalt shingles began in the United States in 1903, with the initial designs featuring organic materials like cotton rag. However, it wasn’t until the 1920s that architectural shingles gained widespread popularity, partly due to campaigns against the fire risks associated with wood shingles.
The significant shift to using fiberglass mat in the 1960s marked a pivotal change in the construction of these shingles, enhancing their durability and performance.
Key Benefits of Architectural Shingles

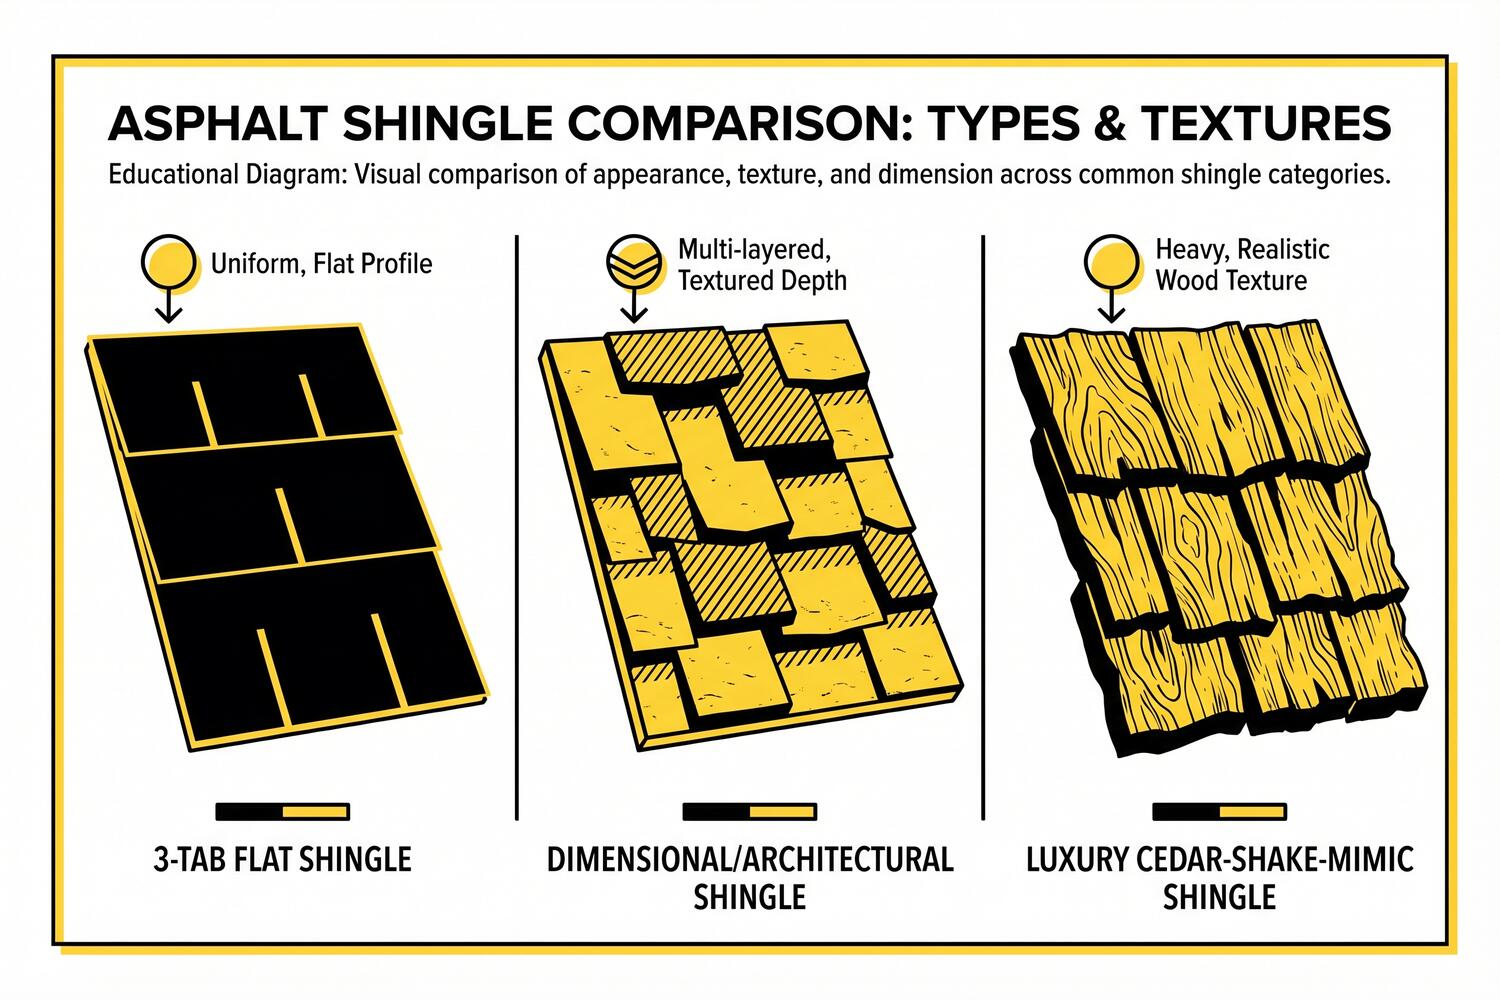
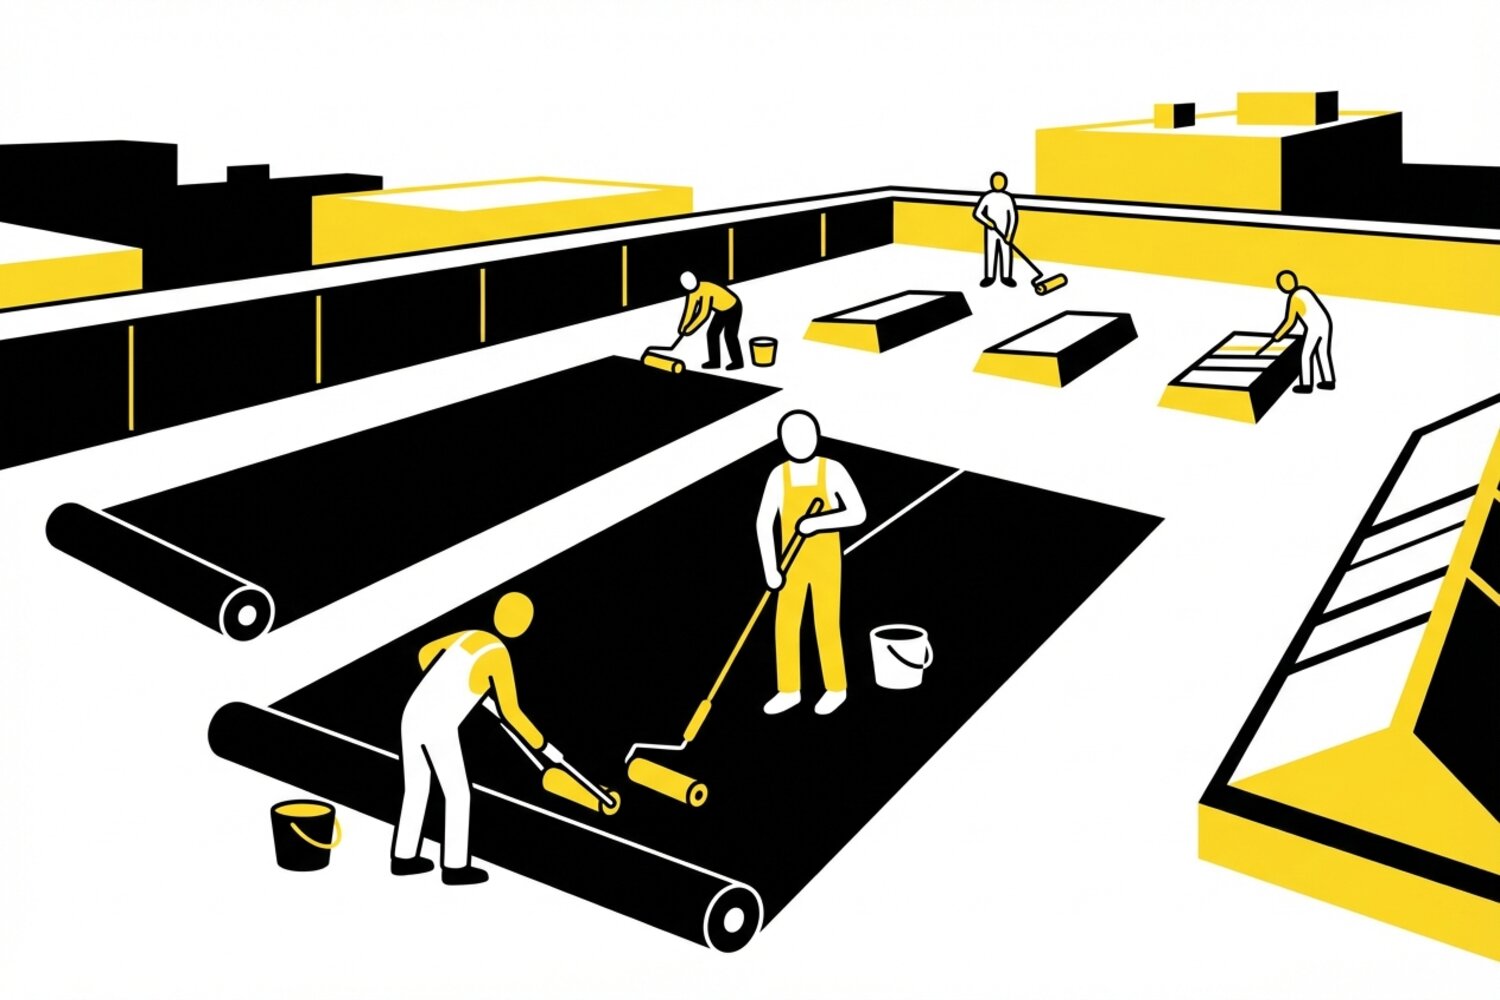
Illustration highlighting the benefits of architectural shingles.
Architectural shingles are highly sought after for several reasons. They offer enhanced durability, a broad aesthetic appeal, and robust weather resistance. These features make them an excellent choice for homeowners looking to invest in long-lasting, visually appealing, and resilient roofing materials.
Each of these benefits is explored in detail below.
Enhanced Durability
One of the standout features of architectural shingles is their enhanced durability. These shingles are built with multiple layers, which contribute to a longer service life compared to traditional three-tab shingles. This robust construction makes them more resilient and capable of withstanding the test of time, often lasting over 30 years with proper maintenance.
Moreover, the durability of architectural shingles often comes with longer warranties, providing homeowners with added peace of mind. Unlike standard roofing materials, these shingles are designed to offer superior longevity, making them a reliable investment for any homeowner.
Aesthetic Appeal
Architectural shingles are not just about durability; they also bring significant aesthetic appeal to your home. These dimensional or laminated shingles are often described as ‘high definition’ due to the depth and contour of their profile, which provides a more natural appearance compared to traditional flat shingles.
Available in a variety of colors, architectural shingles can mimic the look of higher-end roofing materials like slate or natural wood shakes without the associated weight or cost. For instance, Weathered Wood is a highly favored shingle color due to its rich tones and versatility, while cool color palettes like stone gray offer a sleek, modern appearance.
Weather Resistance
Architectural shingles are designed to withstand extreme weather conditions, making them an ideal choice for various climates. They are built to resist high winds, heavy rainfall, and modest hail impacts. This weather resistance ensures that your home remains protected regardless of the weather, providing peace of mind for you and your family.
In addition to their resilience against wind and rain, architectural shingles are effective in resisting damage from snow. This makes them a versatile option for homeowners in different regions, ensuring that the roof remains intact and functional throughout its life.
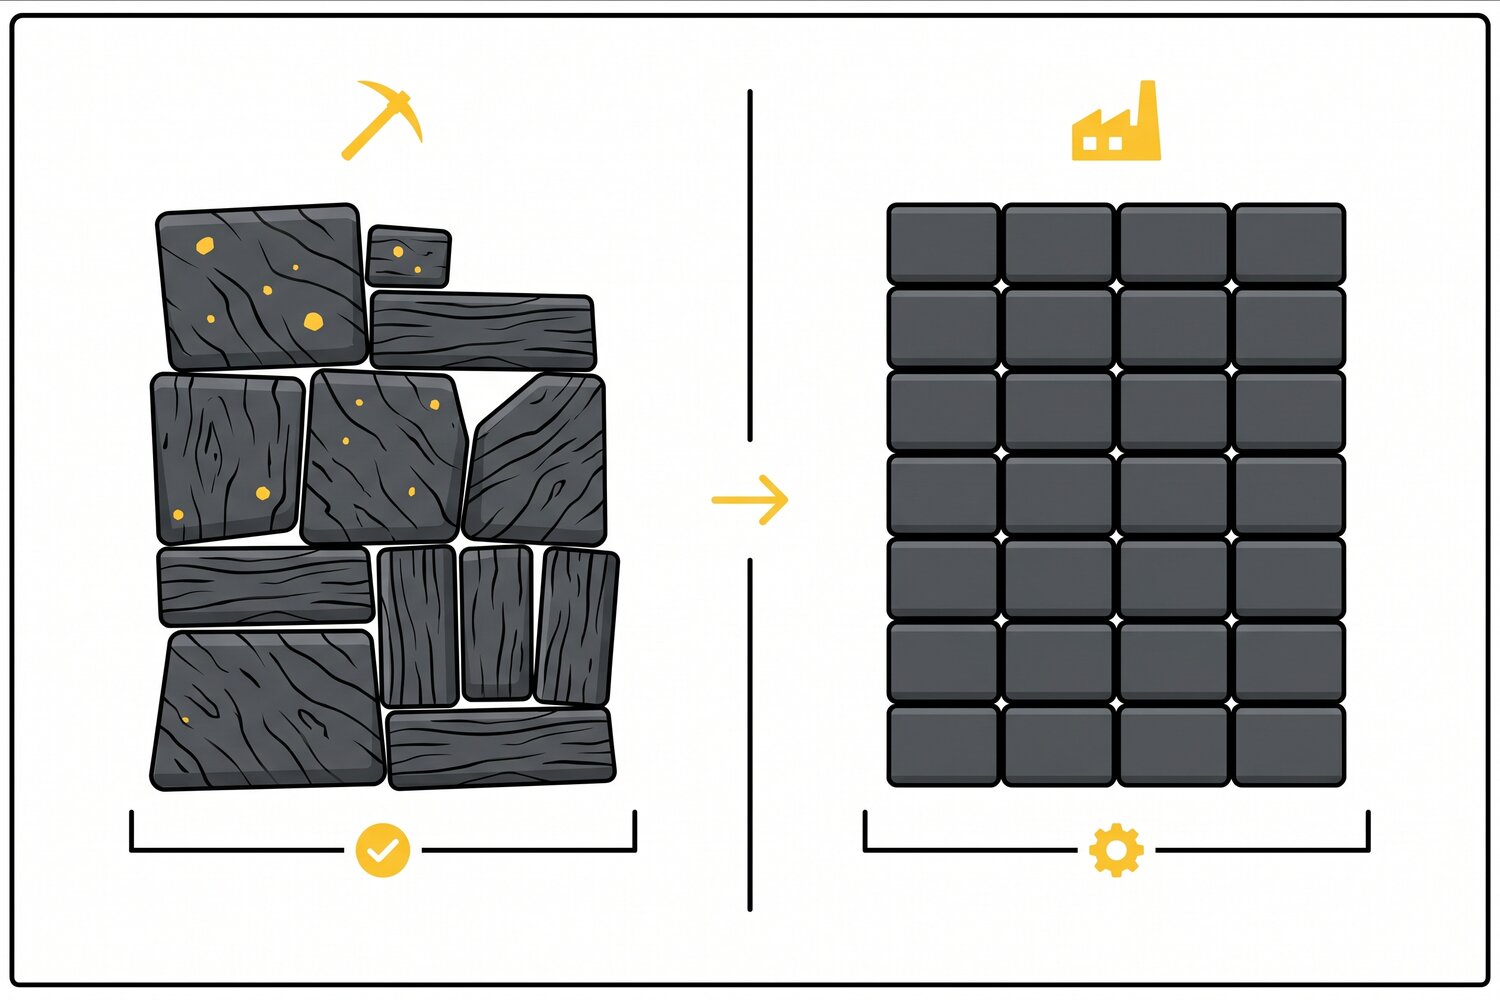
Comparing Architectural Shingles with Other Shingle Types

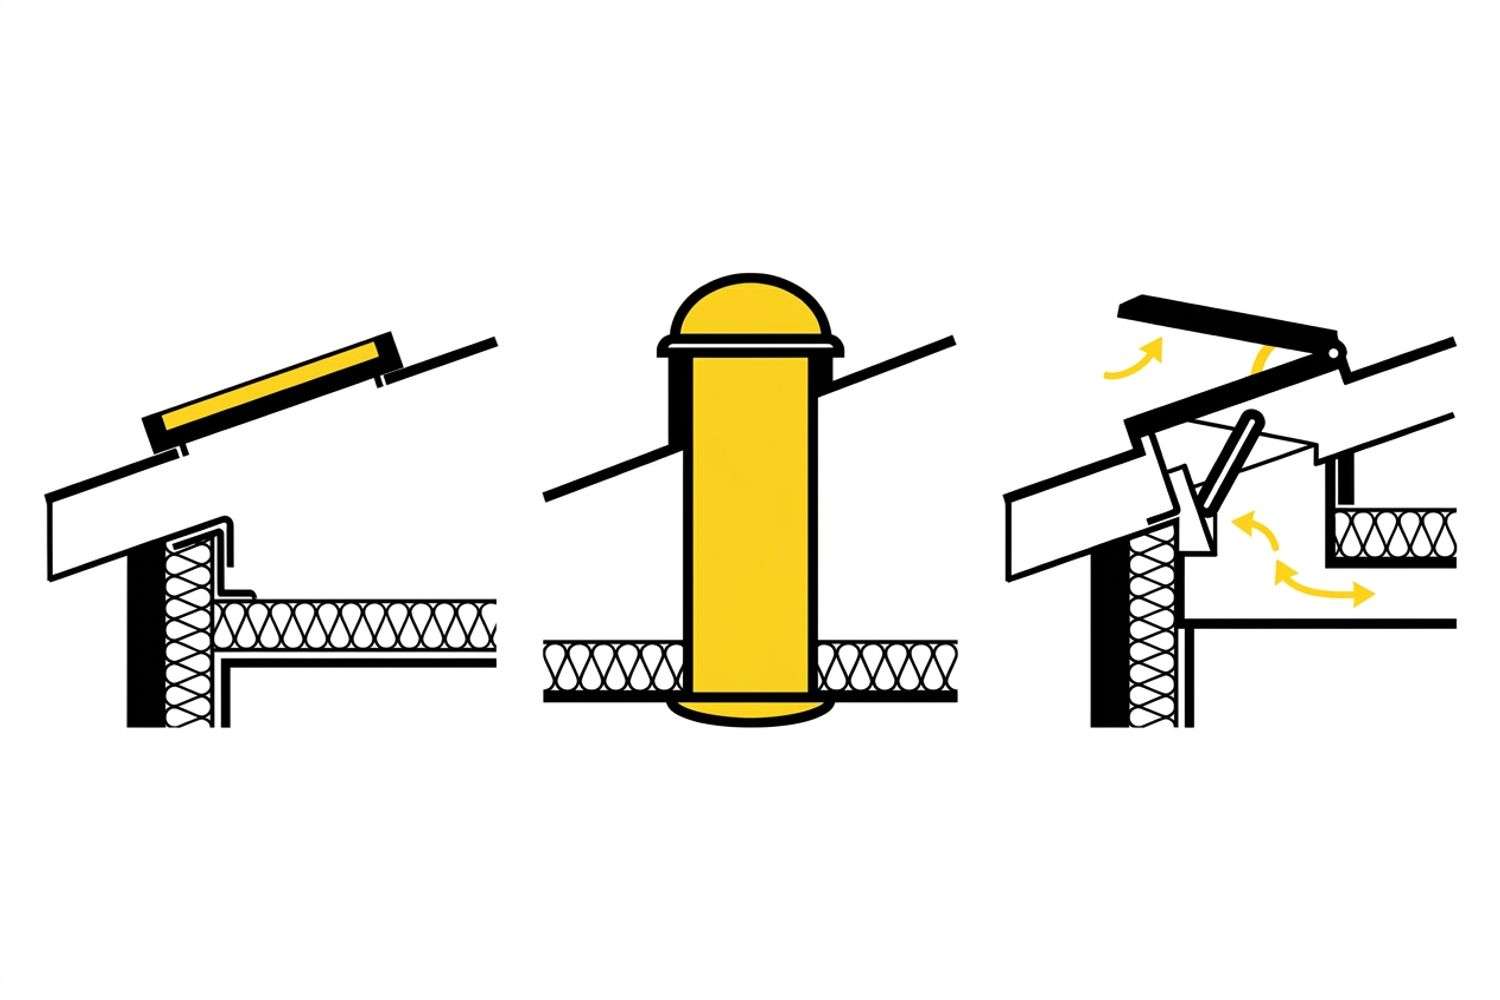
Illustration highlighting the benefits of architectural shingles.
When choosing roofing materials, it’s essential to compare different options to make an informed decision. Architectural shingles stand out for their durability and aesthetic appeal, but how do they compare to other shingle types like three-tab shingles and designer shingles?
These comparisons are explored below.
Three-Tab Shingles vs. Architectural Shingles
Three-tab shingles are the traditional style of asphalt shingles, known for their simple, flat design. While they are generally more affordable, they typically last between 10 to 20 years, significantly less than the lifespan of architectural shingles, which can last over 30 years with proper maintenance.
In terms of cost, architectural shingles are more expensive, but they offer better aesthetics and enhanced durability, making them a worthwhile investment for homeowners looking for long-term value. The layered construction of architectural shingles provides a more dimensional look, adding depth and character to the roof.
Designer Shingles vs. Architectural Shingles
Designer shingles, on the other hand, are a premium option that provides superior weather resistance and solid long-term value. These shingles consist of up to three layers laminated together, enhancing their durability and making them suitable for estate homes or properties of distinction.
Architectural shingles, while not as high-end as designer shingles, still offer excellent durability and aesthetic appeal. They are designed to resemble genuine wood shakes or natural slate tiles, providing a premium look without the premium price tag. This makes them a versatile choice for a wide range of homes.
Cost Considerations for Architectural Shingle Roofs

Illustration depicting cost considerations for architectural shingles.
Understanding the costs associated with architectural shingles is crucial for budgeting your roofing project. While these shingles are more expensive than traditional options, they offer long-term value through their durability and aesthetic appeal.
The average costs and influencing factors are discussed below.
Average Costs
The average cost for architectural shingles falls between $5.60 and $6.00 per square foot, with installation costs typically ranging from $4.60 to $11.25 per square foot. This means that a typical roof installation can range from $9,000 to over $30,000, depending on the size and complexity of the roof.
While the initial investment may seem high, the long lifespan and low maintenance requirements of architectural shingles make them a cost-effective choice in the long run. Homeowners should consider these factors when planning their roofing budget to ensure they get the best value for their money.
Factors Affecting Cost
Several factors can influence the cost of installing architectural shingles. Roof complexity, for instance, plays a significant role, with more complex roofs requiring more labor and materials, thus increasing the overall price. Accessibility and labor costs are also significant considerations, as regions with higher labor costs will naturally have higher installation prices.
Additionally, the roof pitch can impact costs; steeper roofs increase the surface area and the difficulty of the installation, potentially raising costs by 15% to 50%. Homeowners should also factor in the cost of permits, which can vary from $100 to $1,000 depending on the area, as well as any additional repairs needed.
Maintenance Tips for Architectural Shingles
Maintaining your architectural shingles is essential to ensure their longevity and performance. Regular maintenance can help prevent small issues from escalating into costly repairs.
Here are some tips to keep your shingles in top condition.
Regular Inspections
Conducting roof inspections twice a year is crucial to catch issues before they escalate. Routine inspections help detect minor issues like loose shingles or signs of water damage early, preventing larger, more costly repairs, including the need for a new roof.
Addressing small repairs promptly can significantly reduce the risk of more extensive damage.
Cleaning and Debris Removal
Regular cleaning of the roof is essential to prevent debris buildup, which can harm shingles. Using a soft-bristle brush to clean architectural shingles prevents damage while removing dirt and debris.
This routine maintenance helps preserve the shingles’ condition and appearance.
Minor Repairs
Homeowners can address minor leaks in architectural shingles with simple patching techniques, though significant issues should be handled by a professional to maintain the roof’s integrity. Regularly checking for signs such as cracked, curling, or missing shingles is crucial to determine if minor repairs are necessary before they escalate.
Choosing the Right Roofing Contractor
Selecting a qualified roofing contractor is essential to ensure quality roof installation. A reputable contractor should provide proof of licensing, insurance, and certifications to guarantee their expertise and reliability.
Here are some tips on choosing the right contractor.
Evaluating Experience and Certifications
Choosing a contractor with at least five years of experience can indicate reliability and expertise. Evaluating customer reviews can provide insight into a contractor’s performance and customer satisfaction.
For instance, CoMo Premium Exteriors has been in the roofing business for over a decade and has a customer review rating of 4.6 out of 5 stars.
Importance of Warranties
A comprehensive warranty reflects a contractor’s confidence in their work and materials used. A solid roofing contractor will offer warranties that cover both materials and labor.
Understanding the terms and duration of a warranty is crucial when selecting a roofing contractor.
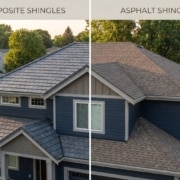
Color and Style Options for Architectural Shingles

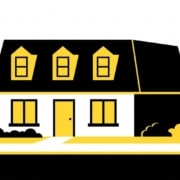
Illustration showcasing color and style options for architectural shingles.
Architectural shingles offer a significant variety of colors and styles to suit different home exteriors. This versatility allows homeowners to enhance their curb appeal and match their roof with their home’s overall style.
Some popular color choices and style matches with home architecture are discussed below.
Popular Color Choices
Gray serves as a neutral backdrop that pairs well with various home color schemes, while beige shingles provide a calming effect and harmonize with many exterior colors. Earthy shades of brown add warmth and richness, and green shingles symbolize balance and a connection to nature.
Charcoal black is a favored color that suits various architectural styles and adds elegance to homes.
Matching Styles with Home Architecture
Architectural shingles are designed to provide a versatile aesthetic appeal that harmonizes with various home architectural styles and adds architectural interest. They are available in a wide array of colors and styles, allowing homeowners to select options that best fit their architectural designs, including architectural roofing shingles.
Popular color choices include neutral tones such as grays and browns that complement both traditional and modern home exteriors.
Summary
In summary, architectural shingles offer a blend of durability, aesthetic appeal, and weather resistance that makes them an excellent choice for homeowners. Their layered construction and variety of styles and colors provide both functionality and beauty to any home. When considering roof installation, understanding the costs, maintenance requirements, and the importance of choosing a qualified contractor are crucial steps. Consider architectural shingles for your next roofing project and enjoy the benefits of a reliable and attractive roof for years to come.
Frequently Asked Questions
What is the average lifespan of architectural shingles?
The average lifespan of architectural shingles is approximately 30 to 50 years when properly maintained, offering a longer durability compared to traditional three-tab shingles.
How do architectural shingles compare to three-tab shingles in terms of cost?
Architectural shingles generally cost 40 to 50 percent more than three-tab shingles, but provide enhanced aesthetics and durability, making them a worthwhile investment.
What are the maintenance requirements for architectural shingles?
To ensure the longevity and performance of architectural shingles, conduct regular inspections, clean debris, and promptly address any minor repairs. This proactive approach will help maintain your roof’s condition effectively.
How do I choose the right roofing contractor for installing architectural shingles?
Choose a roofing contractor with a minimum of five years of experience, appropriate certifications, and comprehensive warranties that encompass both materials and labor to ensure a quality installation of architectural shingles.
What are some popular color options for architectural shingles?
Popular color options for architectural shingles include gray, beige, brown, green, and charcoal black, each enhancing the home’s aesthetic appeal. Select a color that harmonizes with your overall design for optimal results.