Ultimate Guide to Shingle a Roof: Types, Costs, and Installation Tips
A well-installed and maintained shingle a roof is vital for protecting your home against harsh weather conditions and improving its aesthetic appeal. But how do you ensure you’re choosing the right materials, installing them correctly, and maintaining them for a long-lasting, energy-efficient roof? This comprehensive guide will walk you through the essentials of shingling a roof, from material selection and installation tips to maintenance and innovative solar shingle options.
Key Takeaways
- Essentials of shingle roofing, understanding basics, selecting the right material and preparing your roof for installation.
- Step-by-step guide to successful shingle installation including laying first row correctly & completing with safety precautions & regular maintenance.
- Cost considerations include estimating materials cost, DIY vs professional labor costs and maintaining/repairing damaged shingles.
Essentials of Shingle Roofing
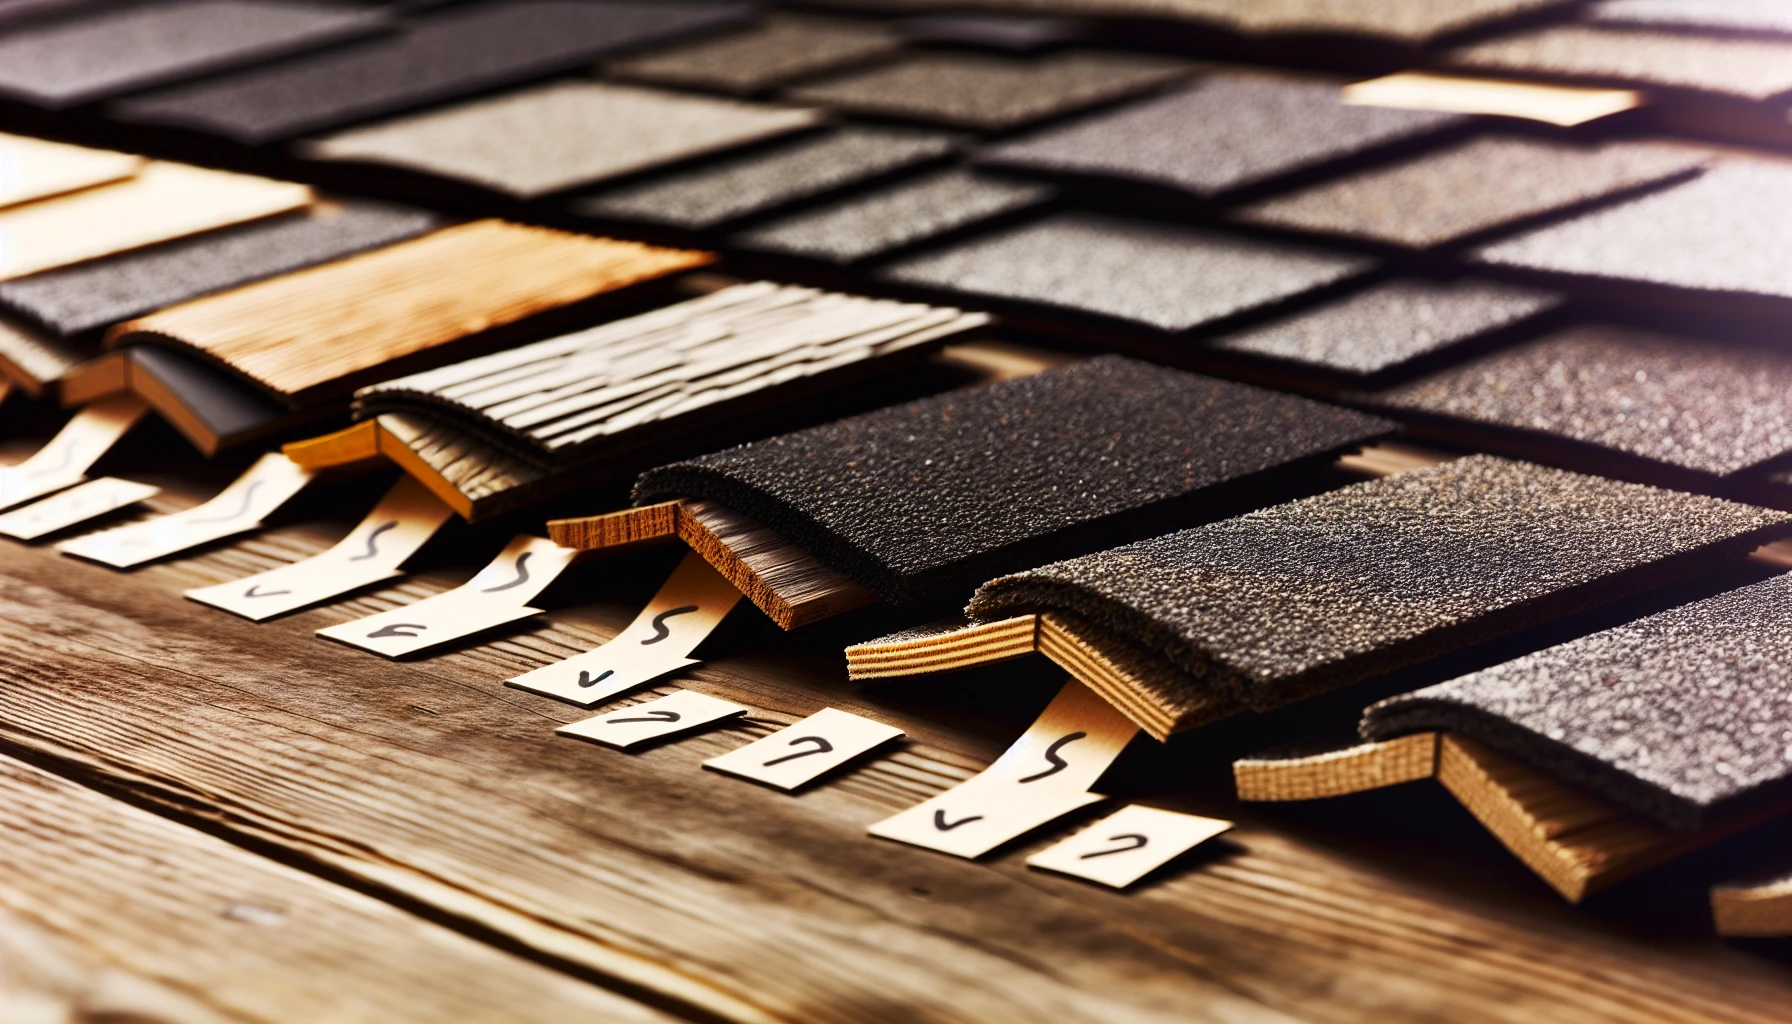
Different types of roof shingles displayed in a row
Understanding the basics of roof shingles is the foundation for a successful roofing project. A roof shingle serves to protect your home from inclement weather, reinforce the walls, and add to the architectural aesthetic. They come in a variety of materials, such as asphalt, wood, and metal, each with its own set of advantages and disadvantages.
The preparation phase for shingling your roof is key, as it lays a solid groundwork for the installation process.
Understanding the Basics of Roof Shingles
The world of roof shingles is diverse, with various types of roof shingles available, ranging from three-tab asphalt shingles to metal shingles and wood shingles. Each type of shingle has its own set of benefits and drawbacks, which can influence your decision based on your home’s style, budget, and climate conditions. For instance, an asphalt shingle roof is cost-effective and easy to install but may have a shorter lifespan compared to metal or wood shingles.
Selecting the appropriate shingle type to match your home’s architecture is vital in boosting its curb appeal. Wood or architectural shingles are suitable for rustic homes, while clay or concrete tiles complement Spanish-style homes. Understanding the pros and cons of each shingle type helps you make a decision that not only elevates your home’s look but also ensures extended protection.
Selecting the Right Material for Your Roof Shingles
Choosing the appropriate roofing material for your roof shingles is a significant decision that influences your home’s protection and overall aesthetics. While asphalt shingles are the most commonly used material for roofs, other options like wood, metal, and composite shingles offer unique benefits in terms of durability, appearance, and cost. Considering factors such as style preferences, regional climate, and your home’s load-bearing capacity can guide you in choosing the best material for your roofing project.
Selecting the appropriate shingles for your home’s curb appeal can significantly enhance its value and appearance. Some factors to consider when choosing shingles include:
- Light-colored shingles can improve energy efficiency
- Darker shingles may provide a more traditional look
- Consider the advantages and disadvantages of each material type
- Take into account your home’s specific needs
By considering these factors, you can select the optimal shingles, such as three tab shingles, to safeguard and enhance your home for the foreseeable future, even if you’re replacing old shingles.
Preparing the Roof for Shingling
Before you start installing new shingles, it’s important to properly prepare your roof. This involves gathering the necessary materials for the installation of:
- Roof decking
- Roof flashing
- Underlayment
- Drip edge
- Ice and water shield
- Asphalt shingles
- Ridge capping
- Roof vents
By preparing your roof thoroughly, you establish a strong base for a successful shingle installation that will safeguard your home and boost its appeal in the long run.
Step-by-Step Guide to Shingling Your Roof
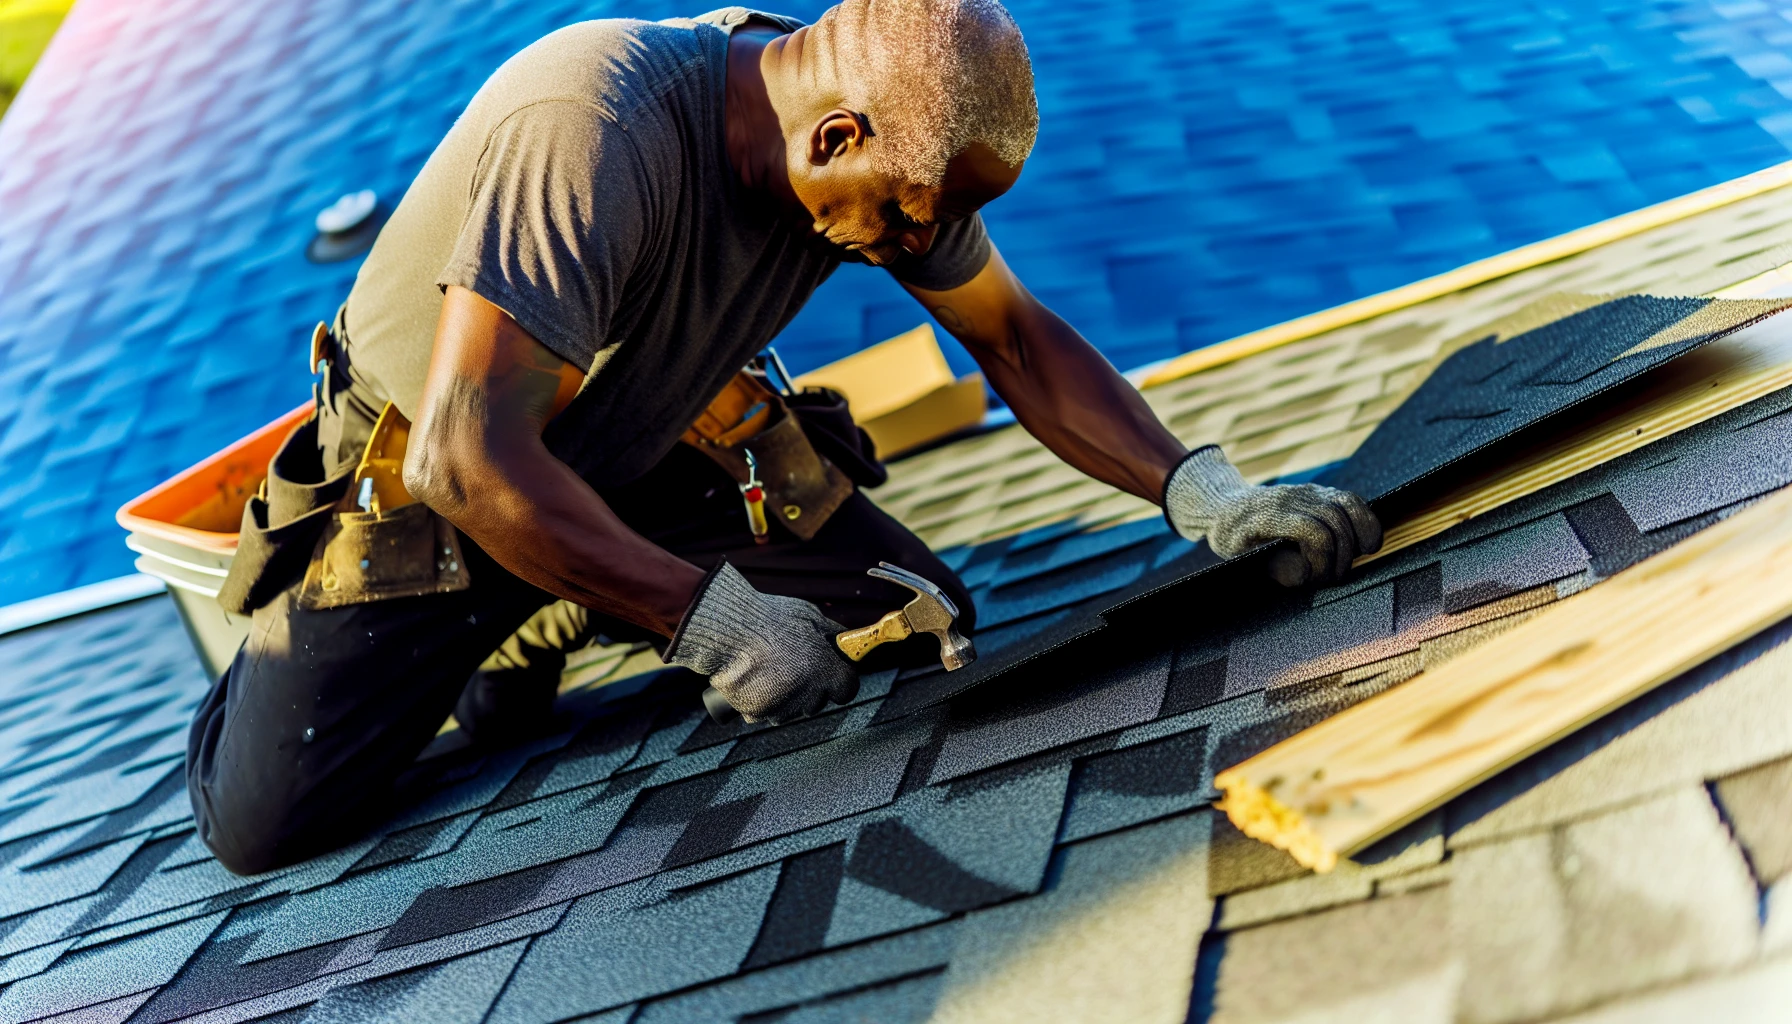
Skilled roofer beginning the shingling process
Installing a shingle roof requires careful planning, attention to detail, and the right tools and materials. Whether you’re a homeowner tackling a DIY project or a skilled roofer working on a professional installation, following a step-by-step guide can ensure a successful outcome.
From starting your roofing project to laying the first row of shingles and completing the installation, this guide will walk you through each phase of the process, helping you achieve a durable, attractive, and long-lasting shingle roof.
Starting Your Roofing Project
Initiating a roofing project requires you to create a financial plan, meet licensing requirements, establish a legal entity, register for taxes, open a business bank account and credit card, and manage business accounting. You’ll also need to gather the necessary materials for your shingle roofing project, such as asphalt shingles, starter shingles, ridge cap, roof underlayment, deck protection, and other essentials. Additionally, it’s important to consider the timing of your project, as the most advantageous time to commence a roofing project is in the spring when temperatures are more temperate and humidity levels are lower.
Safety is a paramount concern during any roofing project. Ensure that you have the necessary safety equipment, such as required personal protective equipment (PPE), fall protection equipment, and ladders for safe access to the roof. With proper planning, the right materials, and appropriate safety measures for your roofing project, you can anticipate a smooth and successful installation process.
Laying the First Row of Shingles
The installation process begins with laying the first row of shingles which is key as it acts as a shield to protect the roof from external elements and helps with water resistance. To ensure a successful installation, follow these steps:
- Start with a full roof tear-off for a fresh start.
- Align the top of the shingles with a chalk line, ensuring the bottom is flush with the bottom of the underlayment.
- Utilize starter shingles or upside-down shingles with the tabs cut off for the first layer.
- Measure the width of the uncut shingle to guide you in laying the first “real” course of shingles.
Properly laying the first row of shingles creates a stable foundation for the rest of the installation. Following the suggested methods and taking necessary precautions, ensures your shingle installation starts off strong, resulting in a resilient and durable roof that not only safeguards your home but also boosts its curb appeal.
Completing the Shingle Installation
After successfully placing the first row of shingles, you can proceed to finalize the installation process. To install roof shingles, follow these steps:
- Position the shingles so they overhang the sides and leading edge of the roof by approximately 1/2”.
- Securely nail the shingles in place.
- Prior to installation, prepare the roof by cleaning it and making any necessary repairs.
- Take the necessary safety precautions, such as wearing proper safety equipment and ensuring secure footing on the roof.
Regular maintenance and inspections are crucial for maintaining the integrity of your shingle roof. Following the guidelines and techniques laid out in this step-by-step guide guarantees a successful installation leading to a resilient, appealing, and enduring roof that not only protects your home but also enhances its aesthetic appeal.
Cost Considerations for Shingling a Roof
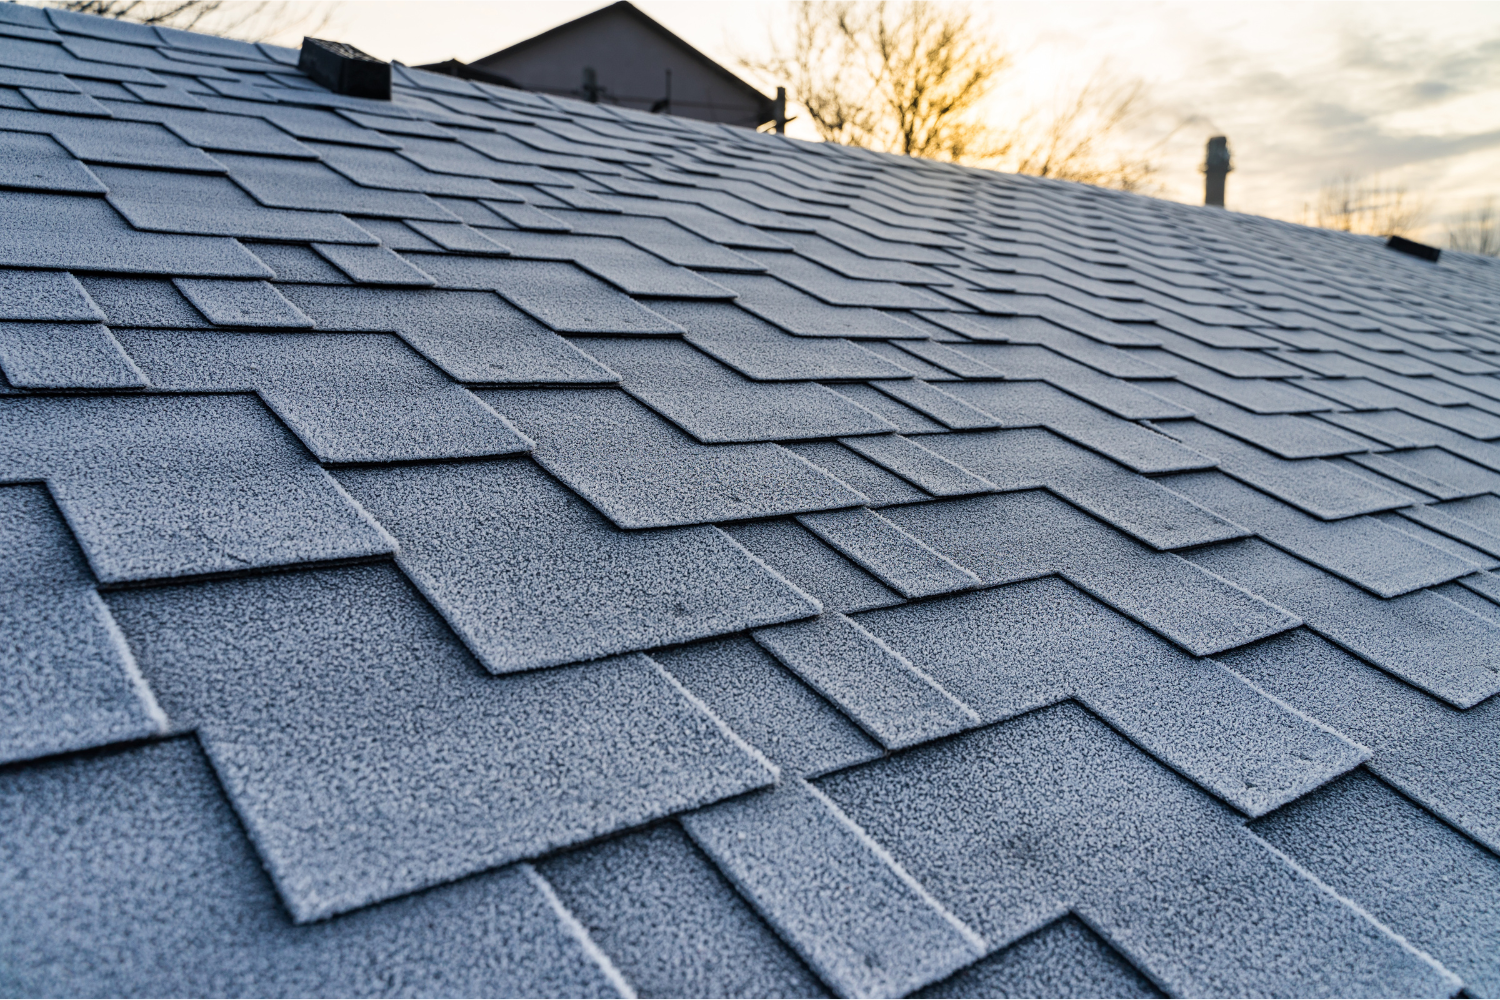
Cost breakdown for shingling a roof
The cost of shingling a roof can vary depending on several factors, including:
- The type of shingle material used
- The size and pitch of the roof
- The complexity of the roof design
- The labor costs involved in installation.
Understanding the costs involved in shingling a roof helps you make decisions about the materials and services needed for your project, enabling you to manage your budget and attain the desired results for your home’s protection and aesthetics.
Estimating the Cost of Materials
The cost of materials for roofing can vary greatly depending on the type of shingles used, as well as additional components such as underlayment, flashing, and nails. To estimate the cost of materials for your roofing project, you’ll need to calculate the roofing square footage of your roof and determine the amount of materials needed, factoring in a 10-15% waste allowance to account for cutting and fitting shingles.
A precise estimation of material costs allows you to plan your project more efficiently and ensure you have all the necessary resources for successful installation.
Labor Costs: DIY vs. Professional Installation
When considering the costs of shingling a roof, labor is an important factor to take into account. Labor costs may account for up to 60% or more of the total project cost. DIY installations can be cost-effective and provide a great learning opportunity; however, they may also involve safety risks and the potential for mistakes that could cause future issues.
Engaging professional roofing contractors like CoMo Premium Exteriors provides multiple benefits that justify the initial cost of hiring them. Some of these benefits include:
- High-quality installation that extends the life of your roof
- Knowledge of safety protocols and local regulations
- Warranties and guarantees that provide assurance for homeowners
By hiring professional roofing contractors, you can ensure that your investment in a new roof is secure and that you receive the best possible service.
Maintaining Your Shingle Roof
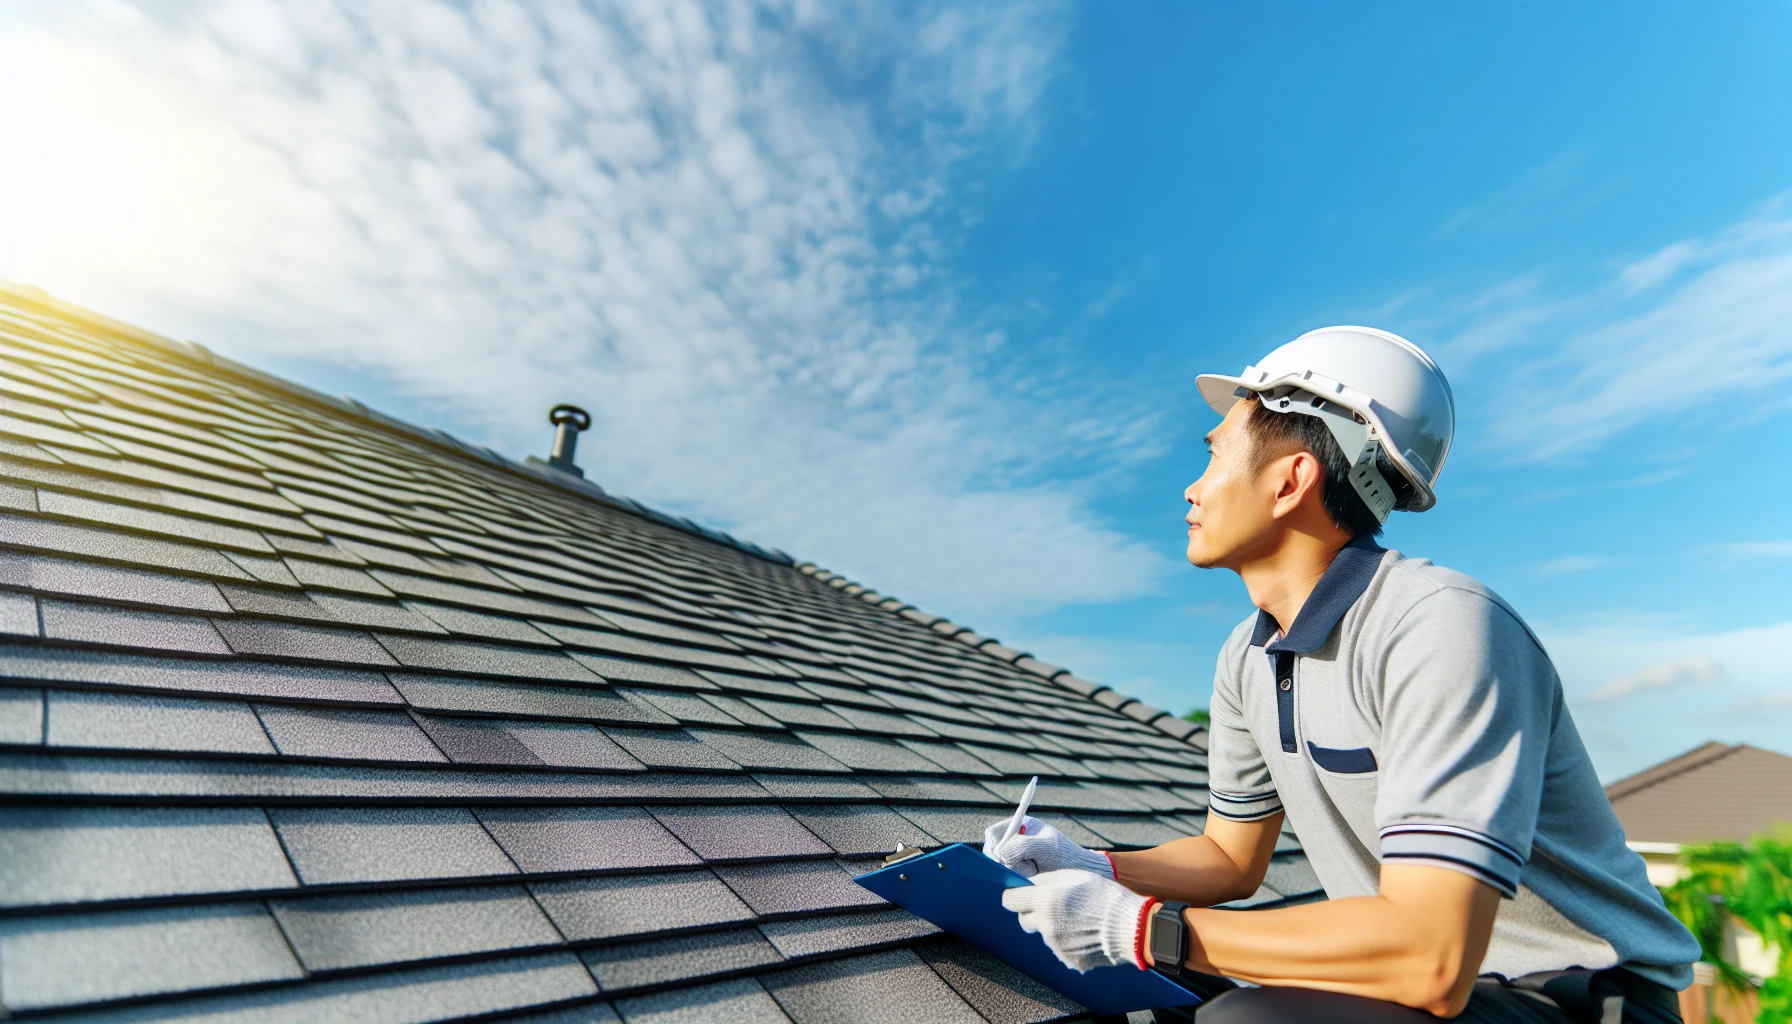
Inspecting and maintaining shingle roof for damage
Regular upkeep and routine inspections are key to extending the lifespan of your shingle roof and maintaining its enduring protection and aesthetic appeal. By conducting routine upkeep, such as:
- Cleaning gutters
- Trimming tree limbs
- Maintaining proper attic ventilation
- Repairing damaged shingles promptly
You can prevent potential issues from escalating and ensure your roof remains in optimal condition.
Regular Maintenance and Inspections
Scheduling a free roof inspection at least once a year, especially before and after periods of severe weather, is recommended to keep your roof shingles in good condition. Regular inspections can help detect potential issues early and avert costly repairs down the line. If your roof is older, it is recommended to conduct inspections more frequently. During these inspections, look for signs of damage, such as:
- water marks
- discolorations
- spots
- stains
- streaks on ceilings or walls
- sagging or drooping appearance of the roof
- small holes in shingles that can lead to rot and other damage
In addition to inspections, routine maintenance tasks such as cleaning gutters, trimming tree limbs, and maintaining proper attic ventilation can help prevent moisture buildup and reduce the risk of mold and rot, which can significantly decrease the lifespan of a shingle roof. Maintaining your roof diligently ensures its protection and appeal continue for the foreseeable future.
Repairing Damaged Shingles
Repairing damaged shingles is an essential aspect of maintaining your roof’s integrity and preventing further damage. To fix damaged shingles, follow these steps:
- Start by loosening the adhesive and nails around the impacted shingles.
- Gradually approach the damaged area, lifting the tabs of the shingles in the first row above.
- Identify the nail underneath the broken shingle and use a flat pry bar to remove it.
- Insert the new shingle into place, making sure it is aligned with the surrounding shingles.
- Secure the new shingle with nails or roofing adhesive.
Promptly addressing damaged shingles can help prevent further issues, such as leaks and water damage, that could compromise your roof’s protection and durability. By maintaining a proactive stance towards shingle repair and diligent roof maintenance, you can ensure the longevity and ongoing protection of your home.
Choosing a Roofing Contractor
Choosing the appropriate roofing contractor for your project is vital to guarantee a successful installation and enduring protection for your home. Evaluating contractor credentials and understanding the services they provide, allows you to make a decision and select a contractor who will deliver the best results for your roofing project.
Evaluating Contractor Credentials
When choosing a roofing contractor, it’s important to verify their credibility by:
- Reviewing online reviews on platforms such as Google business listings, Yelp, and Home Advisor
- Confirming the roofing company’s license with your state’s licensing board
- Ensuring the company has a physical address and contact information that can be verified.
A roofing contractor must possess a valid license, insurance coverage, and certifications from reputable manufacturers or trade associations in order to be considered qualified. Conducting comprehensive research on potential contractors and verifying their credentials, ensures that you are selecting a skilled and dependable professional for your roofing project.
Understanding Roofing Contractor Services
Roofing contractors offer a variety of services to address the diverse needs of homeowners when it comes to a roofing job. These services typically include:
- Roof installation
- Repair
- Replacement
- Inspection
- Cleaning
Companies like CoMo Premium Exteriors provide experienced installation services for roofing, siding, windows, and other exterior products, as well as assistance with insurance claims related to roofing damage.
Understanding the services that roofing contractors offer can help you make an informed decision when selecting a professional for your project. Some of the services that roofing contractors typically offer include:
- Roof inspections
- Roof repairs
- Roof replacements
- Roof maintenance
- Roof installation
- Gutter installation and repair
- Skylight installation and repair
Partnering with a reputable contractor who offers these services can help ensure that your home is protected by a durable and attractive roof.
Enhancing Your Home with Shingle Styles and Colors
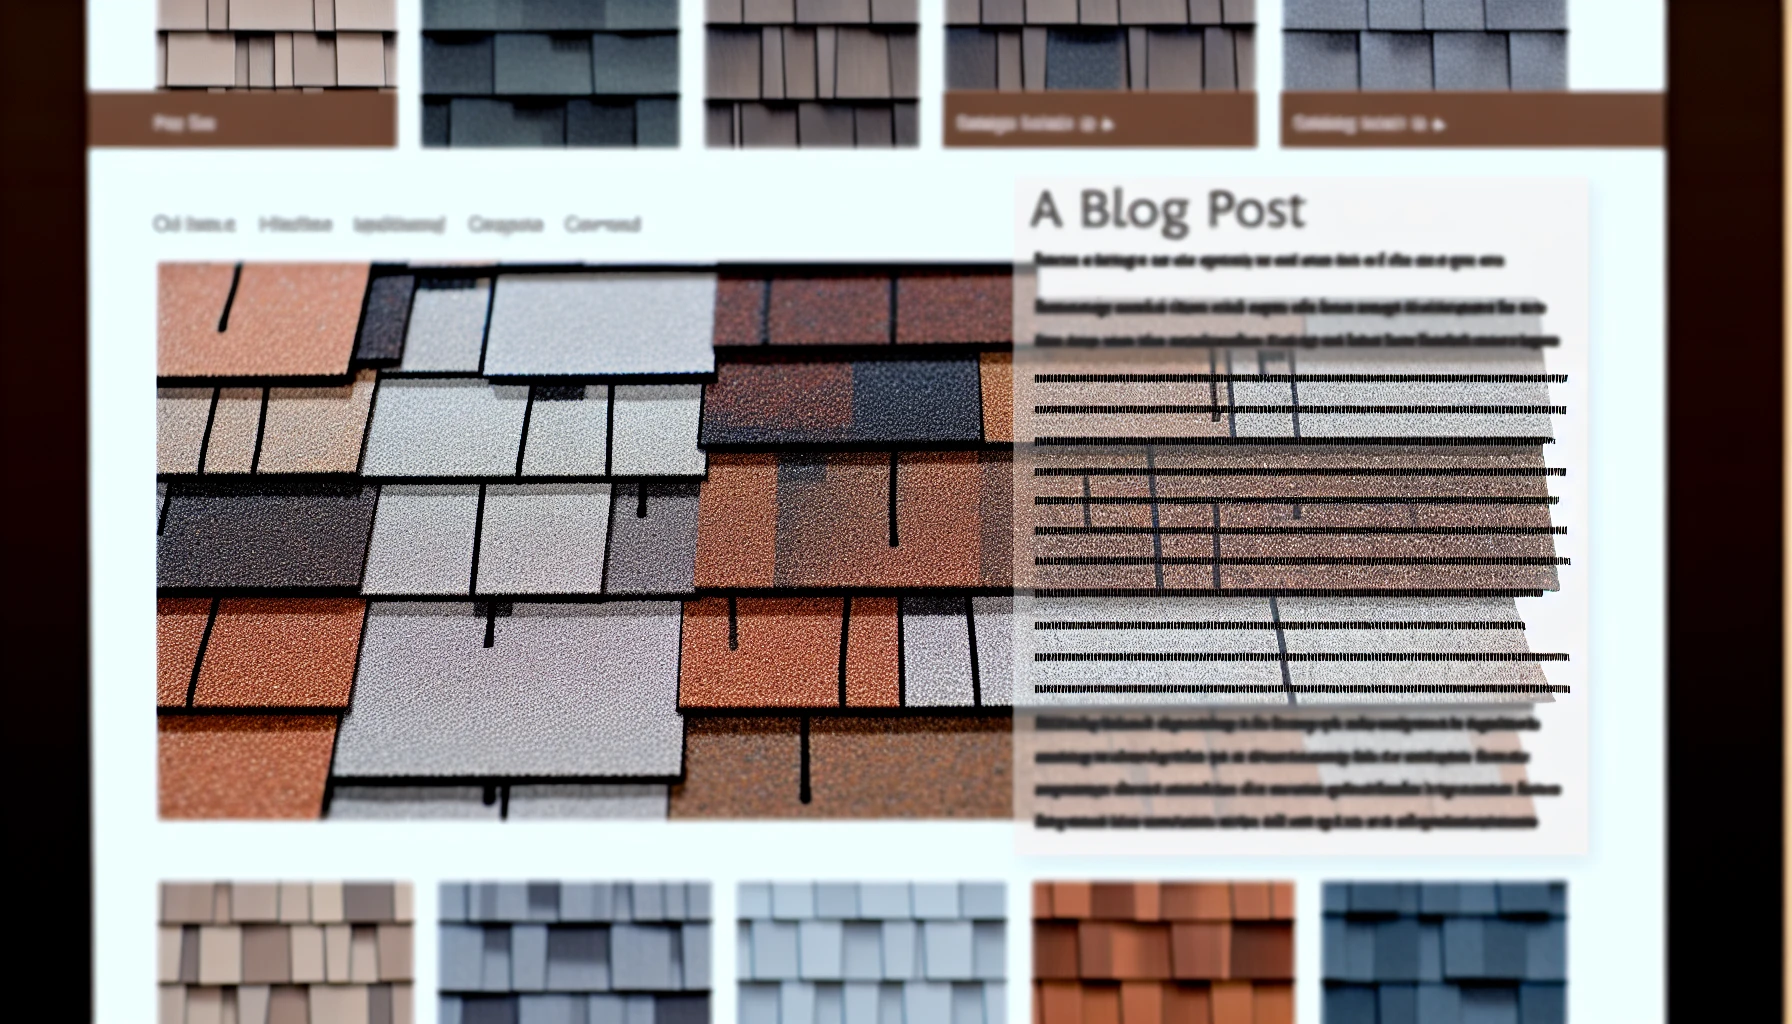
Variety of shingle styles and colors on display
The style and color of your roof shingles can significantly influence your home’s appearance and energy efficiency. Selecting shingles that match your home’s architectural style and choosing suitable colors based on climate conditions, helps you build a visually pleasing and energy-efficient roof that does more than just protect your home, but also boosts its value and curb appeal.
Matching Shingles to Your Home’s Architecture
The right shingles can accentuate and improve your home’s overall aesthetic. For example, polymer modified asphalt roofing shingles are recommended for colonial-style homes, while architectural shingles are ideal for modern style architecture. By choosing shingles that complement your home’s architectural style, you can enhance its curb appeal and create a cohesive and attractive exterior.
In addition to style, the color of roof shingles can impact a home’s energy efficiency. Light-colored shingles, such as white or light gray, can help keep your house cooler, while darker shingles may provide a more traditional appearance. Taking into account both style and color while selecting shingles, allows you to design a visually pleasing and energy-efficient roof that safeguards and enhances your home.
The Impact of Shingle Colors on Energy Efficiency
The color of your roof shingles can play a role in your home’s energy efficiency. Some benefits of light-colored shingles include:
- Reflecting more sunlight and heat
- Reducing the amount of heat absorbed by the roof
- Lowering your cooling costs
- Decreased energy consumption
- Improved overall efficiency for your home.
However, it’s important to note that the impact of shingle color on energy efficiency is relatively minor compared to other factors, such as insulation and ventilation. By choosing shingles that suit your home’s style and climate conditions, you can optimize your roof’s performance and create a comfortable, energy-efficient living space for you and your family.
Innovative Roofing Options: Solar Shingles
Solar shingles represent an innovative alternative to traditional roof shingles, offering both protection and energy generation benefits. Integrating solar technology into your roofing system can not only decrease your dependence on traditional energy sources but also lower your energy bills and reduce your carbon footprint.
Exploring the benefits of solar shingles enables you to make a decision about whether this innovative technology is a fitting option for your home.
Benefits of Integrating Solar Technology into Roofing
Solar shingles are:
- Thin photovoltaic sheets designed to absorb and convert sunlight into electricity
- Incorporating solar technology into your shingle roofing allows you to utilize the sun’s energy to power your home, lessen your dependence on conventional energy sources, and possibly save on energy bills
- Solar shingles can help reduce your carbon footprint, making your home more environmentally friendly.
The cost of solar shingles can be higher than standard shingles, but the long-term energy savings and environmental benefits may outweigh the higher upfront costs for many homeowners. Considering the benefits of incorporating solar technology into your roofing system, enables you to make a decision about whether solar shingles are a fitting investment for your home and your specific energy requirements.
Summary
In conclusion, proper shingle roofing installation and maintenance are crucial for protecting your home and enhancing its aesthetic appeal. By understanding the basics of shingle materials, installation techniques, and maintenance practices, you can make informed decisions about your roofing project, ensuring a durable and attractive roof for years to come. Whether you’re considering traditional shingles or innovative solar options, selecting the right materials, contractor, and maintenance routine can help optimize your roof’s performance and create a comfortable, energy-efficient living space for you and your family.
Frequently Asked Questions
How do you start shingles on a roof?
To start shingles on a roof, lay down roof deck protection and starter shingles along the edge of the bottom of the roof and secure with cap nails. To set the design of the shingles, mark 12 inches up from the edge of the roof and every 5 inches thereafter. When nailing the shingle, make sure to place four nails in a line 2 inches away from each end.
Can I shingle a roof by myself?
You can certainly replace your roof by yourself with the help of DIY websites and a few days of work. However, be sure to take into account the size of your roof when planning the project.
How do you Reshingle a roof?
To reshingle a roof, start by prying off old shingles with a pitch fork, securing any loose sheathing to rafters, and covering the roof deck with felt underlayment. Complete the project with installation of drip-edge flashing and snapping a vertical chalk line down the center of the roof.
What factors should I consider when choosing a roofing contractor for my project?
When selecting a roofing contractor for your project, be sure to check their qualifications, licenses, insurance coverage, certifications and services offered to ensure they are reputable and reliable.
How often should I inspect and maintain my shingle roof?
For optimal protection, schedule a free roof inspection annually and conduct regular maintenance tasks such as cleaning gutters, trimming tree limbs, and maintaining proper attic ventilation.

