Top Benefits of Vinyl Siding with Stone: Enhance Your Home’s Exterior
Wondering if vinyl siding with stone is right for your home? It offers aesthetic appeal, durability, and cost savings. In this article, you’ll learn about its benefits, design options, and installation tips.
Key Takeaways
-
Vinyl siding with stone offers an affordable alternative to natural stone, providing aesthetic appeal and significant cost savings for homeowners.
-
The versatility in design allows homeowners to customize their exteriors, with a wide range of textures and colors that mimic natural stone.
-
With easy installation and low maintenance requirements, vinyl siding with stone is a practical and durable choice that boosts curb appeal and property value.
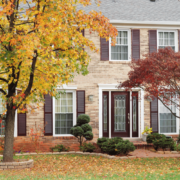
Why Choose Vinyl Siding with Stone?

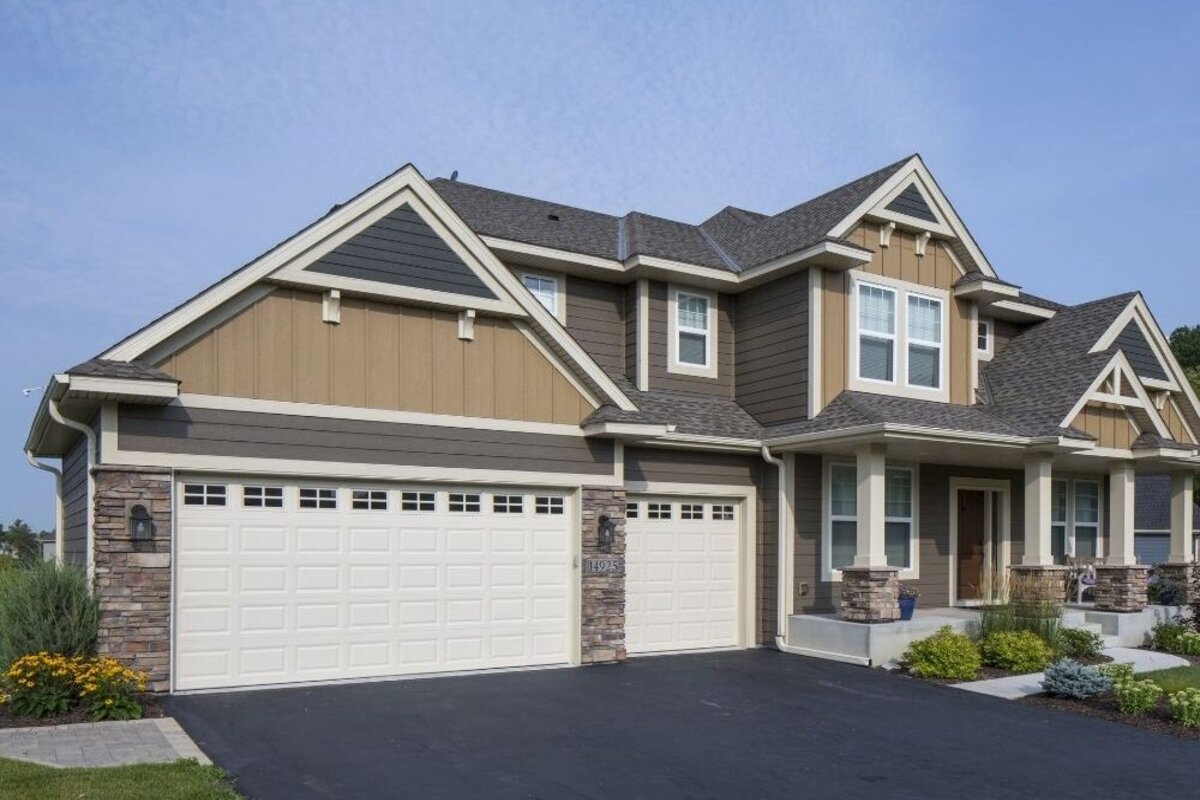
An illustration of a home exterior featuring vinyl siding with stone accents.
Opting for vinyl siding with stone can transform your home exterior. This blend not only adds sophistication and style but also enhances your home’s durability. Homeowners often find themselves attracted to the aesthetic appeal that this siding type brings, making it a popular choice for those looking to enhance their curb appeal.
A key advantage of choosing vinyl siding with stone is the potential cost savings. Unlike natural stone, which can be quite expensive, vinyl siding mimicking stone offers an affordable alternative without sacrificing a luxurious appearance. Professional installation ensures precision and a quality finish, reducing potential issues and improving both the appearance and lifespan of the siding.
Another compelling reason to choose vinyl siding with stone is its design versatility. Whether you prefer a rustic, traditional look or a sleek, modern design, this siding option offers a wide range of textures, colors, and styles to match your vision. Furthermore, the durability of vinyl siding with stone protects your home against the elements, ensuring long-lasting performance.
Cost-Effective Solution
One of the most appealing aspects of vinyl siding with stone is its cost-effectiveness. Traditional stone can be expensive to install and maintain, but vinyl siding that mimics stone significantly reduces these costs. This product is engineered to provide the same luxurious appearance at a fraction of the cost. Additionally, the durability of vinyl means that homeowners can save money on repairs and maintenance over time, as it does not require frequent painting or treatments against pests like wood siding does.
Moreover, the fast installation process can save both time and labor costs. This siding option not only boosts curb appeal and market value but also provides long-term savings. Modern manufacturing techniques allow vinyl siding to replicate the visual and tactile qualities of natural stone, offering a high-end look without the high-end price.
Versatility in Design
Vinyl siding paired with stone offers numerous design possibilities. Available in various textures, styles, and colors, it allows homeowners to customize their home exterior to match their personal style and architectural design. Whether you’re looking to add a rustic charm with cobblestone or a sophisticated elegance with fieldstone, vinyl siding types can mimic various stone types, offering endless design opportunities.
The range of siding options means that you can achieve a unique look that sets your home apart from the rest. Choosing the right combination of vinyl and stone can highlight architectural features like entrances and porches, creating a visually striking exterior. Online platforms provide a wealth of ideas and designs, making it easier than ever to find inspiration for your faux stone siding project.
Additionally, the durability of vinyl siding ensures that your chosen style will endure. Unlike other materials that may fade or deteriorate, vinyl maintains its appearance and structural integrity, ensuring that your home continues to look its best for years to come.
Enhanced Durability
The enhanced durability of vinyl siding with stone is a significant benefit that cannot be overlooked. Vinyl siding is designed to withstand moisture, preventing the rot and damage that can plague other materials. Combined with the stone-like appearance, this siding option is highly resistant to UV rays, ensuring that your home remains protected and visually appealing for the long term.
Stone siding, known for its longevity, can last more than 100 years, highlighting the long-term durability of incorporating it into your siding. This durability protects homes from various environmental factors, ensuring your investment in vinyl siding with stone pays off year after year.
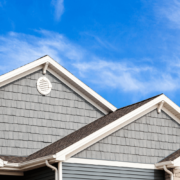
Realistic Stone-Look Vinyl Siding

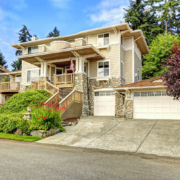
A visual representation of realistic stone-look vinyl siding.
Vinyl siding with a stone appearance provides a realistic and attractive finish, significantly enhancing a home’s exterior. Modern manufacturing techniques replicate the texture and appearance of natural stone, offering an aesthetically pleasing, cost-effective, and durable alternative. This realistic look not only improves the visual appeal of your home but can also increase its market value without the high costs associated with natural stone.
The combination of vinyl and stone veneer can transform your home, making it more appealing to potential buyers and enhancing its marketability. By choosing vinyl siding with stone, homeowners can achieve the luxurious look of stone without the hefty price tag.
Advanced Manufacturing Techniques
Advanced manufacturing techniques have revolutionized vinyl siding production, allowing it to imitate various stone types like cobblestone and fieldstone. Techniques like digital printing and embossing are used to create intricate stone-like patterns on vinyl siding surfaces, ensuring a lifelike appearance. These methods involve using polyurethane molds created from real stone to replicate authentic textures and colors, making the final product virtually indistinguishable from natural stone.
The use of these advanced techniques ensures that homeowners get a high-quality product that not only looks great but also performs well over time. Investing in vinyl siding with stone lets you enjoy the benefits of modern manufacturing methods that provide both beauty and durability.
Ensuring Color Accuracy
Color accuracy is vital for maintaining the appearance of vinyl siding with stone over time. It enhances curb appeal and ensure color accuracy as the siding remains visually appealing as it ages. Factors like UV exposure and environmental conditions can affect the color retention of vinyl siding, but modern techniques have addressed these issues effectively.
Manufacturers use advanced techniques that incorporate color-fast materials to enhance durability and stability, ensuring that the siding retains its vibrant colors for years. Investing in high-quality vinyl siding with superior color retention can significantly benefit homeowners by maintaining aesthetics and reducing the need for replacement.
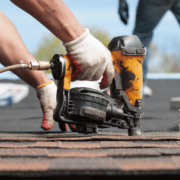
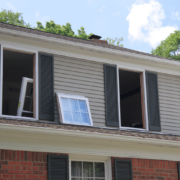
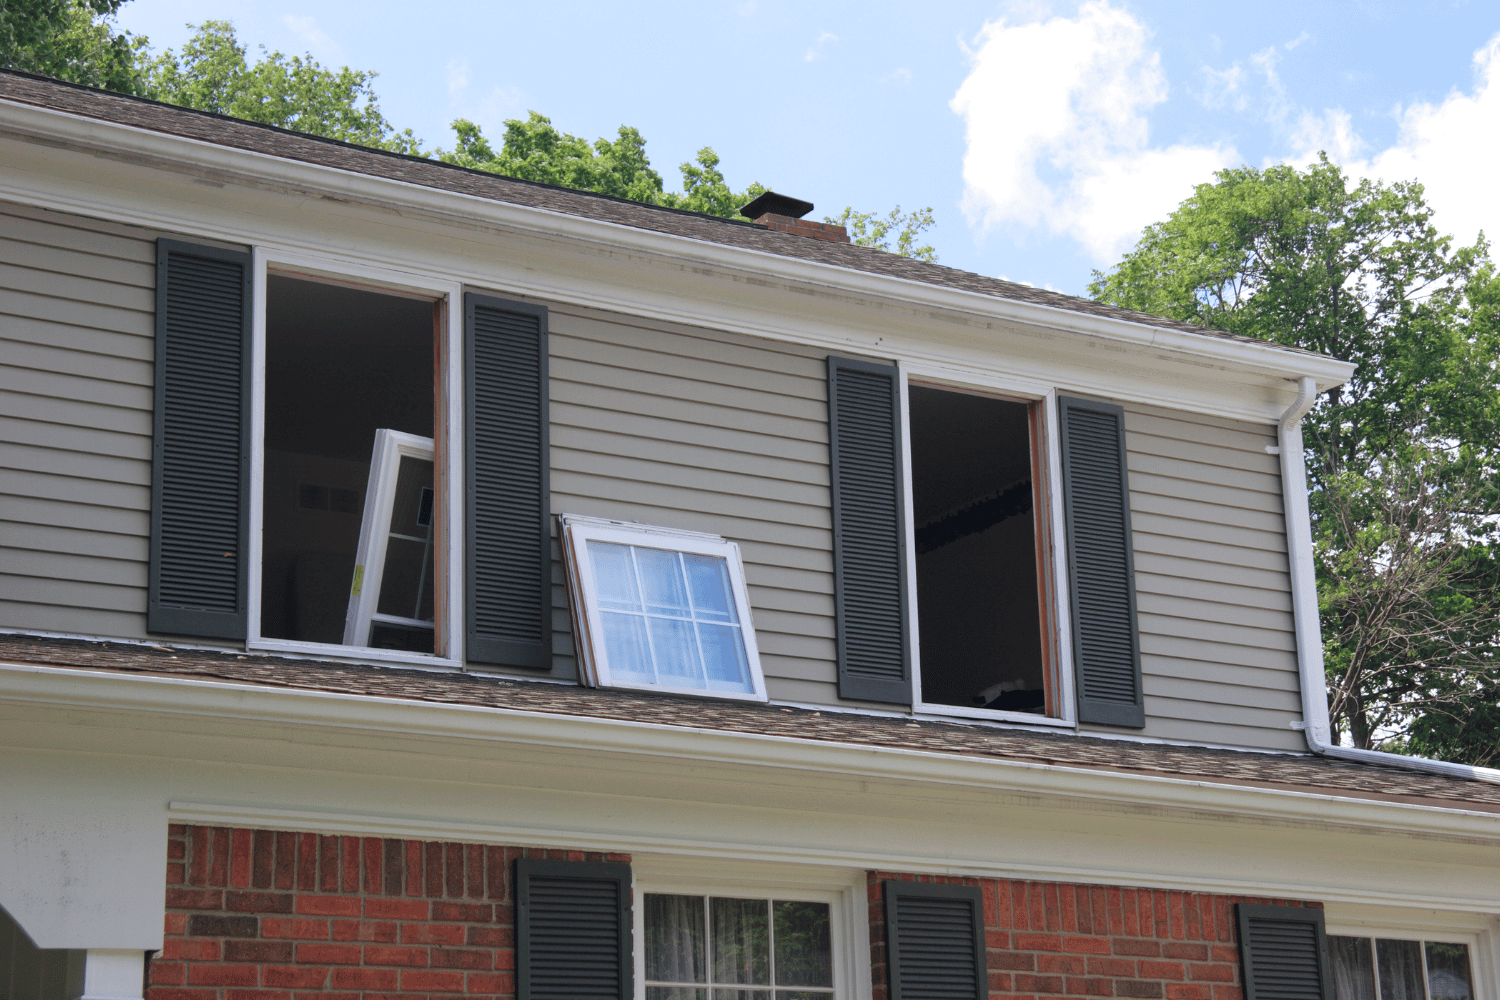
Installation Made Easy

An illustration depicting the easy installation process of vinyl siding.
A standout feature of vinyl siding with stone is its ease of installation. Designed for accessibility, it’s perfect for homeowners who enjoy DIY renovation projects. The installation process uses an easy-to-install panelized system, allowing for quick assembly with minimal hassle. This means that even those with basic DIY skills can achieve professional-looking results without the need for extensive experience or specialized tools.
Vinyl siding is engineered for durability, resisting damage from harsh weather and maintaining its appearance with minimal upkeep. This makes it an excellent choice for those looking to enhance their home’s exterior without the headache of frequent maintenance.
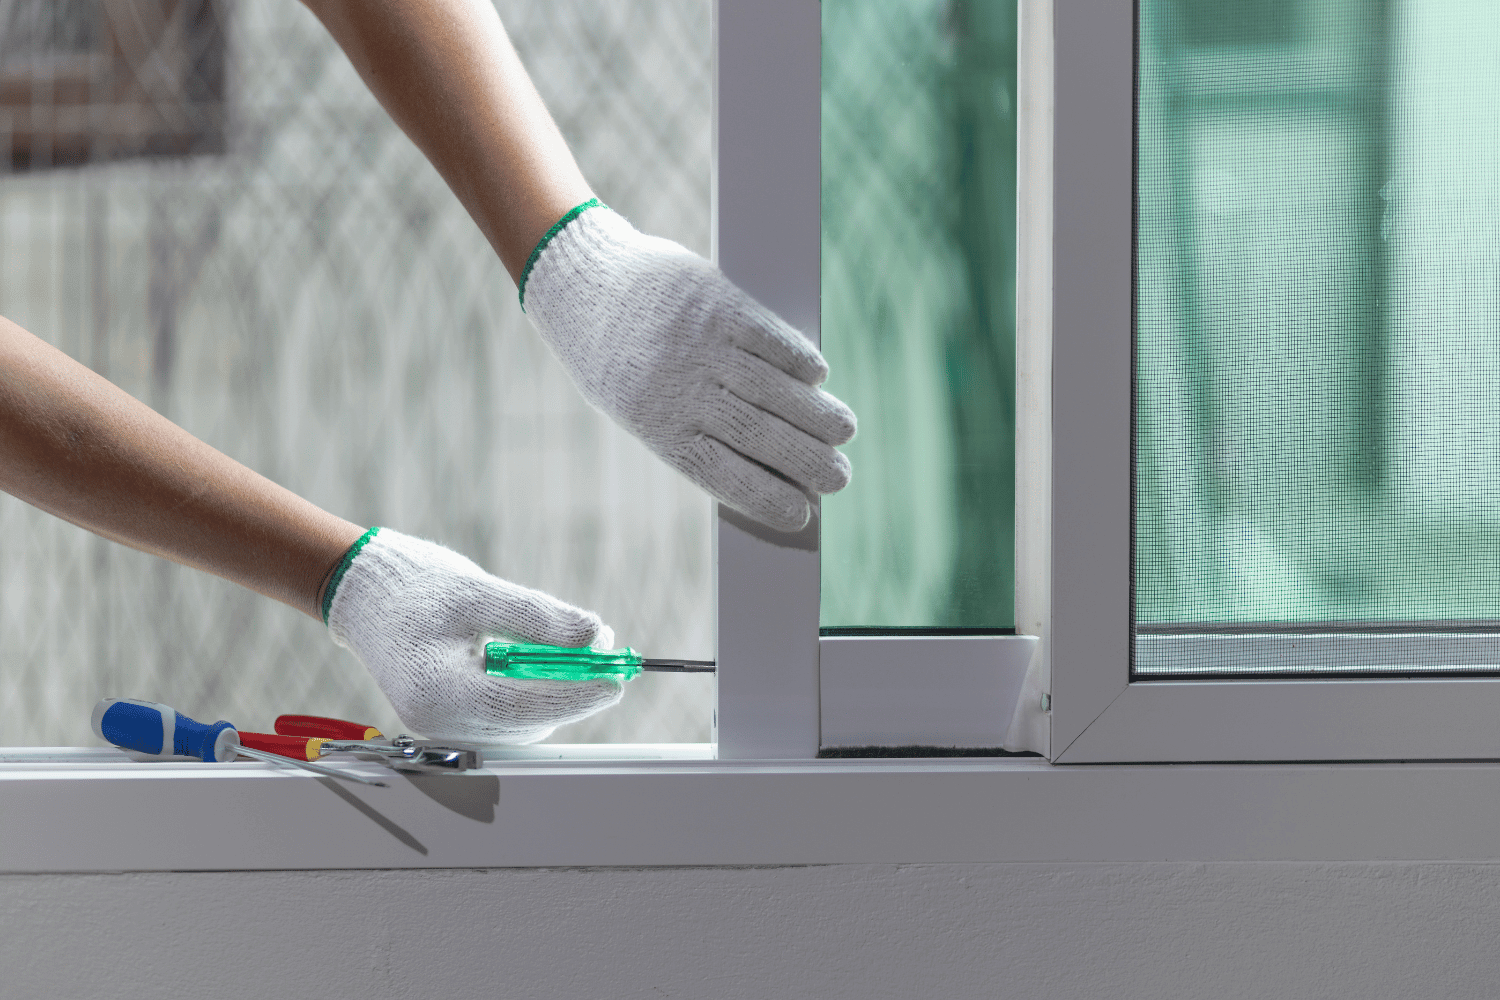
DIY-Friendly
For DIY enthusiasts, vinyl siding with stone is ideal. Homeowners can use basic tools like siding cutters, nail guns, and circular saws for the installation process. These tools, along with safety glasses and a chalk line for straight markings, make the project both manageable and enjoyable.
Homeowners can use an online calculator tailored for siding measurements to determine the quantity needed, ensuring they purchase the right amount of materials. This DIY-friendly approach not only saves money on labor costs but also provides a sense of accomplishment and pride in completing the project on their own.
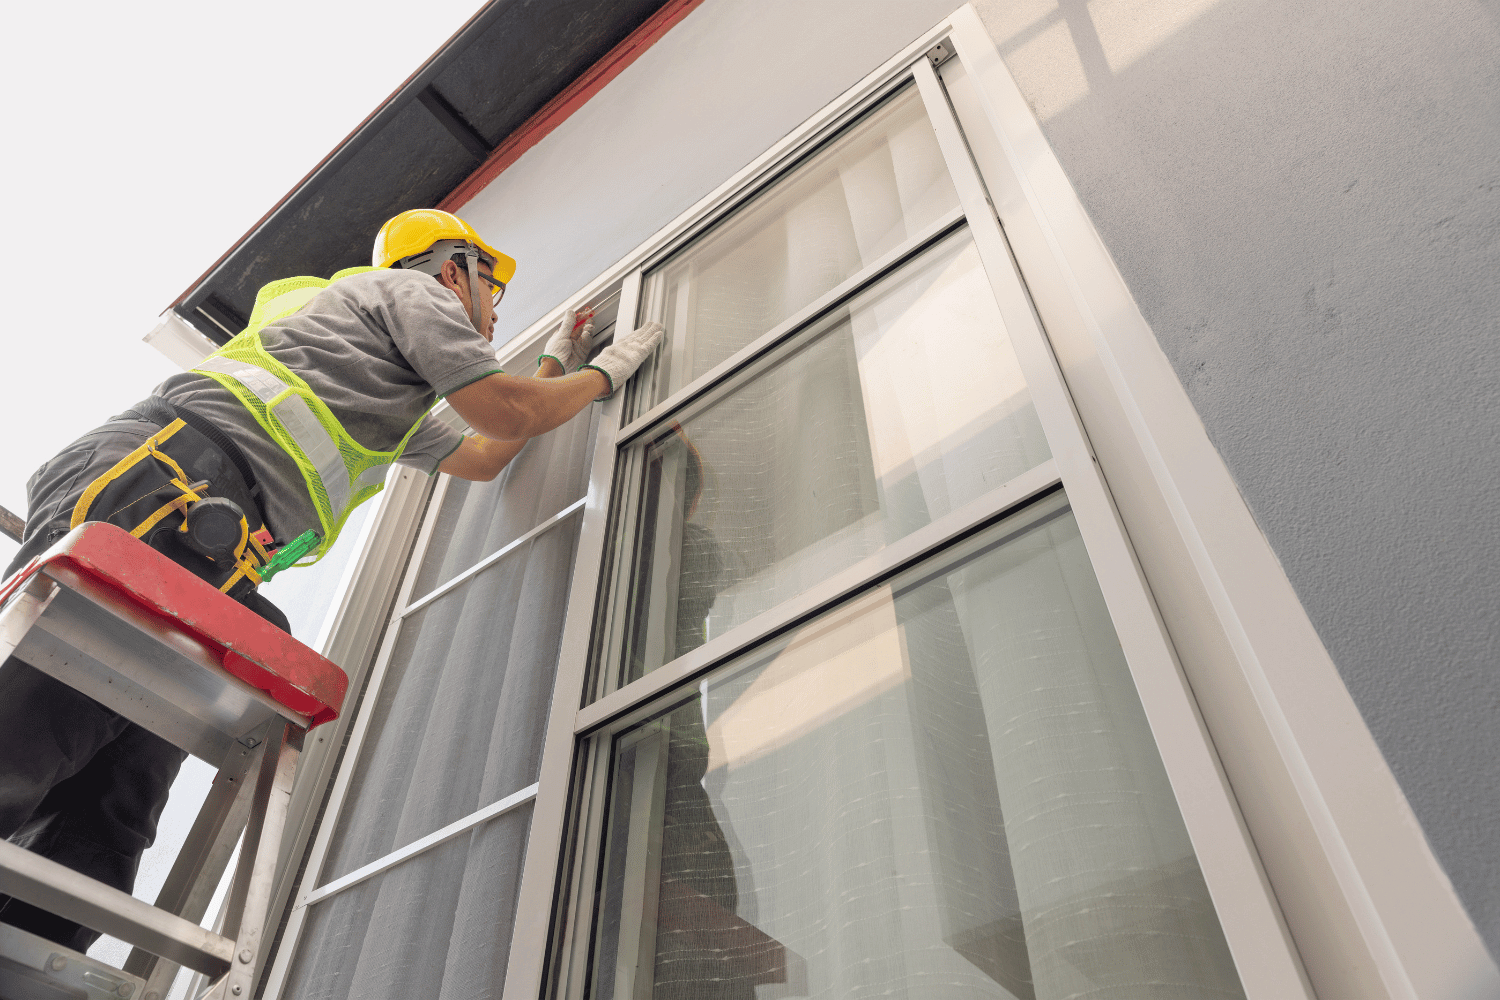
Professional Installation
Although DIY installation is appealing, hiring professionals for installing vinyl siding with stone guarantees a flawless finish. Professional installers bring expertise and specialized tools to the table, ensuring that every panel is placed perfectly and securely. This not only enhances the aesthetic appeal but also ensures the durability and longevity of the siding.
Professional installation services can significantly improve the quality and appearance of your home exterior. By entrusting the job to experts, homeowners can enjoy peace of mind knowing that their investment is protected and that the installation is done to the highest standards.
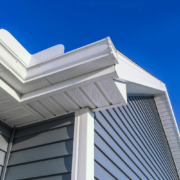
Maintenance and Longevity

An illustration of a home enduring various weather conditions with low maintenance vinyl siding.
Vinyl siding with stone is both visually appealing and designed for longevity with minimal maintenance. This siding option offers resistance to fading, cracking, and warping, making it a long-lasting choice for homeowners. The combination of vinyl and stone is engineered to withstand extreme weather conditions, providing better protection for homes and reducing the need for frequent repairs.
Regular cleaning is enough to maintain the appearance of vinyl siding, eliminating the need for complicated upkeep. This low-maintenance requirement makes it a practical choice for homeowners who want to enjoy a beautiful home exterior without the constant worry of maintenance.
Low Maintenance Requirements
Vinyl siding is known for its low maintenance requirements compared to traditional materials. Cleaning is simple, often requiring only mild detergent and water to keep the siding looking fresh. Unlike wood siding, vinyl panels do not require painting, which eliminates a significant maintenance task and saves both time and money.
Overall, vinyl siding requires minimal maintenance, making it a practical choice for homeowners. Its durability and ease of upkeep ensure that your home remains attractive and well-protected with minimal effort.
Weather Resistance
Vinyl siding with stone is designed to repel water, reducing the risk of moisture damage in wet conditions. This weather-resistant feature is crucial for maintaining the integrity of your home exterior over time. The siding is also capable of withstanding extreme temperatures and heavy rainfall, ensuring long-term performance and protection against the elements.
These features significantly enhance the durability of vinyl siding with stone, providing homeowners with a reliable and long-lasting solution for their home’s exterior needs.
Boosting Curb Appeal

An artistic representation of a home with enhanced curb appeal due to vinyl siding.
Combining vinyl siding with stone can dramatically enhance the visual appeal of your home exterior. This combination adds a sense of luxury and sophistication, making your home stand out in the neighborhood. Homeowners often report a significant improvement in their home’s appearance after installing stone-look vinyl siding, noting its striking contrast and elevated aesthetic.
The modern aesthetic provided by vinyl siding with stone not only boosts curb appeal but also increases the market value of your property, making it a worthwhile investment. This transformation can make your home more inviting and visually appealing to potential buyers.
Complementary Accessories
Selecting complementary accessories is essential for completing the look of your home’s exterior. Common accessories include shutters, trim, and outdoor lighting to accentuate the stone and vinyl combination. These well-chosen accessories can enhance the curb appeal of your property, making it more inviting and visually striking.
When selecting accessories, consider your home’s overall design and color scheme to ensure harmony with the vinyl siding and stone. This thoughtful approach can create a cohesive and polished look that significantly enhances your home’s exterior access.
Increasing Home Value
Investing in vinyl siding with stone can significantly boost your home’s value. The enhanced curb appeal makes your property more attractive to potential buyers, increasing its market value. The combined durability of vinyl siding and stone means less frequent repairs and maintenance, preserving the home’s value over time.
Homeowners can expect an increase in property value by choosing this siding option. The improved visual appeal, coupled with the practical benefits, makes it a smart investment that offers both immediate and long-term financial returns.
Customer Experiences
Real-world experiences from satisfied customers provide valuable insights into the benefits of vinyl siding with stone. Homeowners report high satisfaction with the aesthetic appeal and durability of their siding projects. These testimonials highlight the practical advantages and transformative impact on their homes’ exteriors.
Professional installation services can offer guarantees for workmanship and materials, ensuring a high-quality finish. These services provide peace of mind for homeowners, knowing their investment is protected and the job is done right.
John W.’s Story
John W. praised Como Exteriors for their professional and timely service. He was particularly impressed with the high-quality finish of his vinyl stone siding, which transformed the look of his home.
John emphasized his overall satisfaction with the attention to detail and commitment to quality provided by Como Exteriors, making them his first choice for exterior projects.
Barbara H.’s Review
Barbara H. expressed high satisfaction with the customer service she received during her installation process. She praised the seamless communication and support from the team, which made the entire process smooth and stress-free.
Barbara also highlighted the excellent results on her roof and gutters, noting how they transformed the exterior of her home and enhanced its curb appeal.
How to Get Started with Your Project
Starting your vinyl siding with stone project is easier than you might think. Begin by gathering inspiration from online galleries and considering the various siding options available. This research will help you determine the best materials and styles for your home exterior.
The installation process is straightforward, allowing for a smoother and faster project timeline. Whether you tackle the installation yourself or hire professionals, ensure the process accommodates material expansion and contraction due to temperature changes for optimal results.
Selecting the Right Materials
Choosing the right materials for your vinyl siding and stone combination is crucial for achieving a durable and visually appealing exterior. High-quality options like Affinity Stone are recognized for their durability and aesthetic appeal. Properly selected materials can enhance the overall look of your home and contribute to its value, ensuring your investment stands the test of time.
Investing in quality materials ensures your home looks stunning and provides long-term durability. Taking the time to select the best materials will pay off with a beautiful and resilient home exterior.
Requesting an Estimate
To get started, consider requesting an estimate from a reputable company like Como Exteriors. Homeowners can contact them through their website or by phone to discuss their specific needs and preferences for vinyl siding and stone options. This consultation helps ensure you receive a tailored solution that meets your expectations and budget.
During the consultation, you can explore different siding options and get a detailed estimate for your project. This step is crucial for planning your budget and understanding the scope of work involved, ensuring a smooth and successful installation.
Summary
In summary, vinyl siding with stone offers a plethora of benefits that make it a standout choice for homeowners looking to upgrade their home exteriors. From cost-effectiveness and design versatility to enhanced durability and low maintenance, this siding option provides a perfect blend of aesthetics and practicality. Realistic stone-look vinyl siding can significantly boost curb appeal and increase property value, making it a wise investment.
If you’re ready to transform your home with vinyl siding and stone, start by selecting the right materials and requesting an estimate from a trusted provider like Como Exteriors. With the right approach and professional guidance, you can achieve a stunning and durable home exterior that you’ll love for years to come.
Frequently Asked Questions
What makes vinyl siding with stone a cost-effective solution?** **?
Vinyl siding with stone is a cost-effective solution because it lowers both installation and material expenses while delivering an elegant look. You’ll enjoy the benefits of a stunning exterior with less maintenance and investment over time.
How does vinyl siding with stone enhance curb appeal?** **?
Vinyl siding with stone dramatically boosts curb appeal by adding luxury and sophistication, creating an eye-catching contrast that makes your home stand out. Embrace this enhancement for a stunning exterior!
What tools are needed for a DIY vinyl siding installation?** **?
For a successful DIY vinyl siding installation, you’ll need siding cutters, a nail gun, a circular saw, safety glasses, and a chalk line for precision. Equip yourself with the right tools, and you’ll be on your way to transforming your home!
Why is color accuracy important in vinyl siding with stone?** **?
Color accuracy in vinyl siding with stone is crucial because it maintains visual appeal and curb appeal over time, minimizing the risk of fading and reducing the need for replacements. Invest in the right colors for lasting beauty!
How can I get started with my vinyl siding with stone project?** **?
Start your vinyl siding with stone project by choosing the right materials and getting an estimate from a trusted provider. This tailored approach will ensure your project meets your needs and budget perfectly!