How Much Does New Siding Increase Home Value? Find Out Here!
How Much Does New Siding Increase Home Value?
Wondering how much does new siding increase home value? On average, new siding can boost your home’s value by around 7%. The increase depends on the material chosen, with fiber cement siding offering up to 88% return on investment. This article covers the main factors that affect this value increase and helps you choose the right siding for maximum benefit.
Key Takeaways
-
New siding can increase home value by approximately 7%, with fiber cement siding offering the highest ROI at 88.5%.
-
Choosing the right siding material is crucial, as factors like durability, maintenance needs, and local market trends affect overall value and appeal.
-
Investing in modern, energy-efficient siding improves insulation and reduces utility costs, further enhancing home value.
How Much Does New Siding Increase Home Value? Find Out Here!

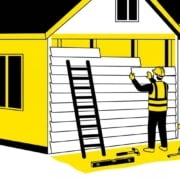
An illustration showing how much new siding can increase home value.
Updating your home’s siding can significantly enhance the value of your home. Recent data indicates that new siding can boost your home’s value by around 7%. The return on investment (ROI) varies with the siding material, with fiber cement siding offering about 88.5% ROI, and vinyl siding providing 68.9% ROI.
Several factors influence the increase in your home’s value from new siding. The type and quality of the material, its durability, and maintenance needs all contribute. Selecting the right siding material can maximize the financial benefits.
Introduction
Replacing your home’s siding is a strategic investment that can significantly raise your property’s value and enhance its overall appeal. A well-maintained exterior is often the first thing potential buyers notice, and new siding can dramatically improve curb appeal.
New siding reduces maintenance demands and offers better protection against environmental factors, making your home more attractive to buyers. Whether planning to sell soon or simply wanting to boost your home’s appearance, new siding is a smart choice.
The Financial Impact of New Siding on Home Value
Investing in new siding can significantly boost your home’s value. Estimates indicate that new siding can increase home value by about 7%. Fiber cement siding stands out with an ROI of around 88.5%, translating to an average increase of $17,129 in home value. Vinyl siding, with a slightly lower ROI of 68.9%, still enhances property value.
Durable options like Allura fiber cement siding are recommended for their long-lasting protection and high durability, positively affecting home value. Additionally, insulated vinyl siding can further increase home value due to superior energy efficiency.
Durability is a critical factor. Weather, pest, and fire-resistant siding enhances curb appeal while minimizing maintenance and repair costs, contributing to a more valuable property.
Enhancing Curb Appeal with New Siding

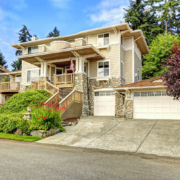
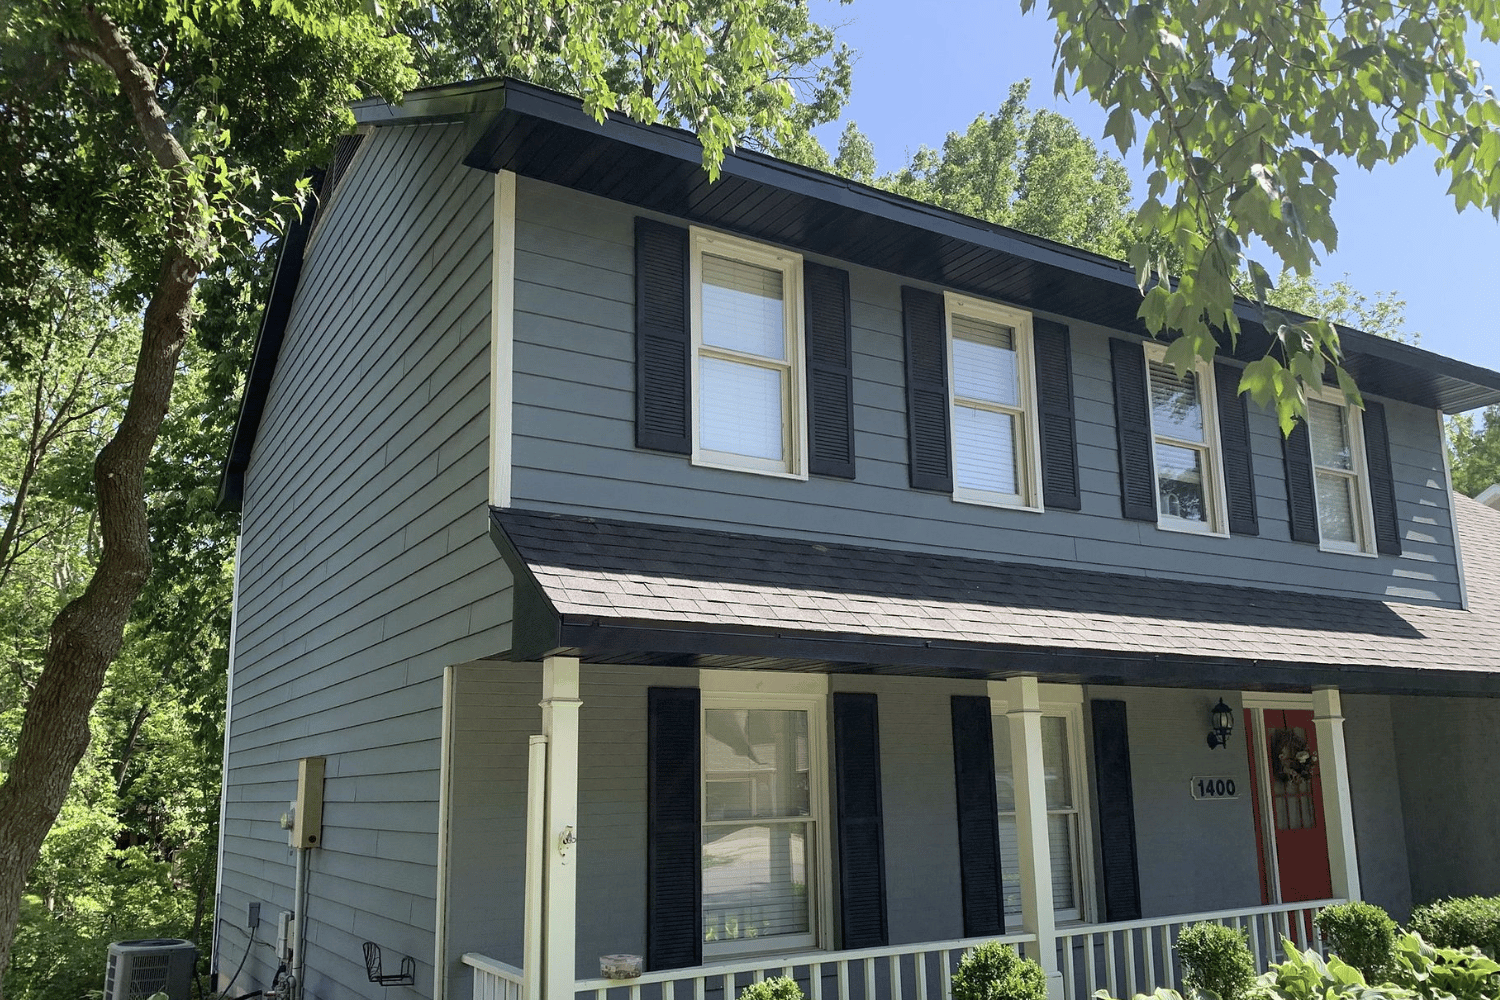
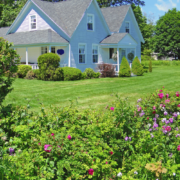
A beautiful house showcasing enhanced curb appeal with new siding.
New siding can greatly enhance your home’s curb appeal, making it more attractive to buyers. Fresh, vibrant siding exudes care and attention to detail, making a substantial difference in how buyers perceive the property.
Replacing outdated or damaged siding transforms the exterior, making your home visually appealing and boosting its sales potential. Neglected exteriors often give a negative impression, lowering property value. Consider investing in exterior renovations to enhance your home’s appeal.
Upgrading to new, energy-efficient siding can attract more buyers and siding increase the value of your home’s resale value.
Improved Energy Efficiency and Insulation

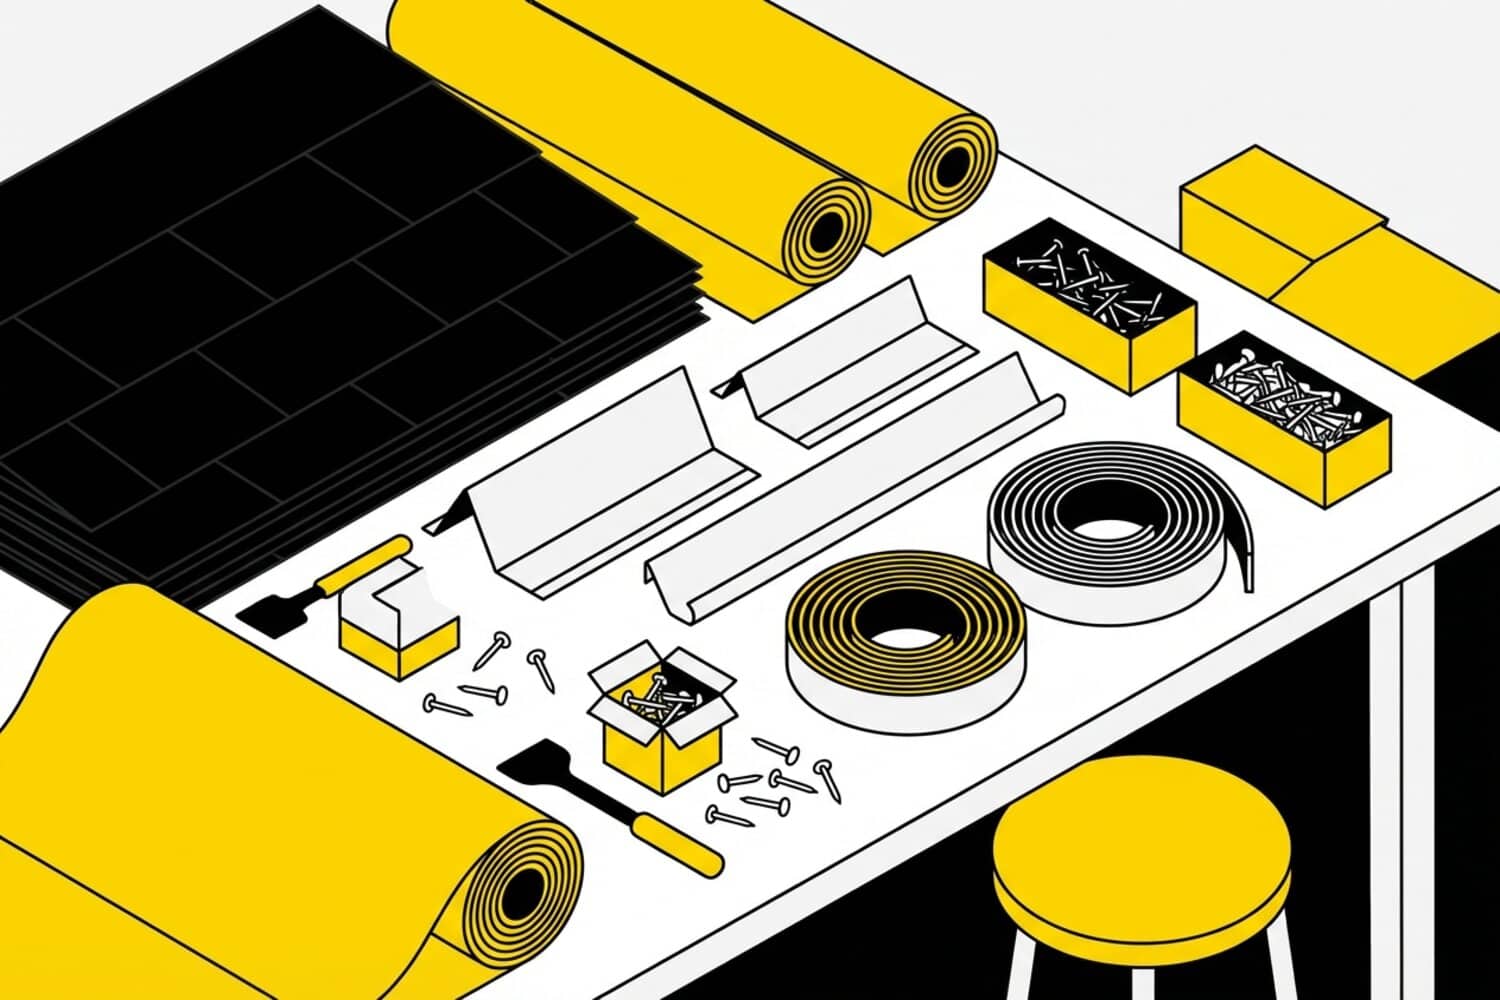
Diagram illustrating the energy efficiency benefits of new siding.
Modern siding materials offer improvements in energy efficiency and insulation, leading to substantial savings on energy bills. Insulated vinyl siding reduces air leakage, maintaining indoor temperatures and lowering heating and cooling costs.
Properly installed new siding reduces air leakage and prevents moisture from entering the home, reducing risks of mold and structural issues. This enhances energy efficiency and improves overall comfort and health.
Long-term cost savings from lower utility bills due to improved insulation and energy efficiency can also increase your home’s value. Investing in energy-efficient siding offers both immediate and long-term financial benefits.
Protecting Your Home from the Elements

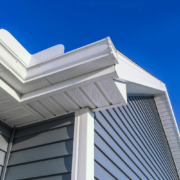
Visual representation of a home protected from the elements by new siding.
Siding protects your home from harsh weather and pests. Vinyl siding, for example, resists rain, wind, and hail, safeguarding structural integrity. Quality siding options prevent moisture infiltration, avoiding costly rot and mold growth.
Durable siding materials like fiber cement endure heavy rainfall and resist extreme weather damage. Modern siding products also enhance resistance against pests, reducing infestation risks. This added protection preserves your property’s condition and contributes to its overall value.
Choosing the Right Siding Material
Choosing the right siding material is crucial for maximizing benefits. Different materials offer varying levels of durability, maintenance, and aesthetic appeal, impacting home value.
Vinyl siding is known for its affordability and low maintenance, while wood siding offers a beautiful, natural aesthetic but requires more upkeep. Regional preferences and market trends also influence the best choice for your home.
Understanding the pros and cons of each material helps you make an informed decision that aligns with your budget and goals. The following subsections provide an overview of some popular siding materials.
Vinyl Siding
Vinyl siding is popular due to its affordability and low maintenance. It provides an estimated ROI of around 80%, with some reports suggesting as high as 94.7%. This makes vinyl siding a cost-effective option for enhancing your home’s exterior.
Vinyl siding reduces upkeep expenses due to minimal maintenance requirements. Cleaning is as simple as using a garden hose, making it convenient for busy homeowners.
Woodbridge vinyl siding products are noted for their durability, impact resistance, and insulation properties, adding to their appeal.
Fiber Cement Siding
Fiber cement siding is renowned for its durability and aesthetic appeal. It withstands severe weather conditions, making it a reliable choice for long-lasting protection. Allura fiber cement siding offers various styles and colors, allowing for customization.
Fiber cement siding offers an impressive ROI of approximately 88%. This material enhances curb appeal and provides robust protection against the elements, significantly increasing home value.
Wood Siding
Wood siding is celebrated for its natural beauty, offering a warm and inviting look that enhances curb appeal. Homeowners can choose from various wood types and finishes, allowing for customization to match style preferences, including options like steel siding.
However, wood siding requires regular maintenance, such as painting or staining, to protect it from moisture and weather damage. Despite this, investing in wood siding can significantly increase home value due to its aesthetic appeal and desirability.
Stone Veneer
Stone veneer siding imparts a luxurious aesthetic that significantly enhances curb appeal and beauty and visual appeal. Its elegant natural stone appearance attracts buyers and contributes to a positive first impression. Additionally, stone siding offers a durable and stylish option for homeowners.
Known for its durability, stone veneer can last for decades with minimal maintenance, making it financially savvy. Investing in stone veneer siding typically yields a high return on investment, boosting its appeal.
Factors to Consider Before Replacing Siding
Before replacing your home’s siding, consider several factors to ensure the best decision. Local market trends can influence the impact on home value. In some regions, certain materials may be more popular, affecting resale value.
The condition of your existing siding is crucial. While minor damage can often be repaired, extensive issues may necessitate complete replacement. Assessing the state of your siding helps determine the best option.
Finally, align the investment with your homeowner goals. Whether aiming to sell soon or planning to stay for years, new siding can enhance your property’s appeal and market value.
Local Market Trends
Understanding local market trends is vital when choosing new siding. Different regions have preferences for specific materials due to climate, availability, and architectural styles. Homes in areas preferring materials like vinyl or fiber cement may see larger value increases when these are used.
Regional economic conditions, demographic shifts, and local housing demands can impact the demand for new siding. In areas experiencing renovation booms or housing shortages, investments in new siding can lead to higher returns on home value.
Condition of Existing Siding
Evaluating the condition of your existing siding is crucial before deciding on replacement. Indicators for replacement include extensive damage, loose pieces, or high maintenance requirements. If your siding is relatively new, repairing minor issues might be more cost-effective than replacing the entire surface.
However, when siding materials show significant wear or are old, replacement is generally recommended. Most siding materials can last for decades, making regular assessment essential to determine the need for repair or replacement.
Homeowner Goals
Aligning your siding project with your homeowner goals is essential for maximizing benefits. Investing in new siding can significantly enhance your property’s appeal and market value, reflecting your overall objectives.
Whether seeking immediate curb appeal improvements to attract buyers or long-term benefits like energy efficiency and lower maintenance costs, choosing the right siding material can yield significant returns on investment.
Real-Life Examples of Home Value Increase
Real-life examples illustrate the impact of new siding on home value. For instance, a homeowner in Ohio spent $12,000 on new vinyl siding, increasing the property’s value by about $18,000, yielding a 50% return on investment. This notable uplift showcases the financial benefits of investing in new siding.
Similarly, in Oregon, a homeowner invested $15,000 in replacement siding, enhancing the property’s aesthetic and increasing resale value by an estimated $20,000, resulting in a 33% return on investment. These examples highlight how new siding can boost your home’s marketability and overall value at resale.
Why Choose CoMo Premium Exteriors for Your Siding Project
Choosing the right contractor for your siding project is as important as selecting the right material. CoMo Premium Exteriors stands out with deep community roots, commitment to quality, and a customer-centric approach. Their local expertise and extensive experience with insurance claims ensure a seamless process from consultation to project completion, including installation by smart exteriors.
CoMo Premium Exteriors uses high-quality materials, guaranteeing lasting durability and enhanced aesthetics for homes. Many clients report satisfaction with the quick response times and high-quality workmanship, emphasizing the company’s professionalism and dedication to excellence.
Customers frequently commend CoMo Premium Exteriors for their excellent communication, professionalism, and exceptional quality of work. This positive feedback underscores the company’s reputation as a reliable and trusted provider of siding services.
Our Service Areas
CoMo Premium Exteriors operates in several key areas, including Columbia, Jefferson City, Moberly, Boonville, and surrounding regions such as Fulton, Mexico, and Hallsville. Their emphasis on local expertise ensures that each project is tailored to the specific needs and preferences of homeowners in these areas.
Customer Testimonials
Customers have praised CoMo Premium Exteriors for their professionalism, quick service, and quality workmanship, often recommending them for roofing and siding projects. This widespread customer satisfaction highlights the company’s dedication to delivering exceptional results and building long-lasting relationships with their clients.
Summary
In summary, replacing your home’s siding is a strategic investment that can significantly increase its value, enhance curb appeal, improve energy efficiency, and protect against the elements. Whether you choose vinyl, fiber cement, wood, or stone veneer, each material offers unique benefits that can align with your homeowner goals and regional preferences.
If you’re considering a siding project, CoMo Premium Exteriors is the ideal choice for ensuring high-quality results and professional service. With their local expertise, commitment to quality, and excellent customer feedback, you can trust them to transform your home’s exterior and boost its value. Don’t wait—take the first step towards enhancing your home’s appearance and marketability today.
Frequently Asked Questions
How much value does new siding add to a home?
New siding can add about 7% to a home’s value, with fiber cement siding providing an impressive return on investment of approximately 88.5%. This significant enhancement makes siding a worthwhile home improvement.
What are the benefits of vinyl siding?
Vinyl siding is a cost-effective and low-maintenance option that provides impressive durability and a high return on investment, making it an excellent choice for homeowners.
How does new siding improve energy efficiency?
New siding significantly enhances energy efficiency by reducing air leakage and maintaining stable indoor temperatures, leading to lower heating and cooling costs. Investing in modern materials, like insulated vinyl, can yield substantial long-term savings.
What factors should I consider before replacing siding?
Before replacing siding, assess the condition of your existing siding, local market trends, and your long-term homeowner goals to make an informed decision. This evaluation will guide you in deciding whether to repair or replace.
Why should I choose CoMo Premium Exteriors for my siding project?
Choosing CoMo Premium Exteriors guarantees high-quality materials and professional service backed by extensive local expertise, ensuring a seamless and satisfying siding project.