TPO Versus EPDM: Choosing the Best Commercial Roofing System
TPO Versus EPDM: Choosing the Best Commercial Roofing System
Choosing between TPO and EPDM roofing systems hinges on your specific needs. TPO is known for its heat-reflecting properties, making it excellent for warm climates. EPDM is praised for its durability and flexibility. This article will help you compare TPO versus EPDM so you can make an informed choice for your commercial roof.
Key Takeaways
-
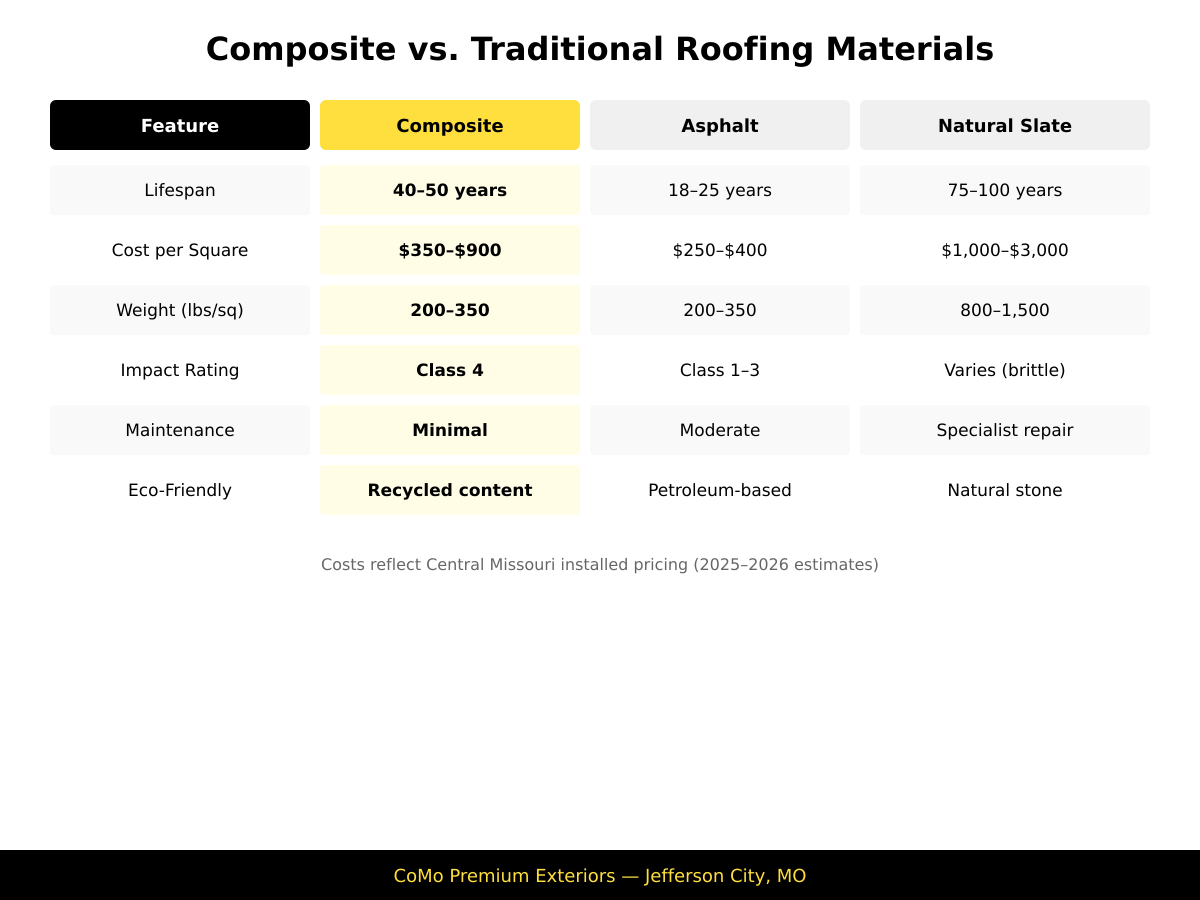
TPO roofing systems are known for their energy efficiency and long lifespan of 20 to 30 years, making them suitable for warmer climates.
-
EPDM roofing systems offer exceptional durability and flexibility, with a lifespan of 25 to 30 years, ideal for flat roof surfaces and harsh weather conditions.
-
Both TPO and EPDM have their advantages and disadvantages, and selecting the right system depends on factors like geographical location, budget, and specific building needs.
Understanding TPO Roofing Systems

An overview of TPO roofing systems showing a flat roof installation.
Thermoplastic Polyolefin (TPO) roofing systems have gained significant popularity in the commercial roofing industry due to their durability and energy efficiency. Composed of polypropylene and ethylene-propylene rubber, TPO membranes often include reinforcements like polyester or fiberglass to enhance their strength and stability. The key components in TPO roofing sheets, such as polyesters, UV stabilizers, fillers, and pigments, contribute to their robustness and longevity.
One of the standout features of TPO roofing is its energy efficiency, making it an ideal choice for warmer climates. Reflecting heat rather than absorbing it, TPO roofs help keep buildings cooler, which can lead to significant savings on cooling costs.
With an estimated lifespan of 20 to 30 years, a high-quality TPO roofing system is a long-term investment that balances initial costs with lasting benefits.
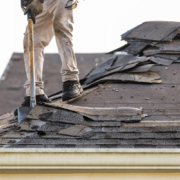
Pros and Cons of TPO Membranes
TPO roofing systems offer several advantages, particularly in terms of energy efficiency. Their ability to reflect heat makes them an excellent choice for buildings in warmer climates, reducing the need for air conditioning and lowering energy bills. Additionally, TPO membranes are relatively easy to install, which can save time and labor costs during the installation process.
However, TPO membranes are not without their disadvantages. One of the main drawbacks is their susceptibility to punctures, which can compromise the integrity of the roof if not promptly addressed. Despite their robust construction, TPO roofs require careful handling and maintenance to ensure their longevity and performance.
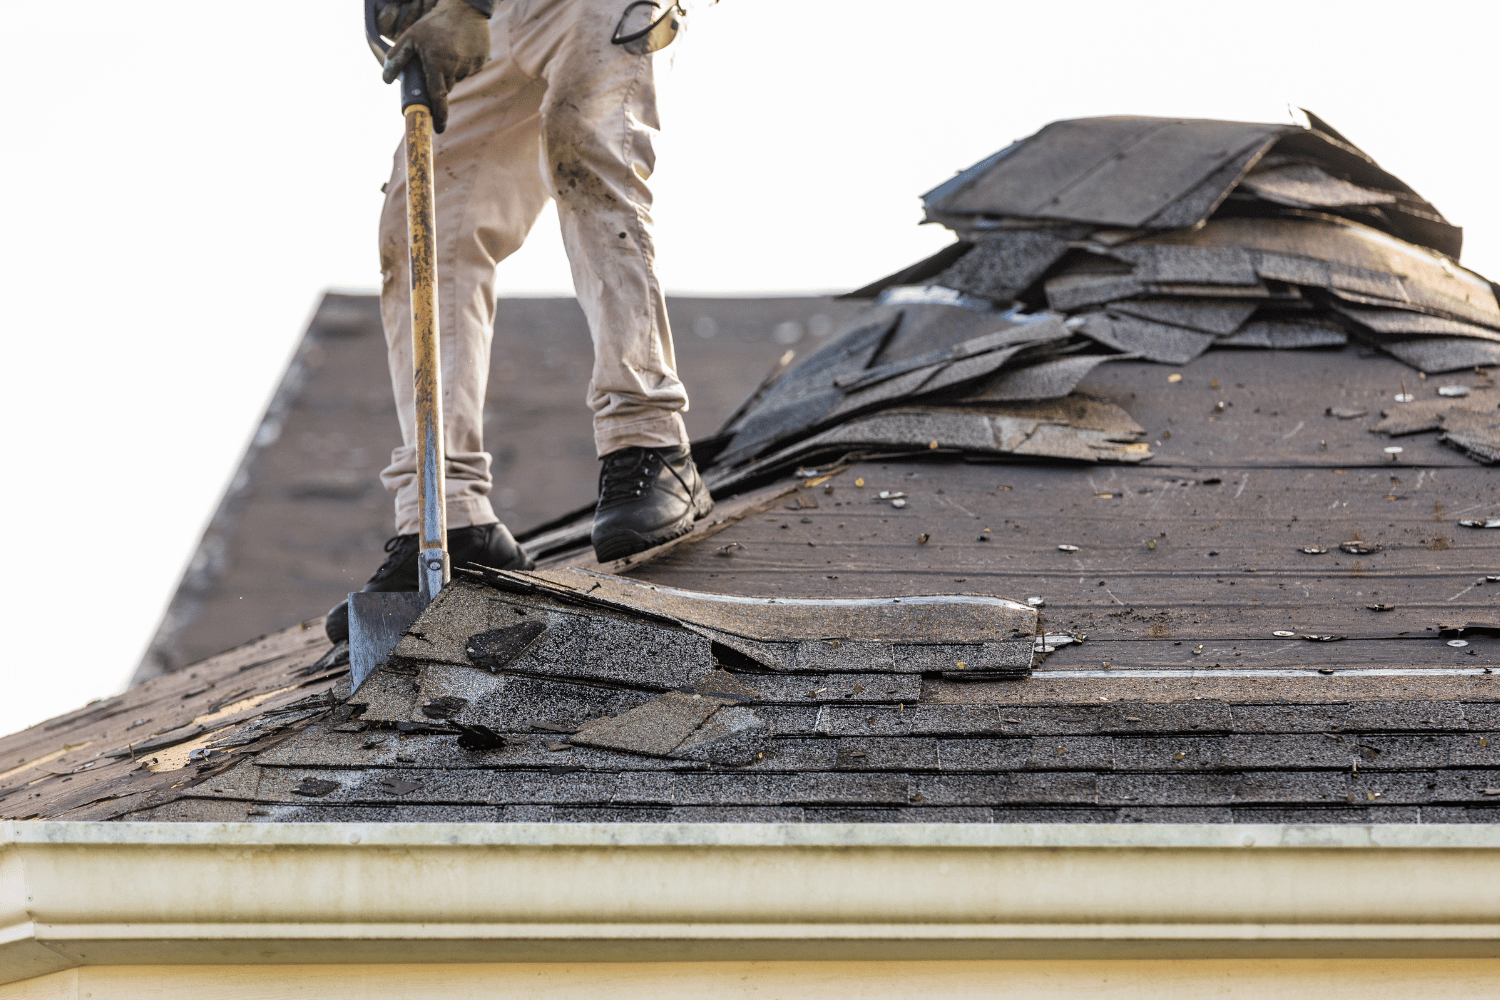
Installation Methods for TPO Roofs
The installation of TPO roofs can be carried out using several methods, each with its own set of advantages. One of the most common methods is heat welding, which involves using hot air to weld the seams of the TPO membranes together, creating a strong and watertight bond. This method is particularly effective in ensuring the durability and waterproofing of the roofing system.
TPO roofs can be installed in different ways. They can be fully adhered or mechanically attached. Fully adhered installations use adhesives to bond the TPO membrane to the roof deck, while mechanically attached installations involve securing the membrane with fasteners.
Regardless of the method chosen, proper installation is crucial for ensuring the longevity and performance of the TPO roofing system.
Exploring EPDM Roofing Systems

A close-up of an EPDM roofing system installation showcasing the rubber membrane.
Ethylene Propylene Diene Monomer (EPDM) roofing systems have long been a staple in the commercial roofing industry due to their exceptional durability and flexibility. Made from synthetic rubber, EPDM membranes are robust, lightweight, and low maintenance, making them a reliable choice for various commercial applications, including those with a rubber roof. Their flexibility enhances their versatility, allowing them to accommodate a wide range of building types and roof designs.
EPDM roofing systems are particularly well-suited for large, flat roof surfaces, which are common in commercial buildings. Available in thicknesses ranging from 45 to 90 mils, EPDM roofing membrane can be tailored to meet different performance needs and budgets. This adaptability, combined with their proven track record, makes EPDM roofs a popular choice for property owners looking for a long-lasting roofing solution.
Advantages and Disadvantages of EPDM Roofs
One of the primary advantages of EPDM roofing systems is their durability. EPDM membranes are highly resistant to UV rays, ozone, and weathering, which significantly contributes to their long lifespan. This resistance makes them an excellent choice for buildings exposed to harsh weather conditions, ensuring reliable protection year-round.
However, EPDM roofs do have some limitations. Their poor resistance to mineral and petroleum oils can lead to degradation if exposed to these substances. Additionally, while EPDM roofs are generally durable and reliable, their limited color options may not suit all aesthetic preferences, which can be a consideration for some property owners.
Installation Techniques for EPDM Roofs
EPDM roofs can be installed using various methods, including fully adhered, ballasted, and mechanically attached systems. Fully adhered installations involve using adhesives to secure the EPDM membrane to the roof deck, providing a strong and uniform bond. This method is particularly effective in ensuring the membrane remains securely in place, even under extreme weather conditions.
Alternatively, EPDM roofs can be installed using a ballasted system, where the membrane is held in place by a layer of rock ballast. This method is often used for larger roof surfaces and provides additional stability.
Mechanically attached installations, which use fasteners to secure the membrane, are another option, especially for roofs that require additional reinforcement. Each installation method has its benefits, and the choice often depends on the specific requirements of the building and the preferences of the property owner.
Comparing TPO and EPDM Roofing Systems

A side-by-side comparison of TPO and EPDM roofing systems.
When comparing TPO and EPDM roofing systems, it’s essential to consider their material composition and performance characteristics. TPO is a thermoplastic membrane, while EPDM is a synthetic rubber membrane. Both roofing systems are classified as single-ply roofing materials, known for their lightweight and cost-effective properties.
Despite their differences, both TPO and EPDM offer exceptional durability and weather resistance, making them popular choices for commercial roofing. They share common attributes such as Class A fire resistance and the ability to withstand a wide range of temperatures without significant degradation.
Understanding these similarities and differences can help property owners make an informed decision based on their specific needs and preferences.
Cost Analysis: TPO vs. EPDM
Cost is a significant factor when choosing between TPO and EPDM roofing systems. The cost range for both TPO and EPDM roofing is approximately $12 to $17 per square foot, depending on the size and complexity of the project. The average cost of TPO roofing materials generally ranges from $3 to $5 per square foot, making it a relatively affordable option compared to other roofing materials.
While TPO roofing offers energy efficiency benefits that can lead to long-term savings, it may come with a higher initial cost compared to alternatives like asphalt shingles. On the other hand, EPDM roofing systems, known for their durability and low maintenance requirements, may offer a more cost-effective solution over the long term.
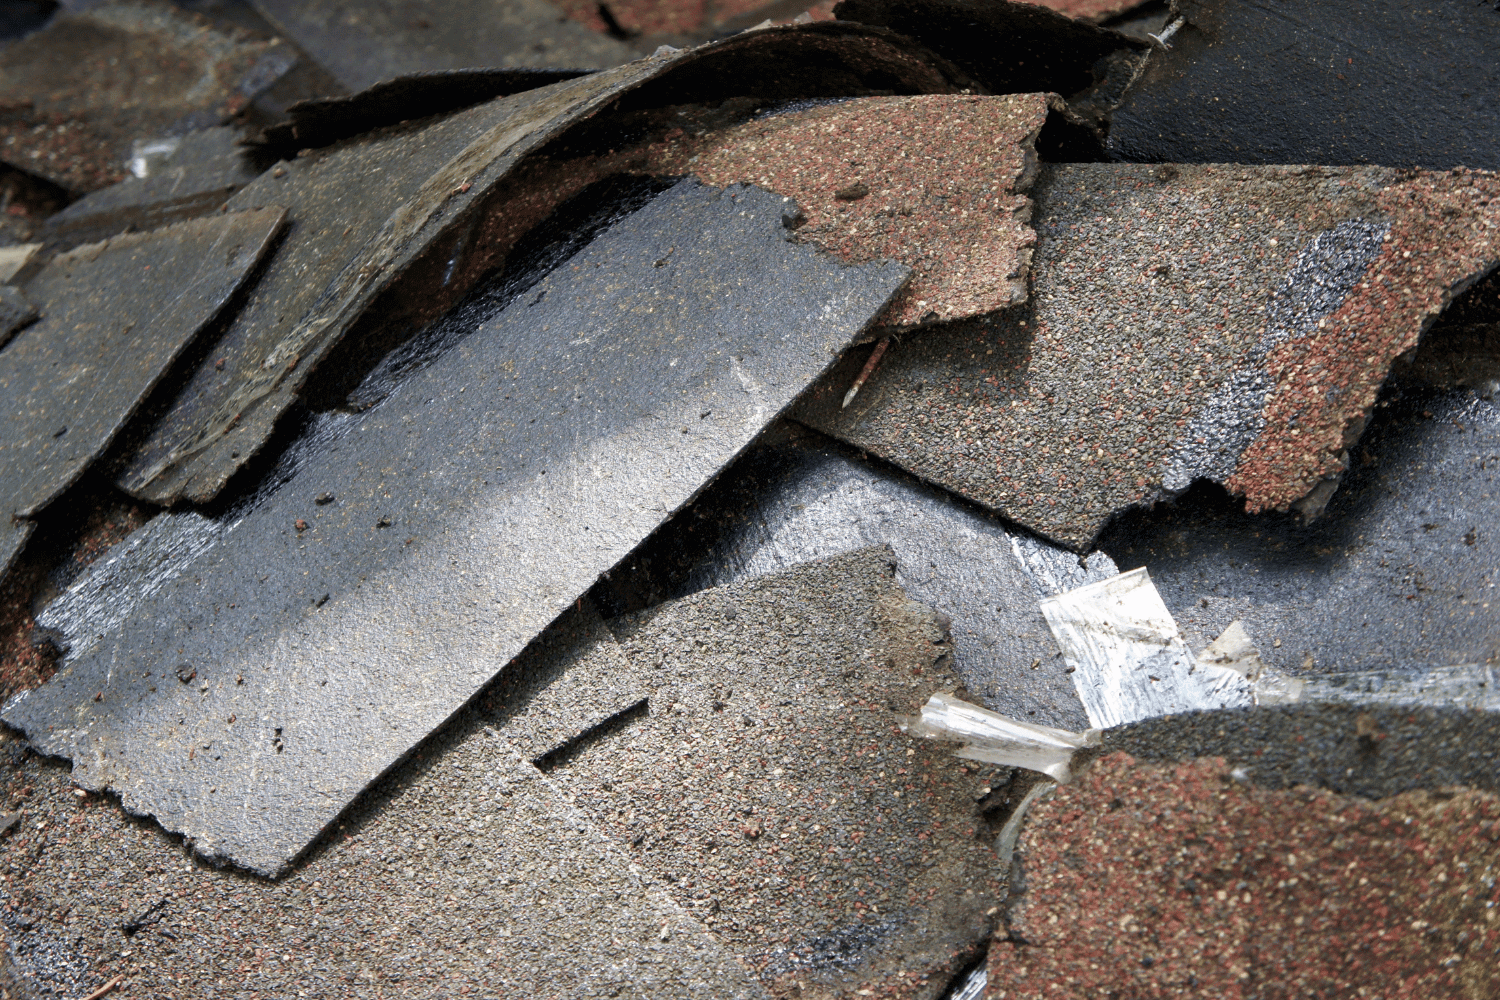
Longevity and Durability Comparison
The longevity and durability of TPO and EPDM roofs are crucial factors to consider. TPO roofs usually last around 15 to 20 years. In contrast, EPDM roofs have a lifespan of approximately 25 to 30 years. Despite TPO’s UV resistance, it is still vulnerable to degradation over time, which can affect its longevity.
EPDM roofing systems are renowned for their exceptional durability and resistance to weathering, UV rays, and ozone. Timely repairs on minor leaks and damage are essential for both TPO and EPDM roofs to prevent costly repairs and extend their service life. Addressing seam failures and other minor issues promptly can significantly enhance the longevity and performance of the epdm roofing system.
Energy Efficiency and Environmental Impact
Energy efficiency and environmental impact are critical considerations for modern commercial buildings. TPO roofing systems are particularly noted for their reflective properties, which can reduce heat absorption and lower cooling costs during the summer months. This energy efficiency can contribute to a more sustainable and cost-effective building operation.
EPDM roofs, while not as reflective as TPO, still offer significant environmental benefits due to their long lifespan and recyclability. Both TPO and EPDM roofing systems can help reduce the overall environmental impact of a building by minimizing waste and energy consumption. Considering these factors can help property owners make a more eco-friendly choice that aligns with their sustainability goals.
Choosing the Right Roofing System for Your Building

A professional consulting with a property owner about roofing options.
Selecting the right roofing system for your building involves evaluating several factors, including geographical location, budget, and building requirements. Roofing contractors play a crucial role in assessing these aspects to determine the most suitable roofing choice. Factors such as climate, local building codes, and the intended use of the building significantly influence the decision-making process.
Engaging with experienced roofing professionals is essential for making an informed decision. They can provide valuable insights and recommendations based on their extensive knowledge of various roofing systems. Consulting with professionals ensures that the chosen roofing system meets the specific needs and budget of the project, leading to a successful and cost-effective installation.
Factors Influencing Your Decision
Several factors influence the decision between TPO and EPDM roofing systems. Geographical location is a significant consideration, as different climates can affect the performance and longevity of the roofing materials. Local building codes may also dictate specific requirements that impact the choice between TPO and EPDM roofing systems.
The intended use of the building plays a crucial role in determining which roofing system is more appropriate. For instance, buildings that require high energy efficiency may benefit more from TPO roofing, while those needing long-term durability might prefer EPDM. Evaluating these factors helps property owners make a well-informed decision that aligns with their specific needs.
Consulting with Roofing Professionals
Consulting with roofing professionals is a critical step in the decision-making process. Professional roofing contractors can provide valuable insights based on their experience with various roofing systems, ensuring that the chosen system aligns with the specific project needs and budget. Their expertise helps property owners navigate the complexities of roofing choices and make informed decisions.
Engaging with roofing experts throughout the decision-making process ensures that all aspects of the project are considered, from initial assessment to final installation. This comprehensive approach leads to a more successful and cost-effective roofing solution, providing peace of mind for property owners and ensuring the long-term performance of the roofing system.
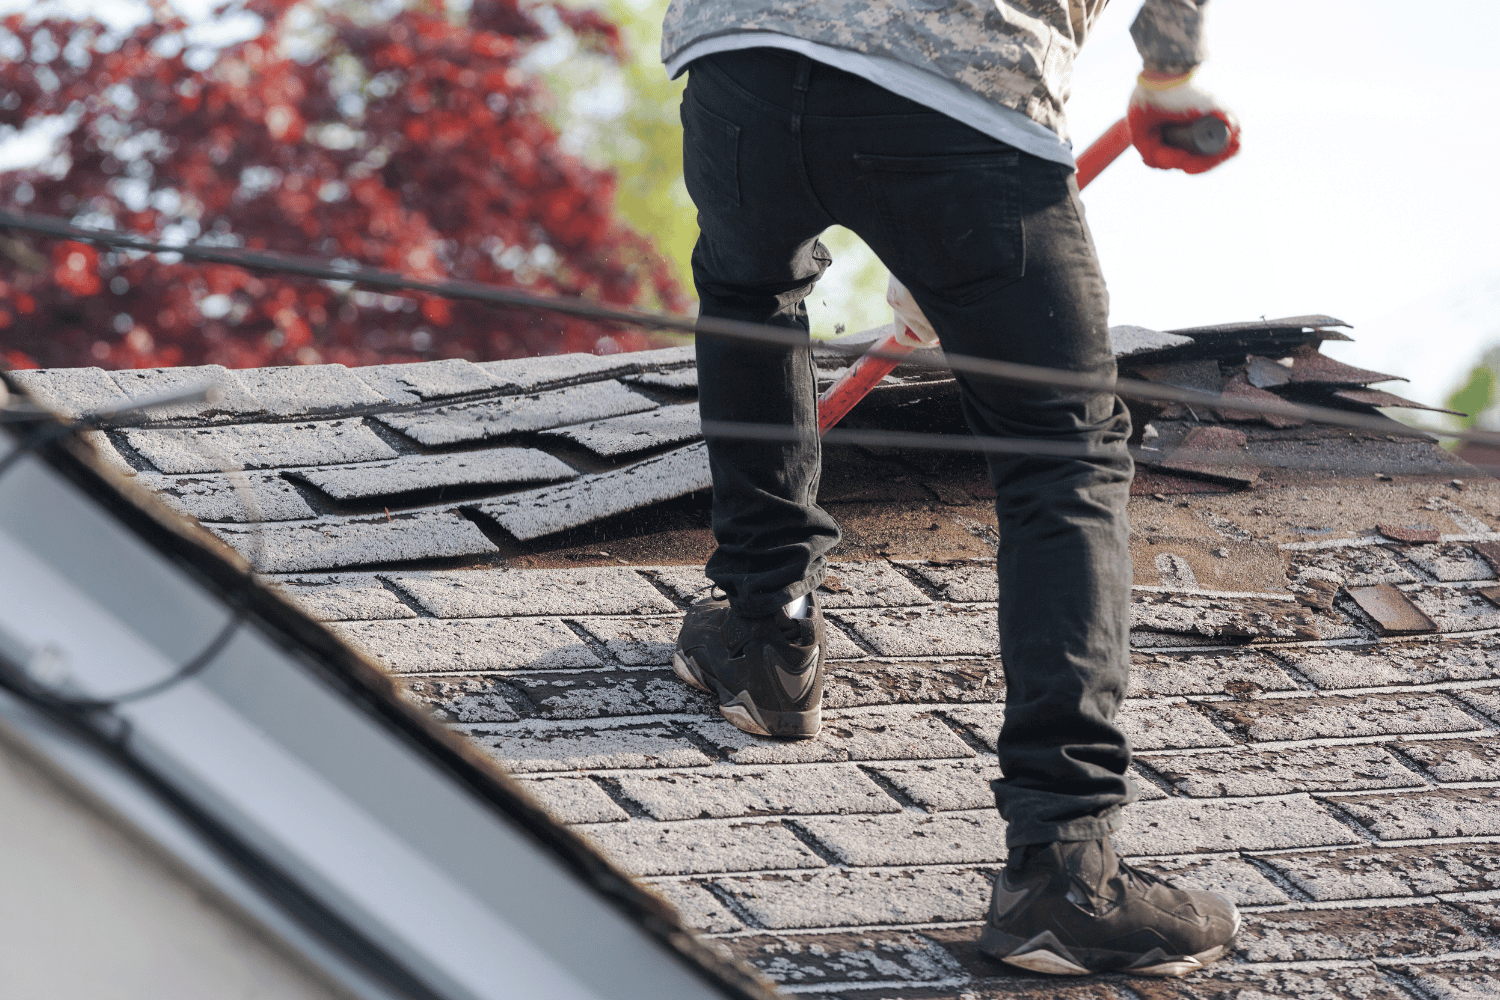
The Importance of Professional Installation
Professional installation is crucial for maximizing the performance and longevity of roofing systems. Collaborating closely with roofing professionals ensures that the installation process adheres to manufacturer guidelines and industry best practices. Proper installation is vital for avoiding common issues such as seam separation and leaks, which can lead to costly repairs.
Ensuring that the roofing system is installed correctly from the outset helps maintain its integrity and performance over time. By prioritizing professional installation, property owners can significantly reduce the risk of future problems and prolong the lifespan of their roofing system.
Benefits of Hiring Certified Installers
Hiring certified installers offers several benefits, including ensuring that the roofing system is installed correctly and in accordance with manufacturer guidelines. Certified installers have undergone extensive training and are knowledgeable about the best practices for installing TPO and EPDM roofing systems, which enhances the quality and reliability of the installation.
Certified professionals help avoid common pitfalls, such as improper sealing and inadequate drainage, which can lead to future repair costs. By hiring certified installers, property owners can have peace of mind knowing that their roofing system will be installed correctly and perform optimally for years to come.
Common Installation Pitfalls to Avoid
Avoiding common installation pitfalls is essential for maintaining the performance and longevity of roofing systems. Poor installation can lead to issues such as seam separation and leaks, which can compromise the integrity of the roof and require costly repairs. Proper installation methods and thorough training for installers are crucial for preventing these problems.
Ensuring that the roofing system is installed correctly from the outset helps maintain a watertight seal and extends the lifespan of the roof. By adhering to best practices and avoiding common mistakes, property owners can ensure the long-term success of their roofing system and minimize the risk of future issues.
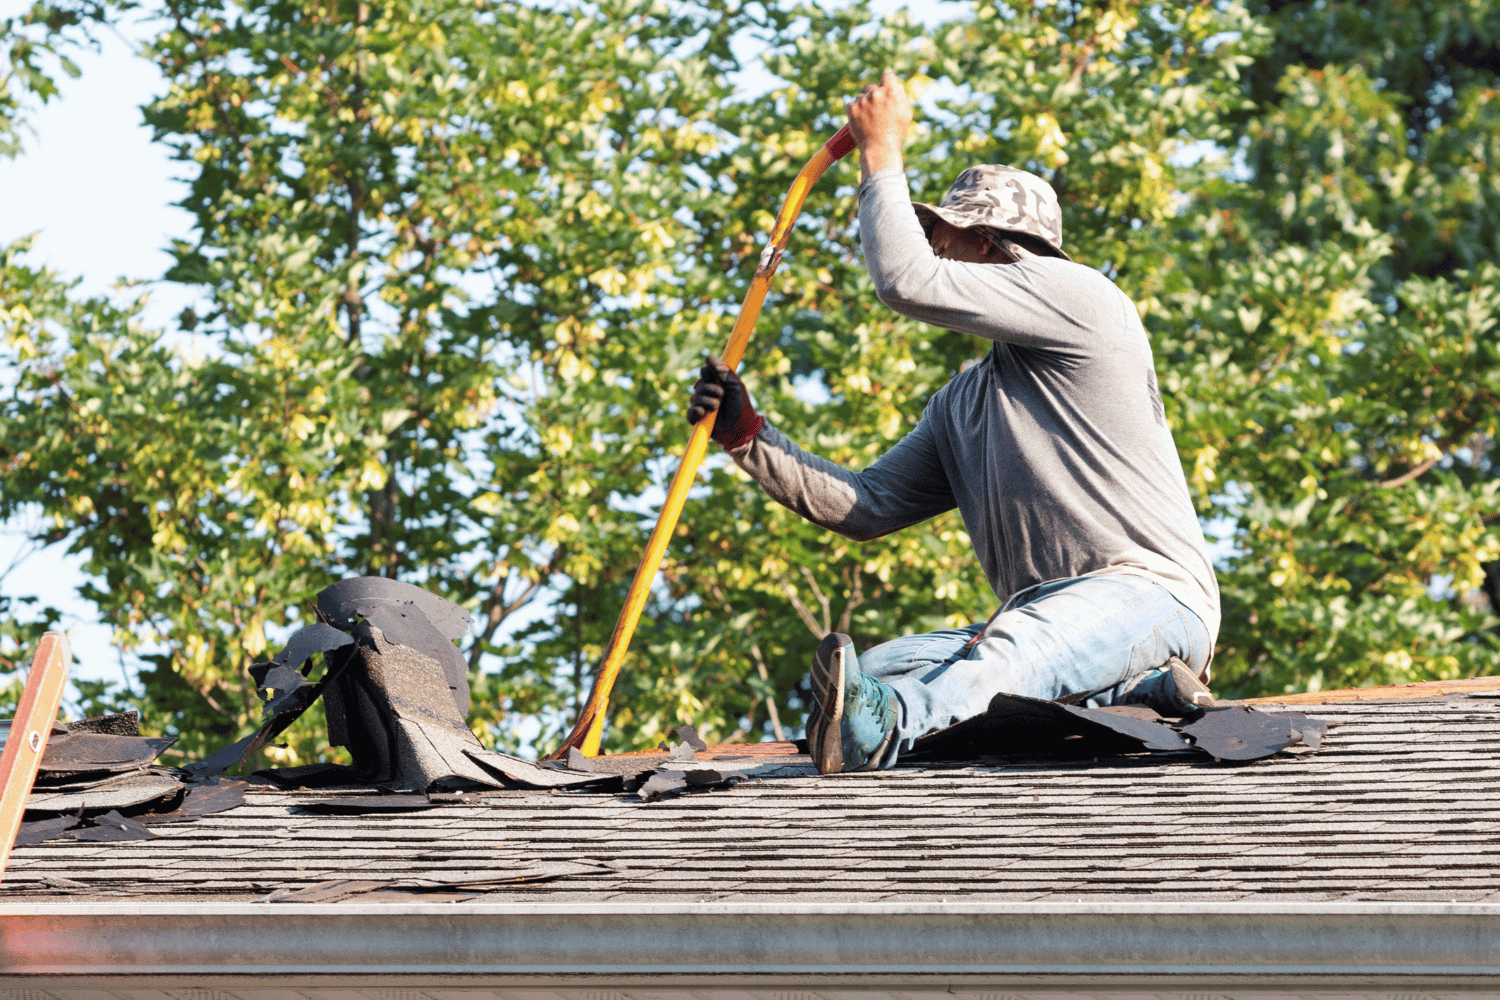
Maintenance Practices for TPO and EPDM Roofs

A maintenance worker inspecting a TPO roof for signs of wear.
Maintaining TPO and EPDM roofs is essential for extending their lifespan and ensuring optimal performance. Regular maintenance practices, such as inspections and cleaning, play a critical role in preventing issues like seam separation and leaks. Proper installation from the start is crucial for maintaining a watertight seal and preventing common problems.
Regular maintenance can significantly prolong the lifespan of TPO and EPDM roofs, minimizing the risk of costly repairs and ensuring the roofing system performs optimally. By adhering to a regular maintenance schedule, property owners can maximize the longevity and efficiency of their roofing systems.
Routine Inspections and Cleaning
Routine inspections and cleaning are vital components of maintaining TPO and EPDM roofing systems. A thorough inspection should be conducted at least biannually to identify potential issues before they escalate. Cleaning involves removing debris, dirt, and algae to prevent material degradation and maintain the roof’s appearance.
The frequency of cleaning TPO roofs is influenced by environmental factors like climate, precipitation, and roof slope. Using a low-pressure power washer and a soft bristle broom with TPO-safe cleaning solutions is recommended for cleaning, helping to maintain energy efficiency by reflecting sunlight and preventing mold growth.
Addressing Minor Repairs Promptly
Addressing minor repairs promptly is crucial to prevent small issues from escalating into major problems. Timely repairs can significantly reduce long-term costs associated with major repair work and extend the lifespan of the roofing system. Routine inspections should be scheduled after severe weather events to identify and address minor issues early.
Regular maintenance and prompt repairs are essential for ensuring the long-term performance of TPO and EPDM roofing systems. By staying proactive and addressing minor repairs promptly, property owners can prevent significant structural issues and maintain the integrity of their roofs.
Summary
In conclusion, both TPO and EPDM roofing systems offer unique benefits and considerations that make them suitable for different commercial applications. TPO roofing systems are known for their energy efficiency and ease of installation, while EPDM roofing systems are celebrated for their durability and flexibility. Understanding the specific needs of your building and consulting with roofing professionals can help you make an informed decision.
Choosing the right roofing system is a crucial investment in the longevity and performance of your commercial property. By carefully considering factors such as cost, durability, energy efficiency, and maintenance requirements, property owners can select the roofing system that best meets their needs and ensures long-term protection and efficiency.
Frequently Asked Questions
What are the main differences between TPO and EPDM roofing systems?** **?
TPO roofing systems are more energy-efficient due to their reflective properties, whereas EPDM systems excel in durability and flexibility. Your choice may depend on your specific needs for energy savings or long-lasting performance.
How long do TPO and EPDM roofs last?
TPO roofs generally last 15 to 20 years, whereas EPDM roofs can endure for 25 to 30 years. Choosing EPDM may provide a longer-term solution for your roofing needs.
What are the common installation methods for TPO roofs?
Common installation methods for TPO roofs include heat welding, fully adhered systems, and mechanically attached configurations. Choosing the right method depends on the specific requirements of your roofing project.
What maintenance practices are recommended for TPO and EPDM roofs?
Regular inspections, cleaning to remove debris and algae, and prompt attention to minor repairs are essential for maintaining TPO and EPDM roofs. Implementing these practices will help extend the lifespan of your roof.
How do TPO and EPDM roofs impact energy efficiency?
TPO roofs enhance energy efficiency with their reflective properties, leading to reduced heat absorption and lower cooling costs. Although EPDM roofs may not be as reflective, they provide substantial longevity and recyclability advantages, contributing positively to overall energy sustainability.